HOW TO POSTS: LIGHTING AND COMPOSITION
use natural macro photography lighting
WRITTEN BY: BRUCE LOVELACE
UPDATED: December 6, 2024
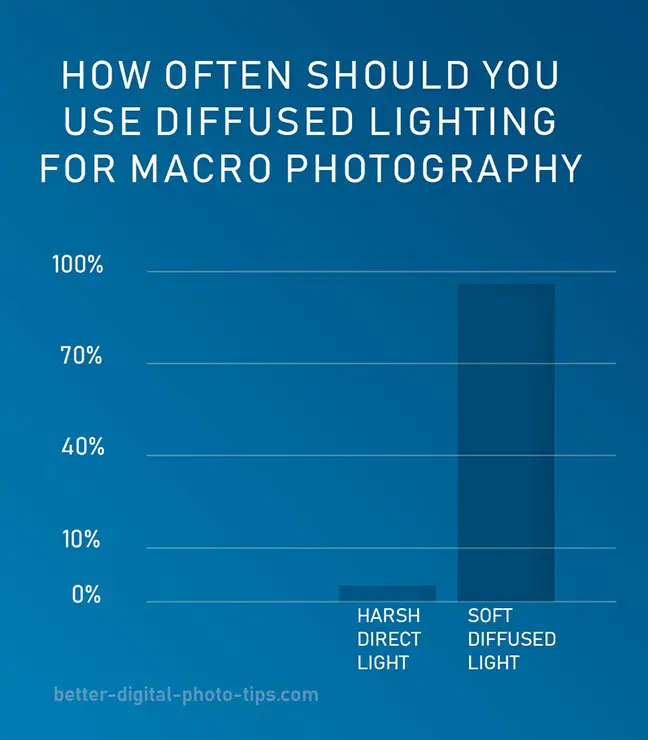
So, what's the secret sauce that goes into natural macro photography lighting. You're probably wondering how to get great macro shots without having to figure out complicated lighting. Well it's really not secret information at all. Here are the only two things you need to know.
- Make the light source as big as possible.
- Use fill light just enough to fill in the shadow areas.
natural lighting for macro photography indoors
The real beauty of using natural lighting for your macro photography is that you don't have to work about controlling the light output if you use flash and you don't have to worry about positioning a continuous light source in a certain spot and have it interfere with your composition. You can "see the light" in real time.
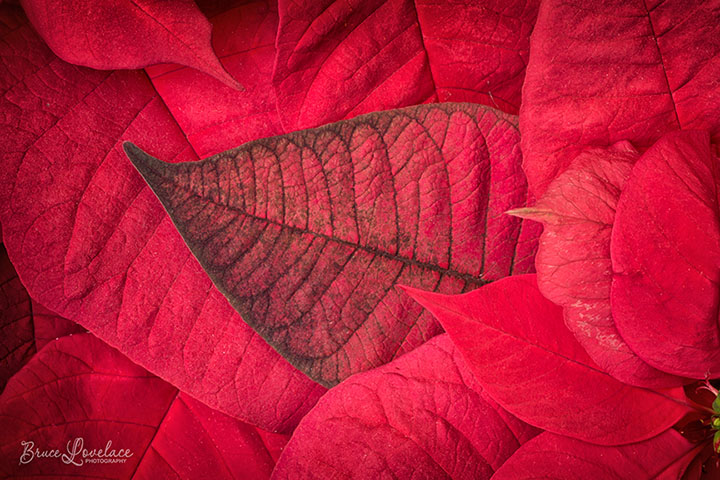
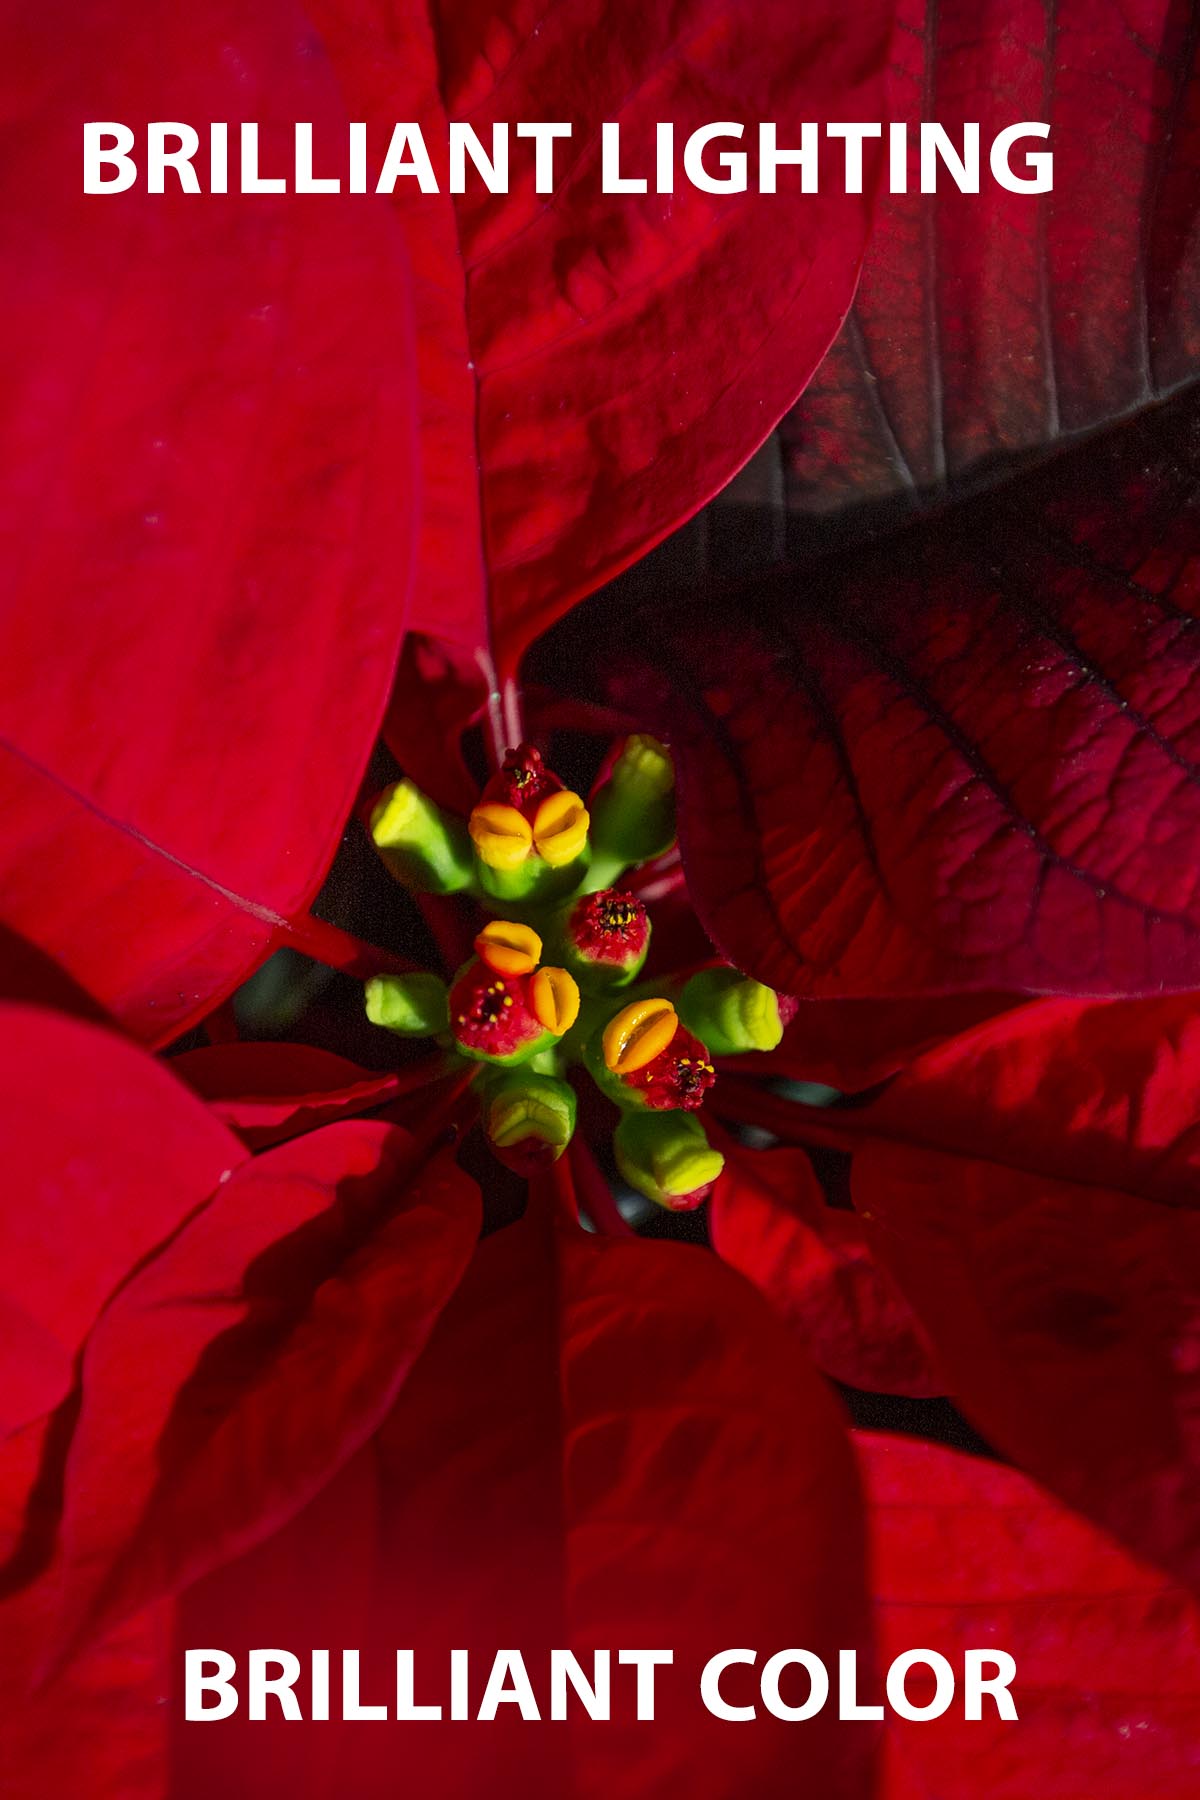
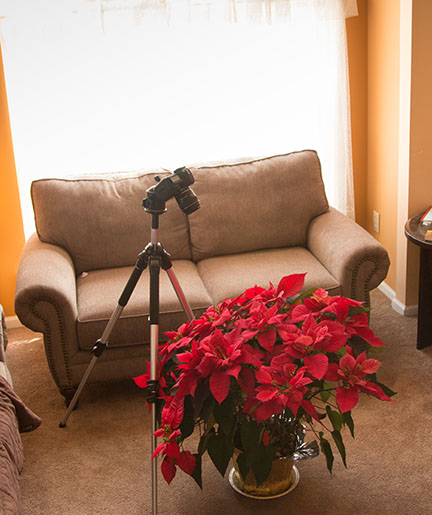
Here is the simple setup I used for the "Bold Poinsettia Leaf" photo. The window is a double wide and it goes really high up, close to the ceiling. You can see that I used no reflector at all to fill any shadows.
If you can find a large window like this, you have the luxury of placing your subject a few feet away from the light source. If your window is small, you must place your subject as close as possible to the window.
If you shoot with the light coming from one side, rather than from directly overhead, you get directional lighting which will do a great job of bringing out the texture in your subject.
In the macro photo of the Poinsettia, you have texture, color, and leading lines as the principle elements in this composition.
 Macro Window Lighting
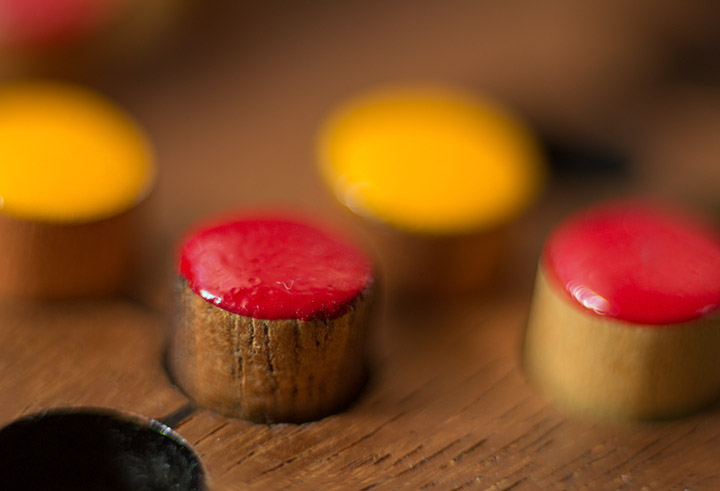
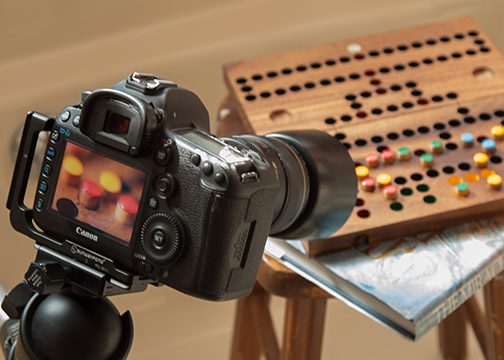
Here's another super simple setup for a close-up photo using natural lighting indoors. The board game was place on a stool near a window with lace curtains in the bathroom as shown below. After that is the resulting photo.
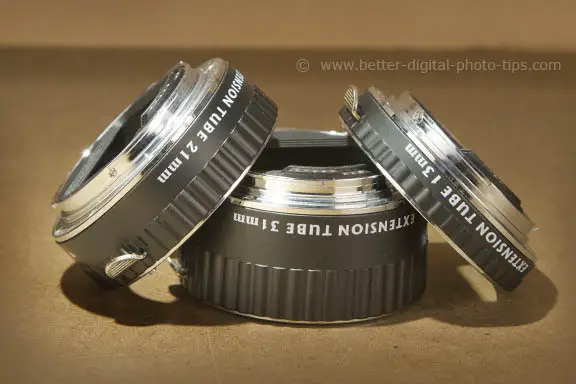
 Extension tubes and 85mm lens
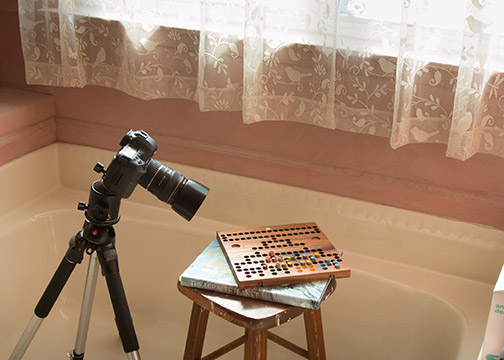 Diffused Window Light Through Bathroom Curtains
Getting natural lighting from a nearby window let's you concentrate on the composition of your photograph. I purposely shot "wide open" at an f/stop of f/1.8 to achieve a very shallow depth of field.
natural macro lighting for outdoors
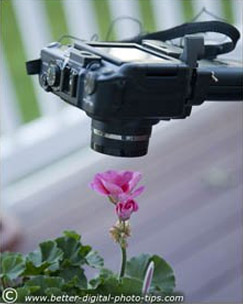
Whenever you can, it is usually better to use natural lighting for your macro photography as well for the same reasons. It's simpler to get great photos when you can concentrate on composition and not have to mess around with complicated lighting systems.
I used my Canon point and shoot camera to take this photo of the pink Geranium. The front of my home faces east, so in the morning, our deck in the back of our house is in shade.
It's open to the sky above, and also to the sides, which creates a huge surrounding light source for your subject. There are times when you'll want to have a small white reflector panel to use to fill in shadows.
This tripod has a unique feature that allows you to insert the center column sideways into the collar which is perfect for shooting downward at your macro subject.
You can see that there is only about 1 inch of distance between the front of the lens and the flower. Because there is light coming from the sides, the light-blocking effect of the camera directly above the flower does not prevent getting a nice close-up photograph.
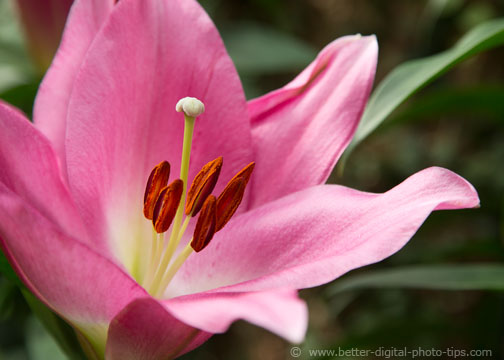
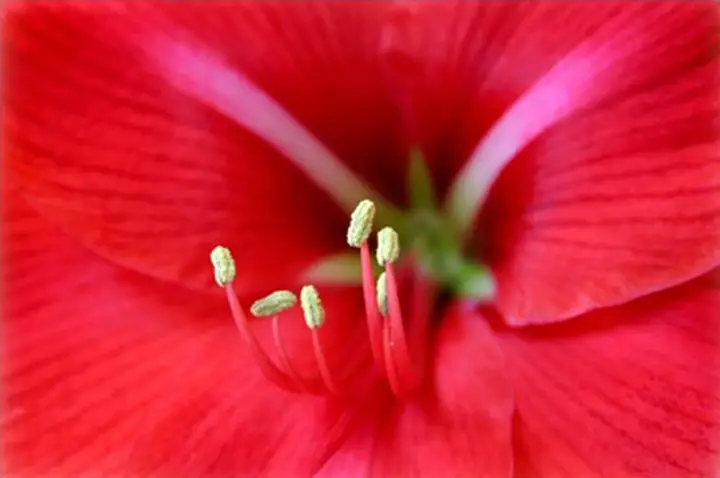
You can see the resulting photo, at the beginning of this article, has a flat lighting and brings out the highly saturated colors of the Geranium flower. If you have read any of my articles on portrait photography, you know I like to use simple and natural lighting in my photography whenever I can.
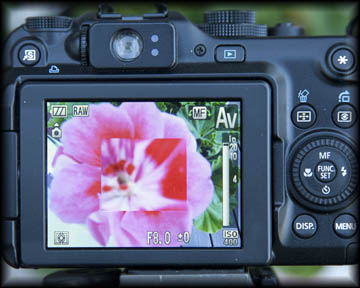
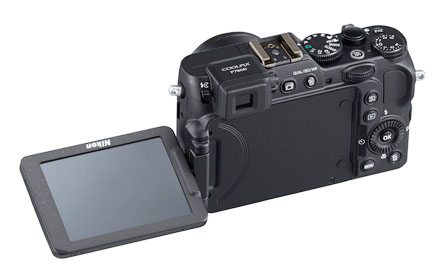
Some cameras, like this Canon G11, have a really cool feature for macro photography. As you can see in the photo of the back of my camera, there is a focusing loupe or magnified area for fine-tuning the manual focusing process.
That really helps for my "over 50" year-old eyes. The viewing screen also has a distance indicator bar along the right edge that changes as you move the scroll bar to adjust the focusing distance.
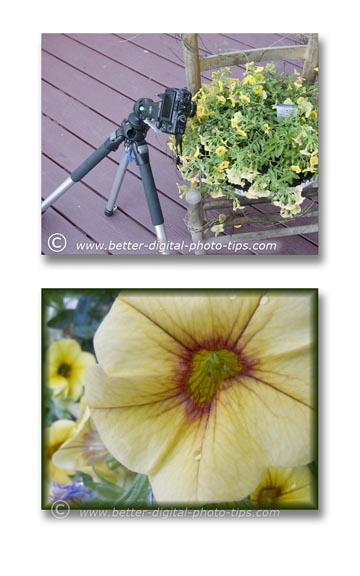
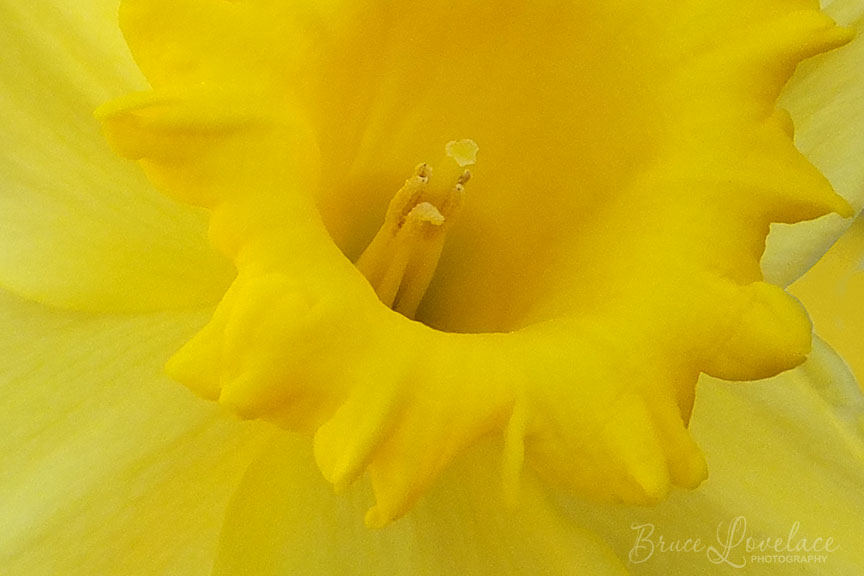
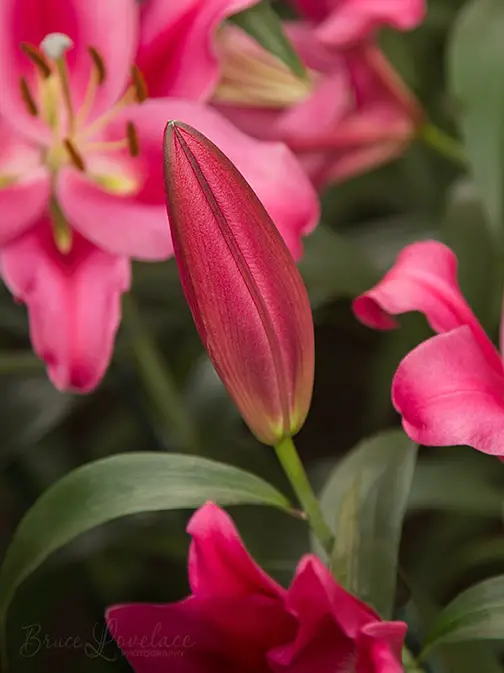
In this photo of the yellow Petunia, the majority of the natural macro photography lighting is coming from the top.
The flower is in more of a vertically facing position. The camera is facing the subject from the side and the light is coming from above. Notice how this macro photo has more depth because the light has a direction from above.
The flat lighting in the red Geranium flower photo has an almost abstract look.
Also take note that I used the 10-second self-timer feature so that the camera would have time to settle after I push the shutter button and before the exposure was made.
Because of an Oh-so-very-gentle breeze, the images were sharp, but not razor-sharp. Dealing with the wind is often a challenge when doing macro photography of flowers. A higher ISO setting can help to give you a faster shutter speed. Of course you can also choose not to use natural macro photography lighting and use electronic flash to freeze any motion.
My favorite tool for evaluating the lighting in my macro photography
You'll be able to evaluate your images even better if you can get an enhanced view during your photo shoot. Using a magnifying loupe is super easy and you can really see you image on your LCD screen so much better if you use a small viewing hood.
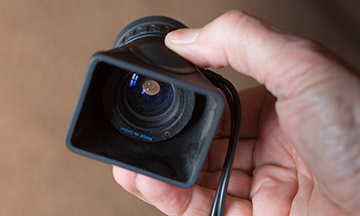 LCD End
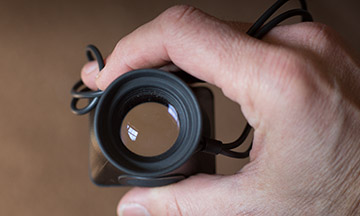 Viewing End
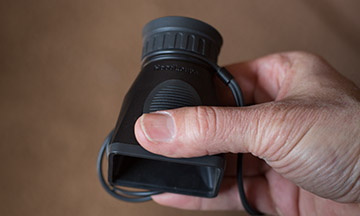 How Big It Is
This HoodLoupe made by HoodMan is a great focusing aid. This is the one I have but there are other manufacturers that are just as good.
Not only will it magnify your viewing screen, even more valuable is that it blocks out ALL other distracting and reflecting light from interfering with your view. They are super valuable when you're outdoors in bright light..
You just hold it against your digital camera or cell phone viewing screen and look into the eyepiece.
You get the the same effect as sitting in a dark room watching television or being in a movie theater, a better ability to evaluate the image you've just taken.
As an Amazon affiliate I may receive a small commission from qualifying purchases, at NO added cost to you.
The Loupe can be used to evaluate all of your digital photography for it's composition, lighting, exposure or sharpness before you're done shooting. I have found this accessory to be very valuable to evaluate my macro photography lighting by viewing an enlarged view on my camera's LCD screen. There are a variety of Hoodloupes available at Amazon and other stories as well.
links relating to natural macro photography lighting
Macro Photography Lighting. If you'd like to see a page of great samples of how important lighting is in macro photography, try this.
Macro Photography Lighting Tips. This discussion is centered around a small indoor macro set-up and the dramatic difference is the final photo based on the source of the light.
Super simple close-up lighting. Of all things, I shot close-ups indoors of popcorn without using any electrical lights or flash or in this article. I uploaded a video to give you two ways of exploring this topic.
Keep shooting. Keep learning. Keep improving.


ABOUT BRUCE LOVELACE
Bruce is the publisher of this website. He is the author of the book "Improve Your Photography Instantly." Read more on Bruce on his Bio Page. He's been known as The Traveling Photographer ever since 1994. Read more about this website.
View some of Bruce's photos on Instagram. Visit the Facebook Page. Watch him on YouTube. Bruce runs photo workshops for kids and adults, and provides one-on-one photography coaching.
Digital Photography Education Location on Google My Business
