HOW TO POSTS: LIGHTING AND COMPOSITION
cheap diffuser for macro photography
(5 DIY Cheats for great macro lighting)
WRITTEN BY: BRUCE LOVELACE
UPDATED: DECEMBER 17, 2023
You're either a photographer looking for reviews on budget diffusers for macro photography, or a macro photographer looking for some clever Do-It-Yourself (DIY) methods to make your own macro photography light modifier.
This post will give you 5 cheap DIY ways for you to get beautiful diffused lighting for your macro photography. What close-up subjects you're shooting will affect which one will work for you. But first, one quick question to answer: when should you used diffused lighting for macro photography?
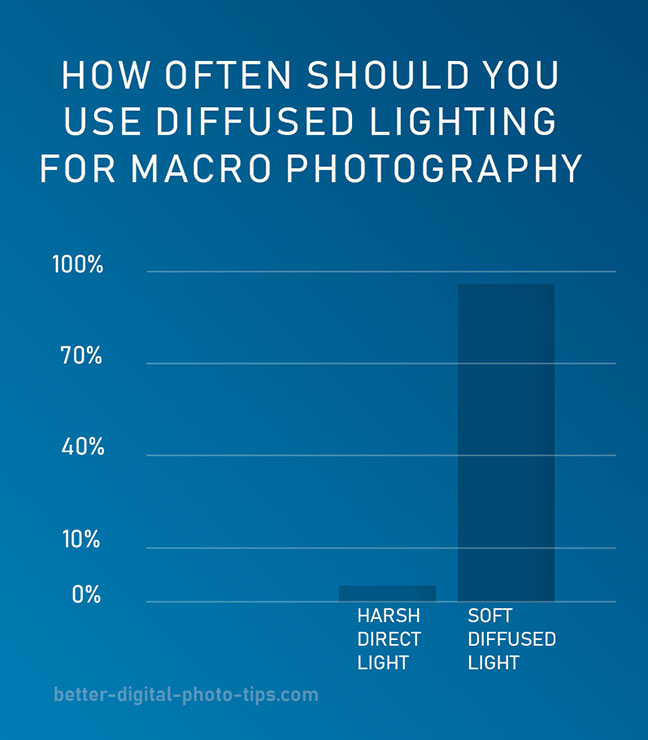
The macro photography lighting type chart gives you my recommendation for the type of light you should use with your macro photography. Yes, I know what you're thinking. I agree it's a bit exaggerated, but you came to this post looking for information on affordable ways to diffuse the lighting on your macro photos.
Perhaps my percentages in the diffused macro lighting chart above are a bit overstated, but I can't tell you how many times I've cringed when looking at close-up photos with harsh distracting shadows caused by direct undiffused lighting.
I've used quite a few different macro lighting diffusion techniques and any of them can work great for you too. Several of the diffusion materials some photographers use are complicated, expensive, and simply not necessary.
I've also purchased and used several different kinds of both natural light and flashgun diffusers and they can be very convenient as well as useful for giving you that appealing soft natural looking macro photography lighting.
We're just going to concentrate on do-it-yourself cheap ways to diffuse the lighting you already have. You can do that in two different ways. Here is a list of materials you can use to diffuse your close-up lighting.
how to get diffused LIGHTING
There are two different methods to achieve diffusion from the light source that is illuminating your close-up subject. Neither one of them will involve using any large or complicated equipment.
- DIFFUSION. You can diffuse the light by having it pass through something that will scatter the light in a variety of directions. The good news is that you can use a wide variety of materials to accomplish this.
- REFLECTION. You can also get diffused light by having the light source bounce or reflect off of a nearby surface. What great about using this technique with macro photography is that the reflecting surface doesn't have to be very big, provided it's relatively close to your macro subject.
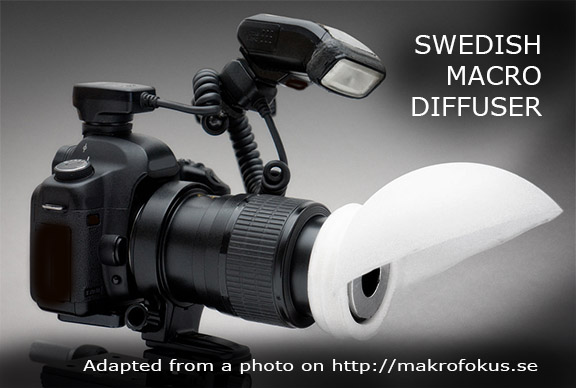 Not-so-cheap macro lighting diffuser
When you are working your digital photography magic in the close-up world you just don't need big and expensive accessories to adjust and perfect the light. I recently came across an ad for some diffusing material and thought it would be good to share my thoughts about diffusing light when you're shooting macro photos.
I do confess that there have been times when I've used electronic flash to light some of my macro photos, but usually it's been in a situation where the level of light is really low, as in nighttime and indoor photography. Diffusing light when using a flash unit is very popular for photographing insects.
when is a cheap diffuser for macro photography a good idea
Whether it's outdoor or indoor macro photography lighting can make or break your photo. See the comparison below of macro photos without diffusion contrasts with macro photos using diffusion.
- When Mr. Sunshine is blasting his harsh rays on your subject it's often a good idea to scatter and diffuse the light to make your subject more appealing. When you need to soften the light and reduce the harshness of the shadows you can use a sheet of diffusing material in between your subject and the sun.
- The light from your flash is very harsh. You may need to use your flash for dark situations and for freezing any subject movement. Using direct flash on a close-up subject will give you harsh shadows and annoying bright highlights.
Diffusing light for shooting macro photos can be done in several different ways. We're going to dive into that in a minute, but first let's check out why the type of lighting you decide to use really matters.
comparison of diffused and harsh macro photography lighting
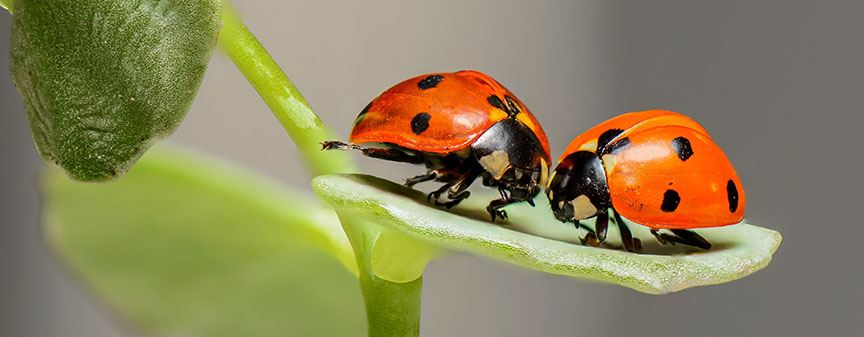
In this photo of these ladybugs, the light is directly overhead, but has been diffused. You can see the highlights on the insects' shells but the highlights are softened and not distracting. The shadowed area underneath the bugs has non-distinct edges.
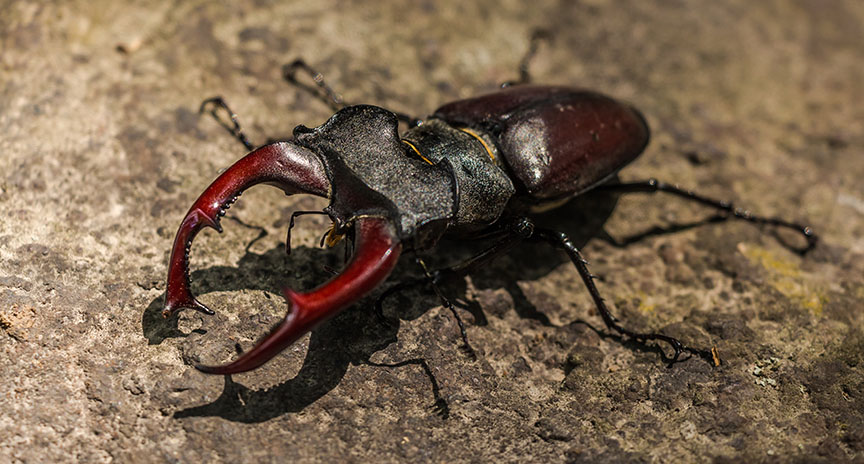
Compare the lighting on the close-up photo of the ladybugs with the lighting used in the photo below of the arthropod. The highlights on the shell are a little bit distracting and the edges on the shadows is very distinct and contrasty. Contrasty lighting is not automatically bad with macro photography, but diffused lighting usually brings out the details in macro photography and is often more appealing to the eye.
The light from the sun with no clouds in the sky will give you sharp shadows. Sometimes it can be good, but usually the shadows detract from the subject. Direct light that isn't diffused can also give you pure white spots from shiny reflective areas of your subject.
1. option for a DIY cheap diffuser
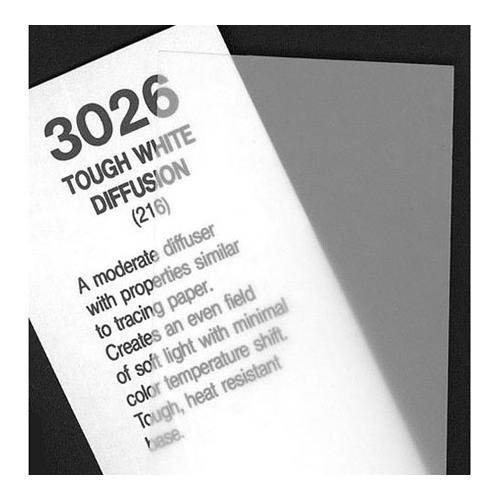 Affordable Diffusing Sheet
It's really quite easy to make your own light diffuser. You can either buy some diffusion material or you can use something you already have lying around in your home.
Diffusion materials come in a wide variety and you really don't need much to make a big enough diffuser for macro photography. You can cut this type of diffusion sheet to any shape you need and then tape it to a small picture frame or other makeshift support.
As an Amazon affiliate I receive a small commission from qualifying purchases, at NO added cost to you.
There are a few different directions to go in. Some diffusers are intended to work with light sources such as specific models electronic strobes and some are more generic in nature.
2. large attachable softbox
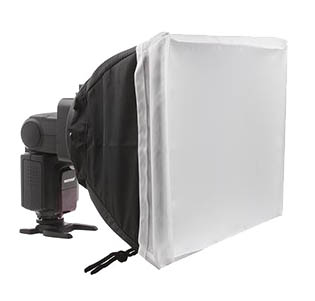 Diffusing Box for Flashgun
If you need the firepower of a flash gun, due to a low lighting situation, you can soften the light from a standard hot shoe flash by purchasing a softbox made specifically for your flashgun. These diffusers usually are easy to collapse and are not too difficult to carry on a photo excursion.
There are many DIY macro lightbox tutorials around to watch. You only need some basic skills-that's not me- to build your own small lightbox to attach to your speedlight.
3. Hand grip diffusion panels
Fold-able diffusion accessories are convenient to carry and usually come in circular, oval, or triangular designs. The photo below is of a diffusion panel that is 32 inches.
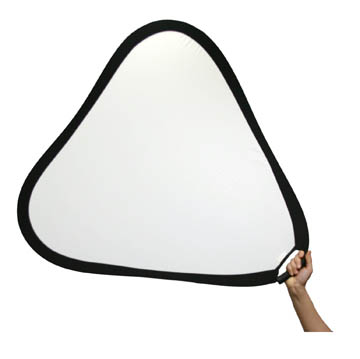 Handheld diffuser
for macro photographers
These types of large hand-held diffusers aren not really intended for for macro photographers because of their size.
There may be some times when you'll want to diffuse the light on the subject as well as on the background and you'll appreciate the large size.
I use even larger versions of these to diffuse larger areas with outdoor portraits. These are great to take along on outdoor photo excursions because they are easy to collapse and carry. They are versatile for photographing both small and large objects up close.
4. DIY paper TOWEL macro diffuser
This is the easiest DIY cheat that anyone can build. Use a a paper towel, napkin, or yes, even toilet paper and a rubber band. These soft, bendable types of paper are easy to form into the right shape to fit your light source and diffuse it to soften the harsh direct flash.
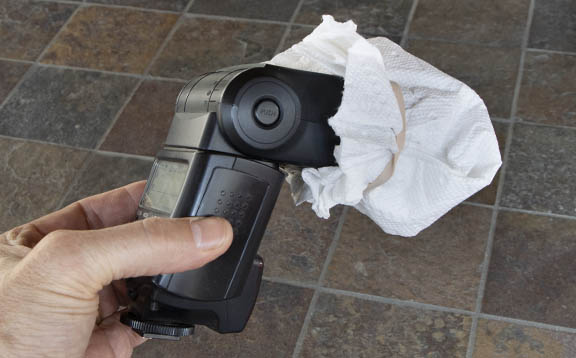 Use a white paper towel or a paper napkin and a rubber band
and attach the diffuser to your flashgun for a moderate amount of diffusion.
5. DIY bounce diffusing panel
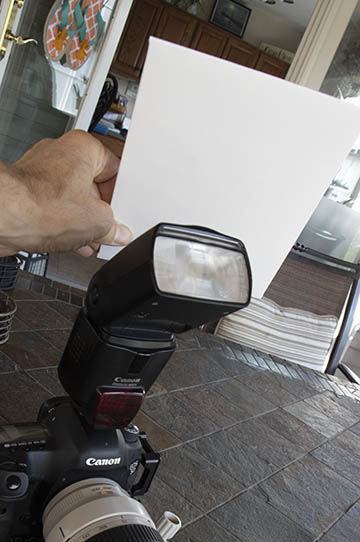 Reflected light from white
cardboard is automatically diffused.
5. DIY bounce diffusing panel
Bounce your flash off any small white reflector handheld or fastened to your light source.
Although the built-in bounce panels in many modern flashguns do the same thing, there simply too small to diffuse the light significantly.
Larger surfaces, like the white mailing envelope pictured here, are much better at scattering the light and softening the shadows.
Using any large surface will work, although white surfaces will not alter the color temperature of the light and affect the color balance of your photo.
I've also used:
- regular letter size mailing envelopes,
- 3x5 index cards, and
- white printing paper to bounce and diffuse the light from several of my Canon Speedlites.
Use your imagination for coming up with something you already have in your home that you can use to make a DIY diffusion tool, like this clever easy-to-make one in the video below:
I hope you found these macro lighting cheats helpful. Sometimes the most effective solutions are the simplest. To find any more specific topics to read you can use the search box below, or scroll down below my signature for other macro photography posts.
Search for a new topic on this site:
why i like diffused lighting for macro photos
Somethings just speak for themselves
Have a blast with your macro photography lighting. Keep it fun!


ABOUT BRUCE LOVELACE
Bruce is the publisher of this website. He is the author of the book "Improve Your Photography Instantly." Read more on Bruce on his Bio Page. He's been known as The Traveling Photographer ever since 1994. Read more about this website.
View some of Bruce's photos on Instagram. Visit the Facebook Page. Watch him on YouTube. Bruce runs photo workshops for kids and adults, and provides one-on-one photography coaching.
Digital Photography Education Location on Google My Business
