HOW TO POSTS: LIGHTING AND COMPOSITION
macro photography light box
macro photo studio
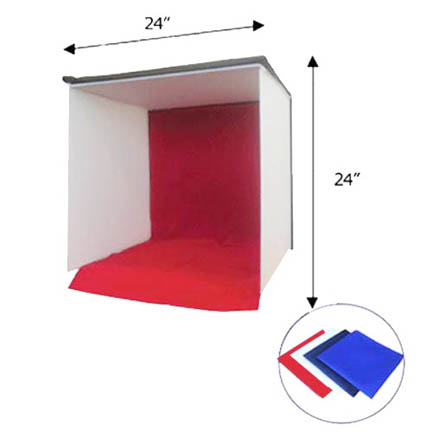
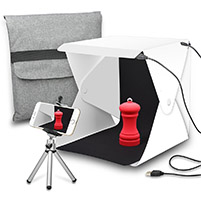
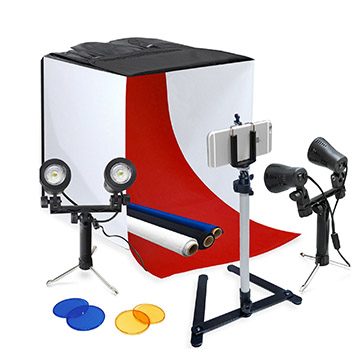
Should you buy a macro photography light box or make a macro photo studio yourself? These mini lighting studios are great for you if you want a simple way to have success with macro lighting and don't want to go through a newcomplex setup each time you shoot macro.
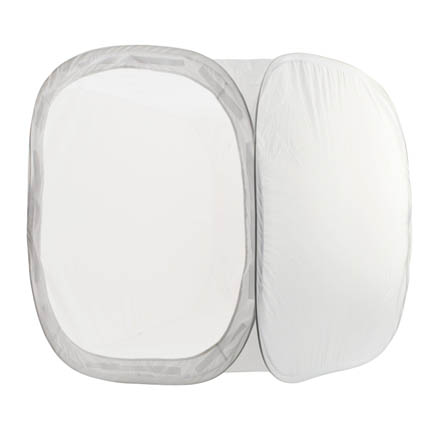
You set up a macro lighting tent like this to be able to diffuse the light and make your subject look great. The designs that fold up or collapse are easy to set up, take down and store out of the way when you're not using them.
The first thing to do is to figure the best size for your photography lighting box. Imagine the largest subject you'll ever use it for and go from there. You can always photograph the smallest macro subjects, but you're out of luck if the object you're photographing is too large to use in your light box.
Who should buy a Lightbox For Macro?
A product light box is really versatile because you can change the look of the lighting on your subject by adjusting the position of the one or two lights that you are using.
- Merchants who sell jewelry, coins and other small items online frequently need photos to show off their products in an attractive way.
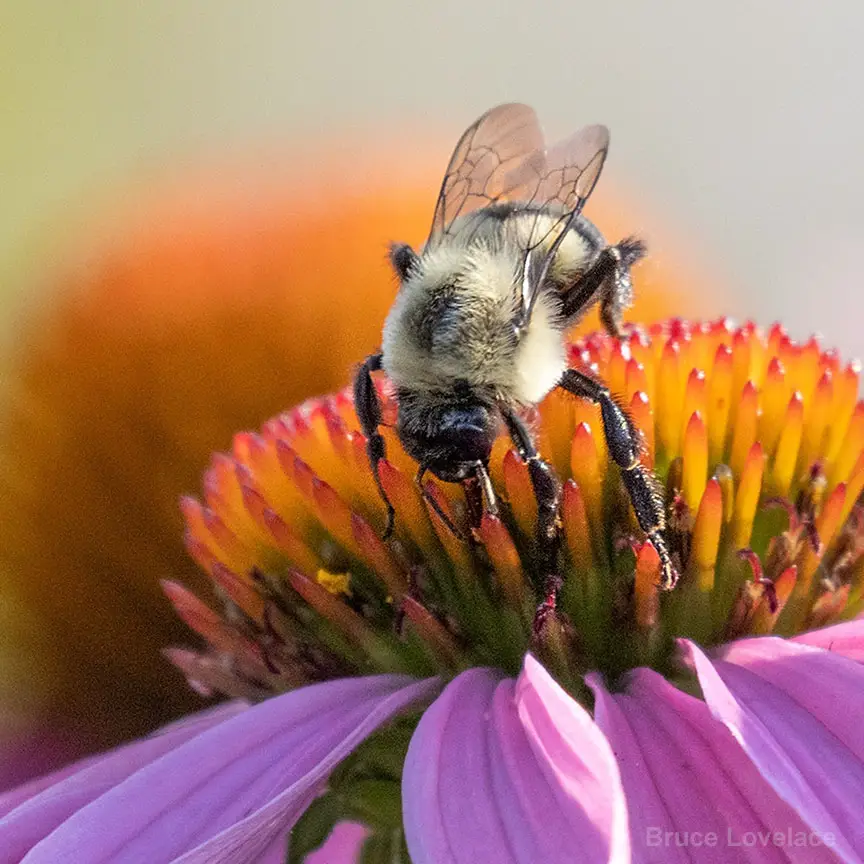
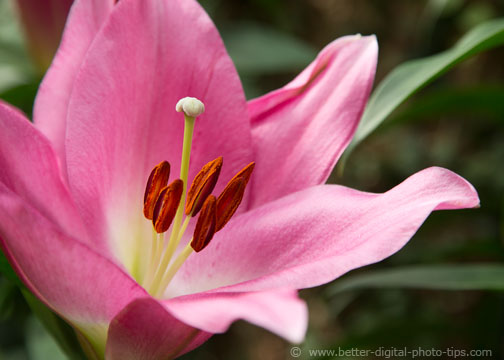
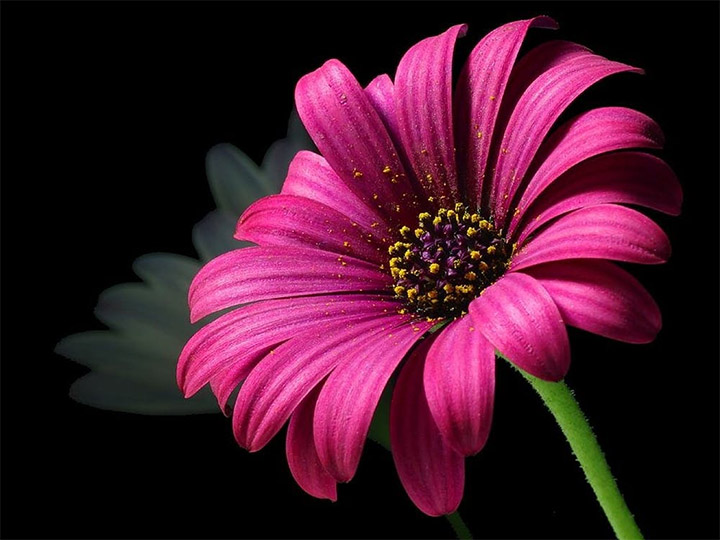
- These lighting setups are also great for insect and flower photography, the two biggest categories of subject matter for macro photographers.
- Hobbyists who like a fast set-up and want to focus on composition and not waste time trying to figure out to get nice soft lighting.
features of macro photo studios
- They are relatively small and can be set-up in a small room.
- They are very affordable and you have many options on how you set them up.
- You can easily adjust the lights on your subject by changing the direction and distances of the lights on the outside walls of the light box.
Should you use flash or continuous lighting? It's so much easier to see how the lighting is affecting your subject if you can see it in real time, as opposed to using flash photography where you may have to check your LCD screen after each and every exposure.
best lighting for macro studios
The decision you face is whether to use the power of electronic flash or a continuous light source like LED lighting or traditional photo studio lights. You cannot use the built-in flash on your camera. It's simply too small, it comes from a bad direction and will give you distracting shadows. If you use remote flash units of some kind you must trigger them at the time of exposure. You also can not see how they light your subject adequately because their duration is so brief.
You will have to try and evaluate by looking at the LCD screen after capture. With continuous lights, you can adjust the lights and get a good idea of your finished photo.
2 ways to make do it yourself (DIY) macro photography light boxes
There are a million ways to make these on your own. It depends on how handy you are in making things, having the tools you may need, and how much time you have on your hands.
Here are two simplified methods of making your own macro light box. Both of them require you to spend some time making them. If you're somewhat crafty then you'll get the satisfaction of building something on your own.
light box method 1
Here's the first two-step method on how to make your own light box for shooting your macro photography subjects. This project is a lot simpler than the second one mentioned next. It does require you to start with the right size box.
- Get an existing cardboard box.
- Cut out three interior panels and replace with any translucent material.
This is a real cheap way to go. make sure that you build it so that you can light your macro subject form above and from the sides.
This set-up is not fold-able or collapsible but it is pretty easy to construct. Just don't cut yourself with a sharp blade. Here is a one minute video on method 1.
It's not a big item, but you'll still want to think about a place to store your macro photography light box when you're not using it. If you only need it for a one time use, you'll be able to disassemble it and recycle the materials.
light box method 2
- Buy a sheet of Coroplast.
- Make folds, cut the corners and Velcro together. The coroplast supports itself as a sturdy cube.
This requires a bit more precision with your cuts and folds but it is collapsible. Here is a five minute video on this idea.
You can also use a flexible, heat resistant diffusion paper called Cinegel which is used in the cinema world quite a bit. You can attached it to any cubical frame you can make:
Cinegel Tough White Sheet of Light Diffusing Materialwhere to buy a macro photography light box
The most popular users of small light boxes are eBay sellers. Light boxes are the easiest way to photography a whole bunch of small products in an attractive way without spending a lot of time doing it. There are also a bazillion other ways to get light onto your macro photography subjects.
One of the best features of buying a macro lighting kit is that they come with the lights included. Below are some links on amazon showing you different lighting setups to consider:
As an Amazon affiliate I may receive a small commission from qualifying purchases, at NO added cost to you.
Are macro light boxes worth it?
Macro light boxes are worthwhile. They are affordable to buy premade as well as do-it-yourself projects. Photo light boxes can be used for lighting small product photos and artistic macro photography. They are easy to transport, use anywhere and stored conveniently.
Setting up a macro photography studio really isn't very hard. You don't need a lot of room to work. Just about any tabletop or floor is suitable. With macro and small product photography, you really need a decent tripod to help with composition and most importantly to get tack sharp photos.
Shoot more macro photos. Stay inspired.


ABOUT BRUCE LOVELACE
Bruce is the publisher of this website. He is the author of the book "Improve Your Photography Instantly." Read more on Bruce on his Bio Page. He's been known as The Traveling Photographer ever since 1994. Read more about this website.
View some of Bruce's photos on Instagram. Visit the Facebook Page. Watch him on YouTube. Bruce runs photo workshops for kids and adults, and provides one-on-one photography coaching.
Digital Photography Education Location on Google My Business
