HOW TO POSTS: LIGHTING AND COMPOSITION
macro photography accessories
So, you're looking for some macro photography accessories. Wouldn't it be great if you could take stunning macro photography images without spending a fortune on macro accessories?
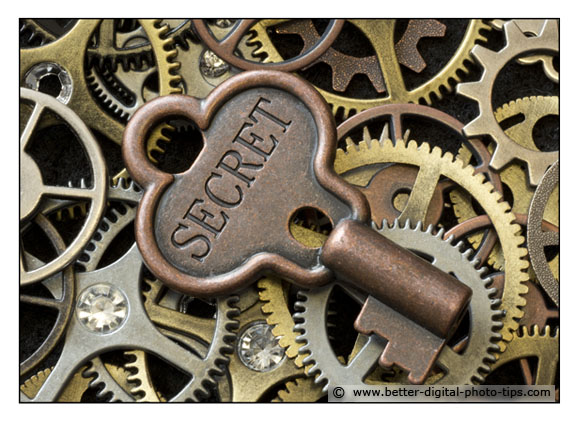
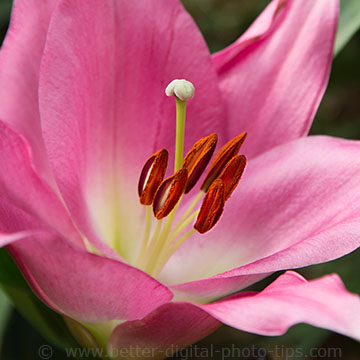
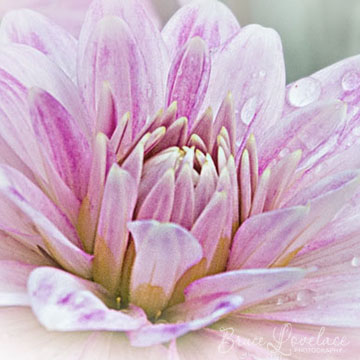
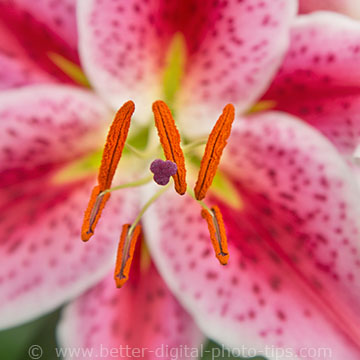
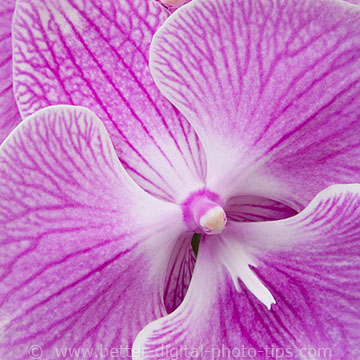
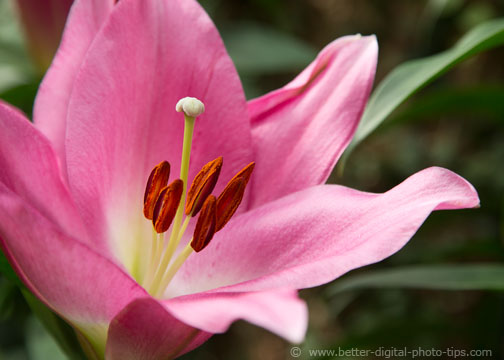
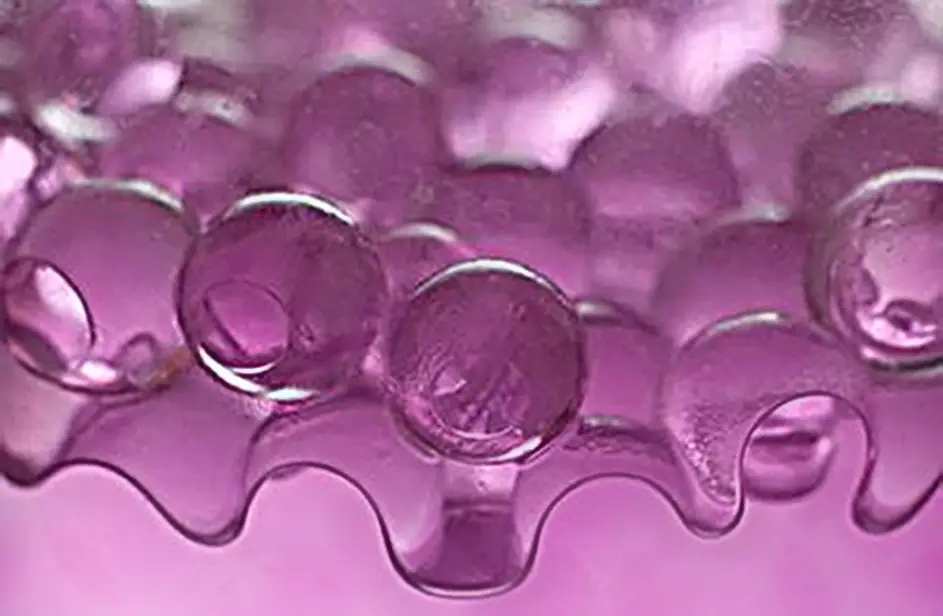
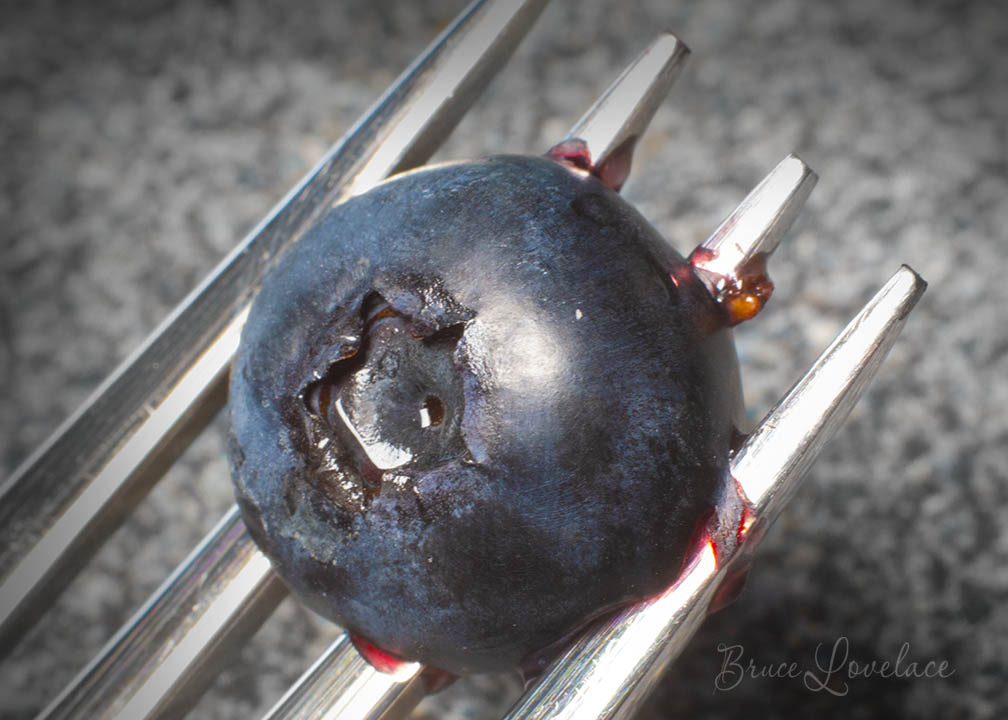
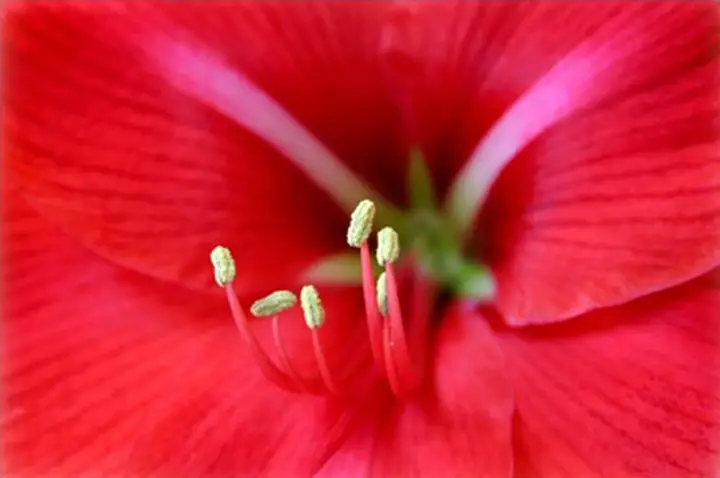
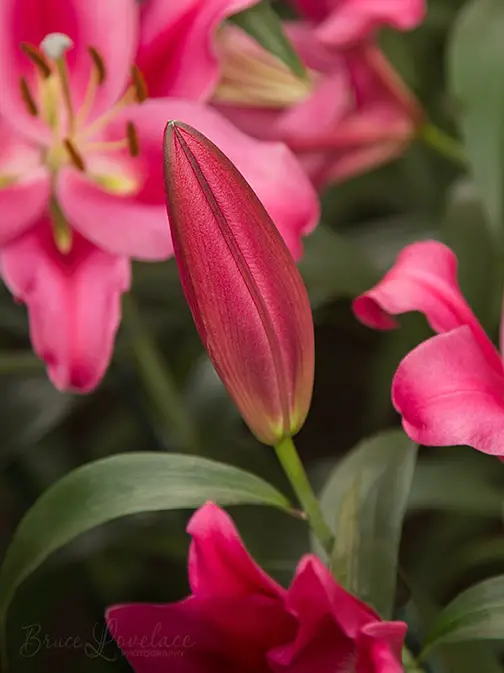
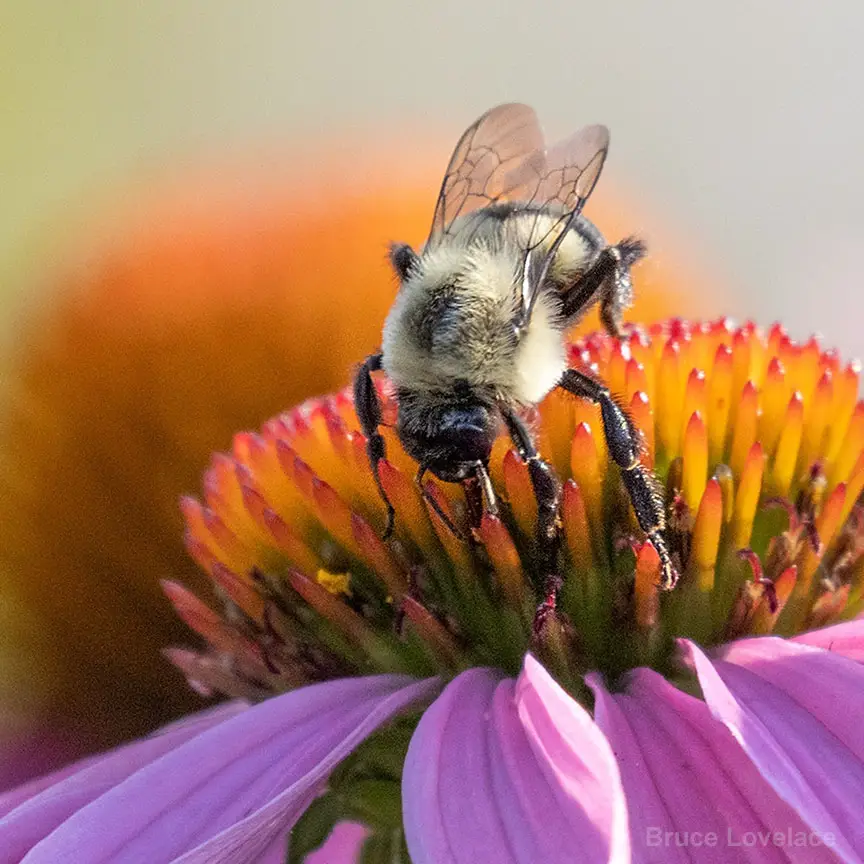
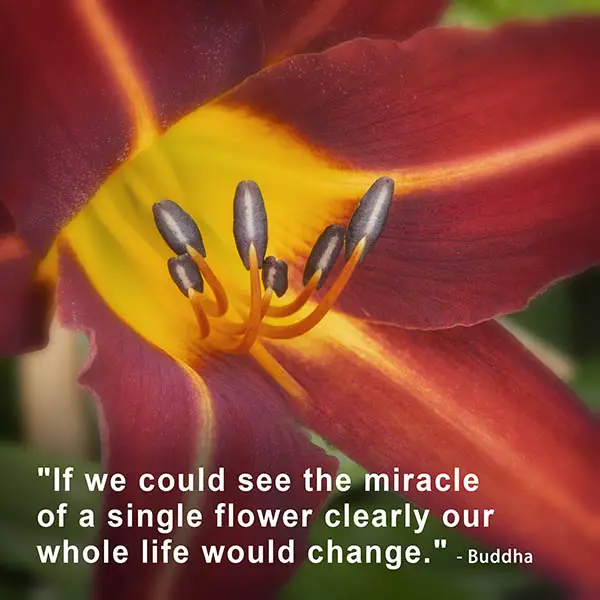
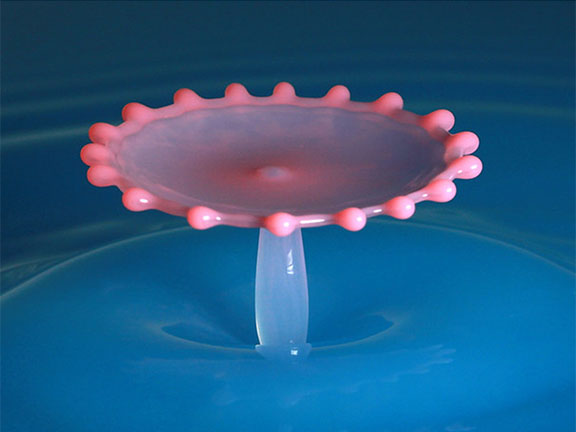
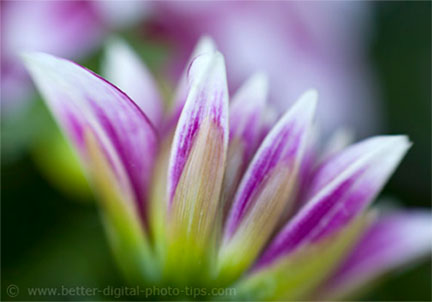
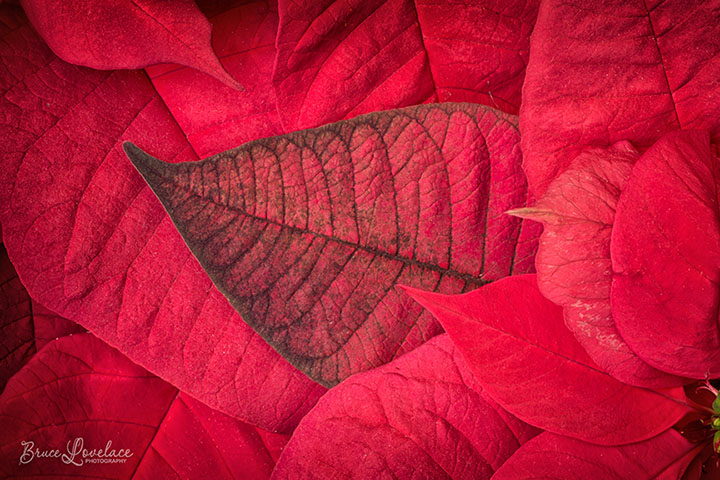
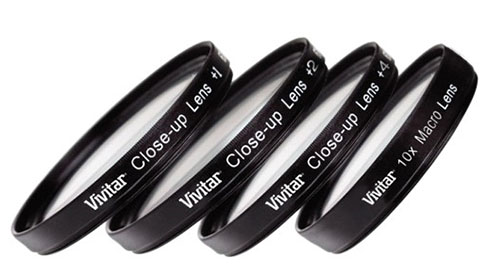
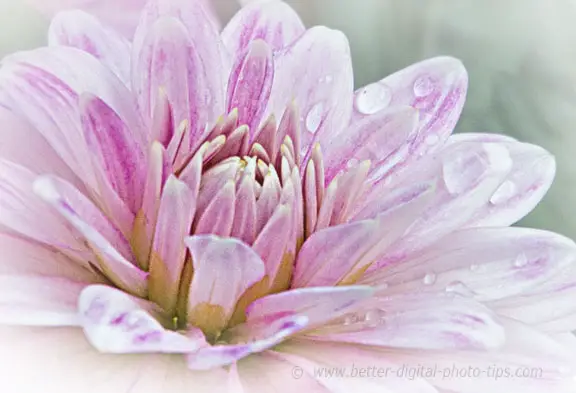
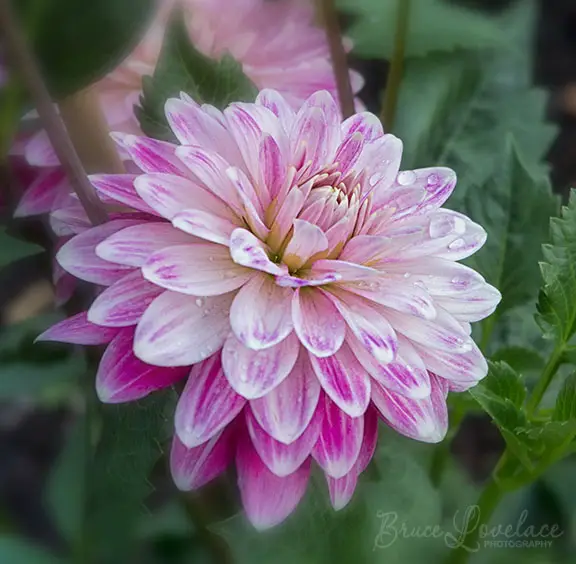
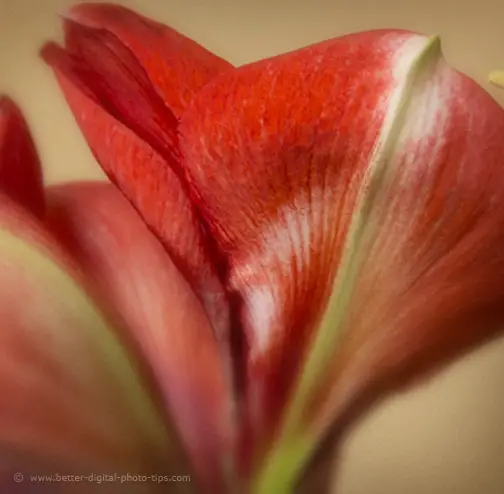
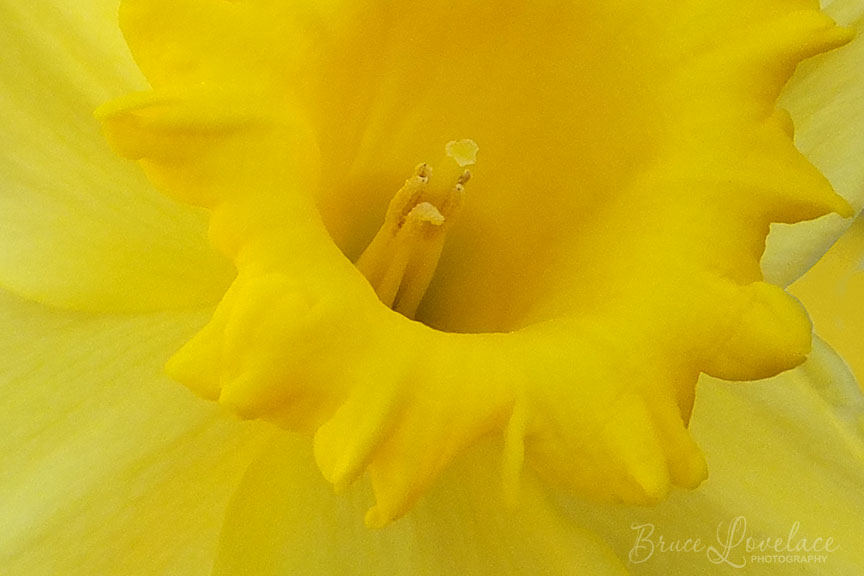
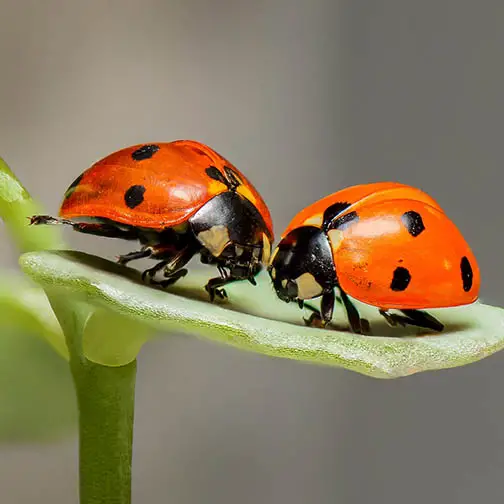
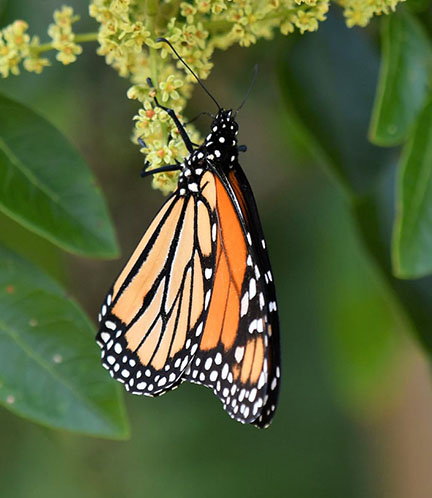
Well, I've got a secret to share with you. You don't have to max out your credit card on macro photography equipment in order to take dazzling close-ups of your favorite subjects. Look at the macro photography below. Do you know what? I did not use an expensive macro lens to get these shots.
The key to taking good macro photos is using the right equipment AND the right technique. There are 5 main categories of macro photography accessories, all of which have a range from simple to complex, and very affordable to to seriously pricey. The first and most obvious involves optics and usually means lenses. Surprisingly though, there are ways to have fun with macro photography without adding any expensive macro lenses to your list of equipment.
Lenses/Optics
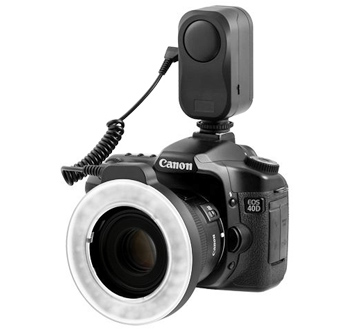
Flash
Light Modifiers
Support
Background
1. macro photography optics and lenses
There are hundreds of options available if you want to go the route of a dedicated macro lens. You can read more about the topic of macro lenses in a here.
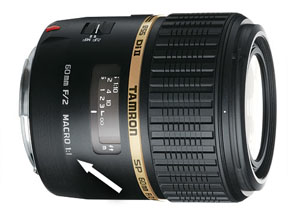 Simple Tamron Macro
Short macro lenses are the most affordable and are easy to carry and use. They don't give you a large working distance from your subject.
These are great for the beginning macro photographer and satisfy the needs of the large majority of macro photography shooters.
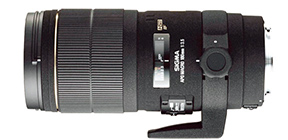 Sigma 180mm Macro Lens
For the serious macro shooter, longer macro distances give you a real nice working distance from your subject. These are heavier and much will have more of an impact on your wallet.
These are great for photographing insects that will run from your camera if you get too close.
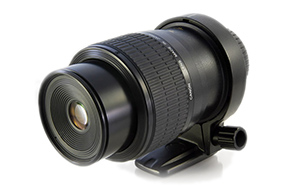 5x Macro Capable
For the macro geek, these powerful lens give you an image size that is bigger than the actual subject. You can photograph things as small as a grain of salt.l The MP-e-6 macro lens is capable of a 5x magnification factor.
That mean the size of the subject appearing on the sensor is 5x as big as the actual object.
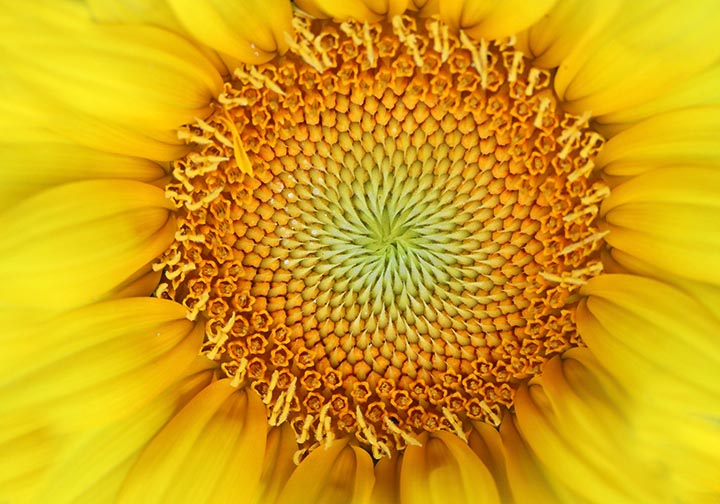
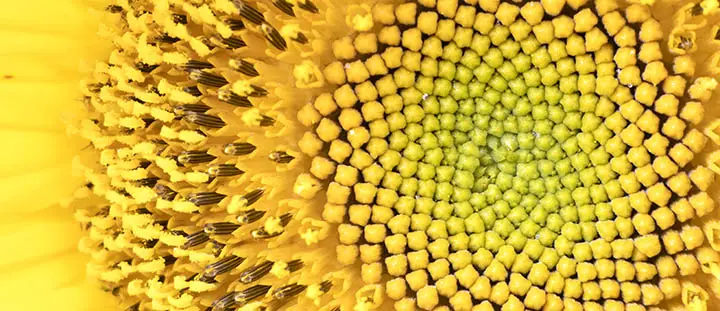
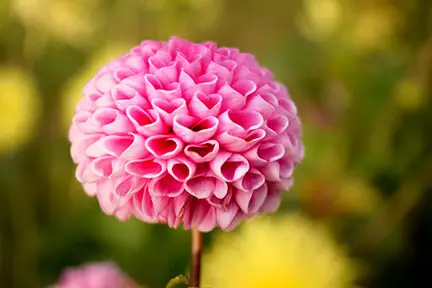
The photo below of a miniature sunflower shows you what you get with a true macro lens. In this case I shot this with a Canon RF 100mm f/2.8 L lens which gives you a remarkable 1.4x macro magnification.
You have your choice of matching your camera brand with the same original equipment manufacturer (OEM) or save money with a third party lens maker like Tamron, Sigma or Tokina. If you're a diehard dedicated Canon shooter you're going to want to stick with a Canon lens. If not, save your money and get your lens from another manufacturer. There really are very few compatibility issues when you use one of the established lens makers.
macro extension tubes
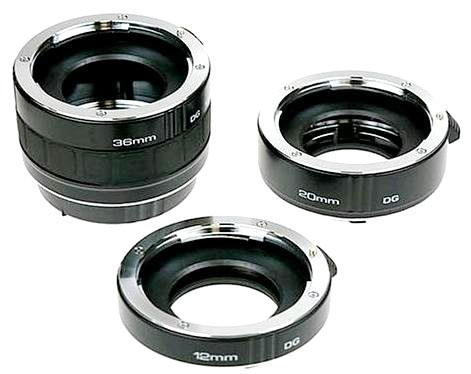
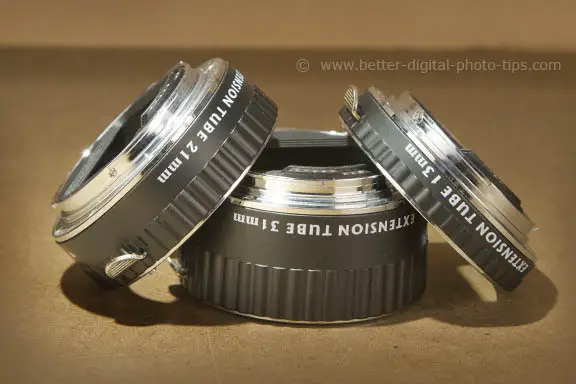
You can use macro extension tubes as a cheap alternative to buying an expensive macro lens. I've taken a whole lot more photos using my extension tubes than I have with any macro lenses. A set of extension tubes are a great option to add to your arsenal of accessories. Very affordable and versatile for getting different degrees of magnification. I use extension tubes for my close-up photograph more than any other gadget, including macro lenses.
Here is a resource for you if you want more information on using extension tubes as a primary accessory to get up and close to your subject: Cambridge Colour/Macro Extension Tubes.
Another way to avoid buying a new macro lens is what some photographers would label as gimmicky and that's the use of lens reversal rings. It's a ring that allow you to mount your existing lens up-side-down to your camera. This was popular in the days of film photography before digital photography took over.
You should do this if you are super budget conscious-I'm a tightwad with certain things for sure-and have an old lens from the days of film photography. You will lose all autofocus and autoexposure capabilites using this type of macro equipment setup.
2. macro photography flash lighting
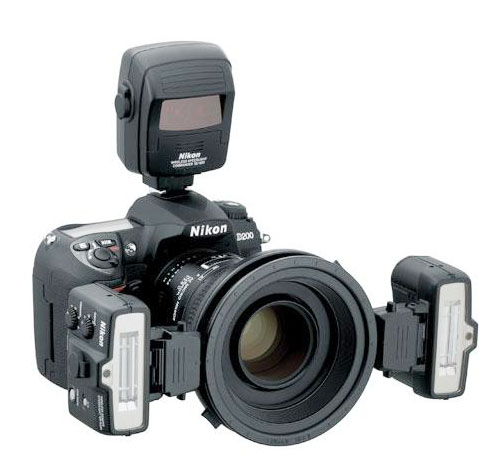
Using a strobe or flashgun is the single best way to insure you get sharp macro photos. You can deeper depth of field and eliminate any motion blur from your camera or your subject.
Lighting accessories for close-up photography often include one or two strobes or flash units. You can take advantage of natural lighting in a lot of close-up shooting situations. I personally am more of a natural lighting geek and often only use reflectors and light shades to modify my macro lighting.
This type of powerful and close-up lighting gives you the ability to stop down your lens and achieve a deep depth of field as much as possible. Don't let my personal bias get in the way of you using these popular dual lighting systems.
The biggest challenge with taking close-up pictures is with sharpness. Blurry photos can be caused by subject or camera movement as well as by lens focus issues. Electronic flash provides an extremely short duration for exposure and will "freeze" your subject and eliminate blur from camera movement at the same time.
Having the flash so very close to your subject takes full advantage of the flashes brightness output and gives you a larger range of things in focus.
3. light modifiers for macro photography
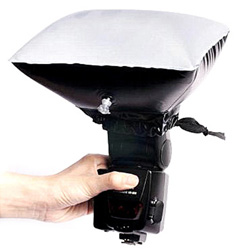
These are my favorite tools to use for macro photography. I'm a self-admitted lighting geek and photography is all about lighting.
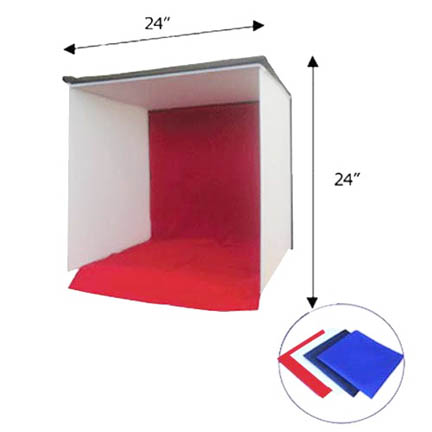
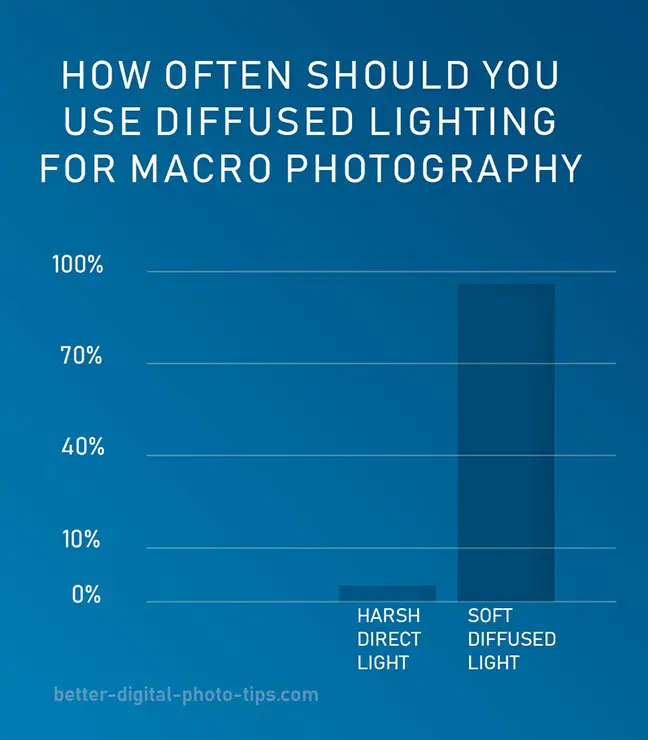
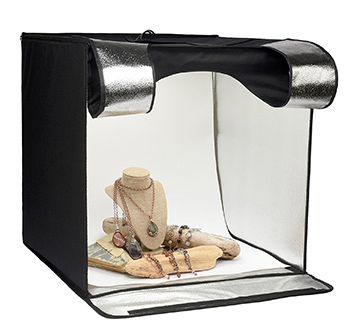
You can control your lighting by using diffusion, bounce lighting and light blocking. These are all techniques of modifying the lighting that want to be equipped to handle. You can achieve all three of these lighting techniques with the use of light boxes, designed specifically for shooting inside close-ups.
Here are some reviews and opinions of customers who bought macro photography light boxes on Amazon.
4. macro photography support
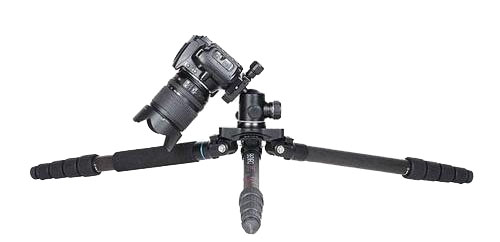
You need a tripod to support your camera, but sometimes the lights and even the subject need to be supported or held in place too. Usually in the case of the subject that support is provided by the ground, a table or other stationary object, but it's great to have the ability to hold your subject is a very specific postion.
Limostudio, Fotodiox, and Alzo sell table and light kits that are well-suited for indoor studio type of macro photos shoots. Of course the more common support is provided for the camera in the form of a good macro tripod. More on types of tripods.
5. macro photography background
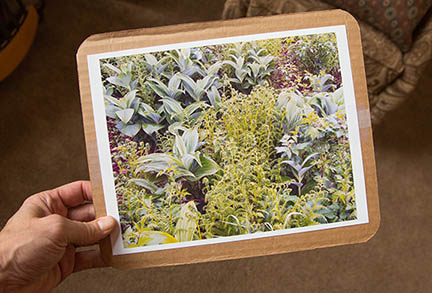 Print Your Own Macro Background
I learned a little trick from Macro Master Mike Moats from Michigan. It's easy to carry a small object to place behind your subject to improve the background. This could be something as simple as a piece of colored cloth used to block out a distracting background.
Here'a photo of a more natural looking background, taped to a piece of cardboard that you can hold behind your subject. I'll do this out in the field only when necessary with my nature macro photography, but pretty much always use a background when shooting inside macro photographs.
Because depth of field is so limited, the background you choose won't be in sharp focus. Color choice and brightness is very important. Texture of your background is likely not going to be a big factor in the final resulting macro photo.
other macro photography accessories
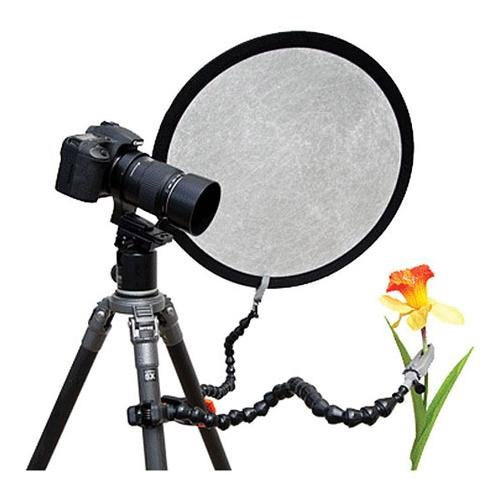
My own favorite macro accessory may surprise you. It's the Wimberley Plamp. You probably think that's an odd name for an accessory, but "Plamp" comes from combining the words Photography and Clamp.
It's remarkably handy. You can use it to It hold the subject, reflect light onto your subject, blocks light from your subject, or holds a background in place! The arms are designed to bend in any direction you want and has clamps on both ends of the arms. It's actually rigid enough to hold a small flash unit if you wanted to use it that way.
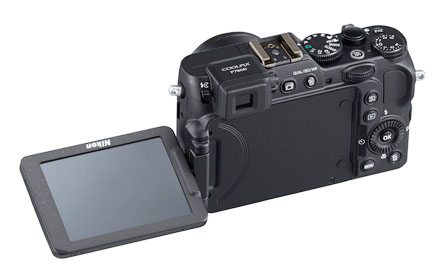
The best camera for macro photography should have the ability to use a few good accessories. Some of the digital point and shoot cameras are very limited on what accessories you can use.
It is very helpful to examine your images for sharpness under magnification on your camera's LCD screen during a shoot. Many modern digital cameras have a feature that lets you magnify an area of your LCD screen to check your focus.
I bought a handheld magnifier that I use quite a bit when I am shooting outside and the LCD screen is difficult to see in the bright light. I have a Hoodman Loupe.
Shutter Cords. One of the biggest mistakes in shooting macro photos when using a tripod is pushing the shutter button with your finger. That causes at least some camera movement and your image quality suffers. Either use the self-timer feature on your camera or get yourself a shutter cord or a wireless remote to trigger the shutter.
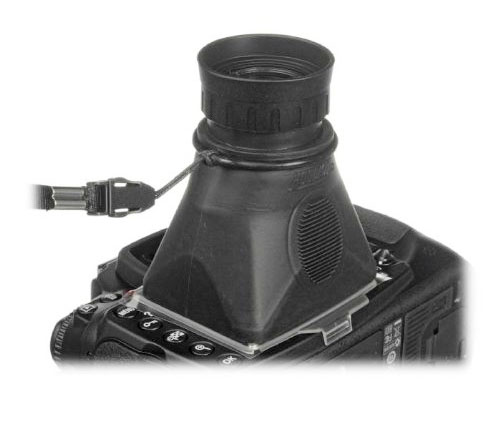
I also find the Hoodman Right-angle Viewer quite handy for precise focusing. It has a diopter for adjusting to your specific eyesight and a 2.5x magnifier to help you check and adjust the focus in the central part of your composition.
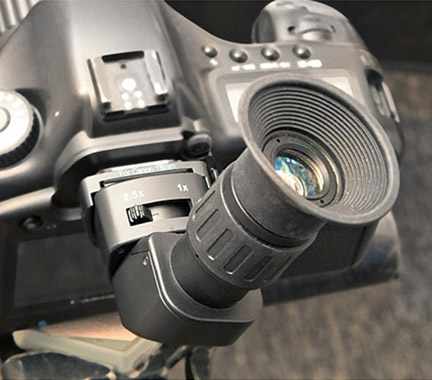 Hoodman Right-Angle Viewer
This macro photography accessory comes with different size adapters to fit the different sizes of optical viewfinders on the back of DSLR cameras. Have a blast! Shoot more photos. Watch less TV.


ABOUT BRUCE LOVELACE
Bruce is the publisher of this website. He is the author of the book "Improve Your Photography Instantly." Read more on Bruce on his Bio Page. He's been known as The Traveling Photographer ever since 1994. Read more about this website.
View some of Bruce's photos on Instagram. Visit the Facebook Page. Watch him on YouTube. Bruce runs photo workshops for kids and adults, and provides one-on-one photography coaching.
Digital Photography Education Location on Google My Business
As an Amazon affiliate I may receive a small commission from qualifying purchases, at NO added cost to you.
