HOW TO POSTS: LIGHTING AND COMPOSITION
creative photography techniques with your camera
WRITTEN AND PHOTOGRAPHED BY: BRUCE LOVELACE
UPDATED: March 22, 2025
What are a few simple creative photography techniques you can try with your camera and come away with some astonishingly interesting photos?
This list of 10 techniques to try with your camera will spark your creativity, explode your fun. I had a lot of fun with each one of these photo projects. Your camera handles exposure and focus so well, it's time to take more than your ordinary snapshots.
Whether you're a beginner or a serious photo enthusiast, your camera is just waiting for you to use it with more creativity
You can go beyond the basics of understanding of lighting, composition and exposure, you can expand your creativity with photography both in your camera and on your computer.
This post will be a great introduction to ideas on how to be creative with your camera. It covers long exposures, zooming while exposing, going abstract, moving your camera, free-lensing, multiple exposures, high speed photos, macro, shadow photography, and painting with light.
1. Multiple exposure
One of the first creative photography techniques I had a lot of fun with when I was just beginning to experiment with photography. I was in high school and got ideas for creativity from Popular Photography magazine. You can try multi-exposure photos either in your camera's menu or you can do it afterwards with software. Of course, it was more challenging back then because it involved film and darkroom techniques.
Fortunately, you can easily do multiple exposures in the camera without any need for learning software. Just consult your camera manual for how. You also have the option to take separate photos and combine the images later with software.
This triple exposure photo of the 3 dogs was just my one dog photographed 3 times. It was easy to create it, once I learned the software. The composite photograph was created from the three separate photos of the same dog shown below.
 3 separate photos were combined.
To accomplish the effect above, you must use a stable tripod to hold the camera in the exact same spot for every exposure. This will insure that the background area of the combined photos will be sharp. I also needed a couple of dog biscuits to bribe my dog to stay in each of the 3 locations.
A shutter release or the camera's self-timer is also a great idea to make sure your camera doesn't move at all during the exposures.
2. long exposure photography
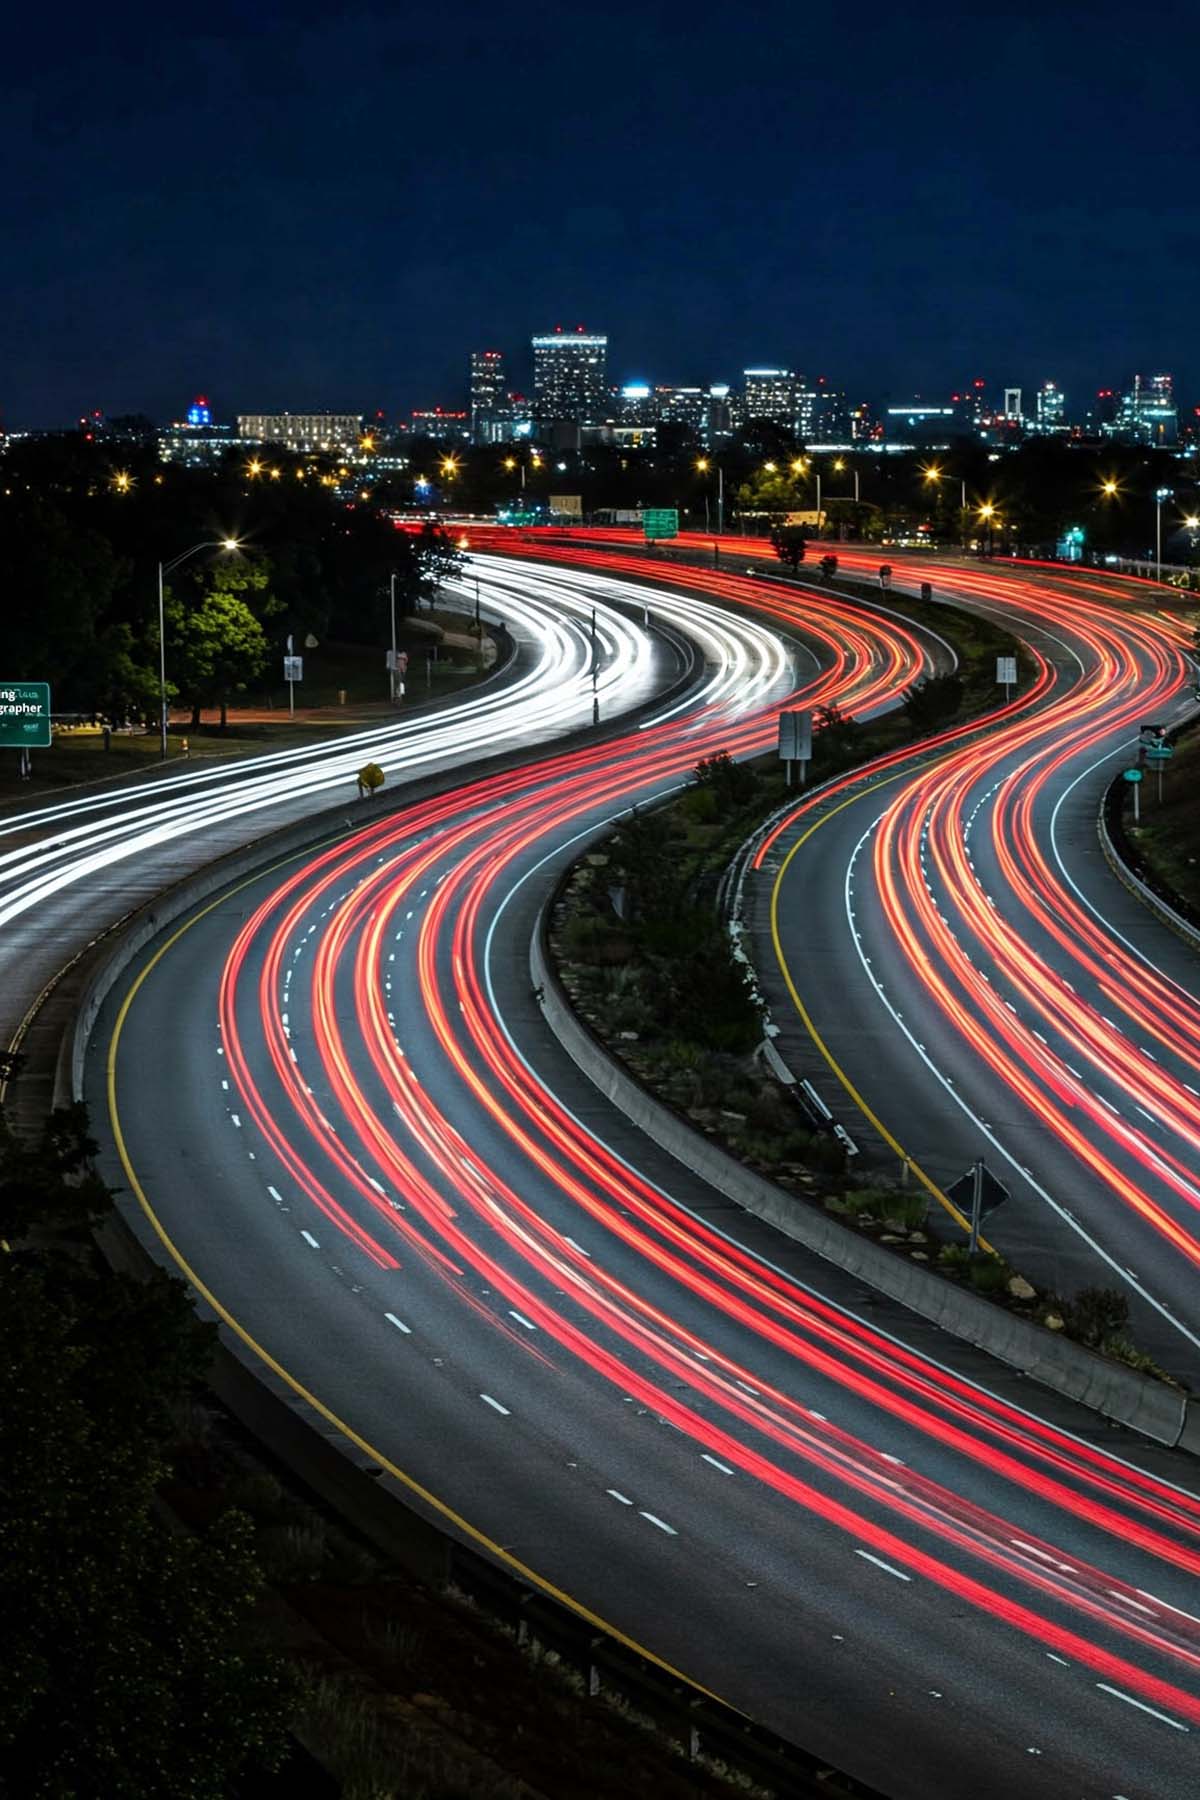
One of the creative photography techniques that I've been having a lot of fun with lately is with long exposures. No, not just the 1 or 2 second exposures you use to get that creamy looking water when shooting waterfalls. We're talking about 30 seconds or more for an exposure time.
I love the look of the dreamlike effect of the waves meeting the beach when this unusual technique is used.
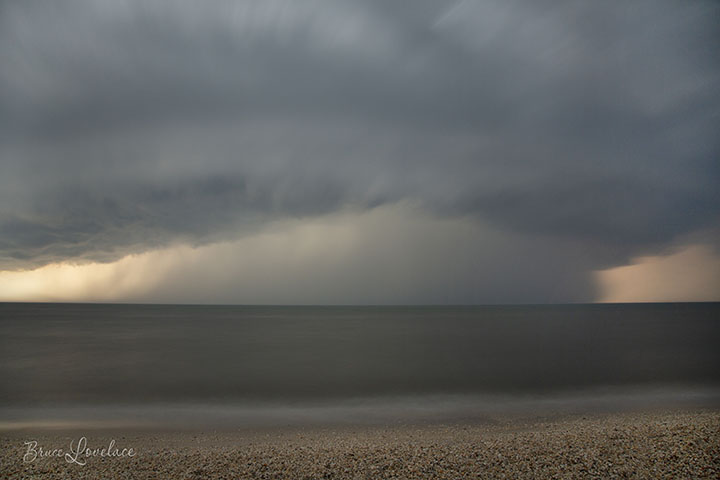 Exposure of huge incoming storm was 30 seconds long.
The ocean waves photographed like a smooth lake.
WHAT YOU NEED: A sturdy tripod is necessary and you'll often need a neutral density filter to accomplish such a long exposure if you use this type of technique when you're shooting during daylight hours. Most cameras can be set up to a 30 second exposure manually. If you need to go longer than 30 seconds you'll have to use bulb exposure mode.
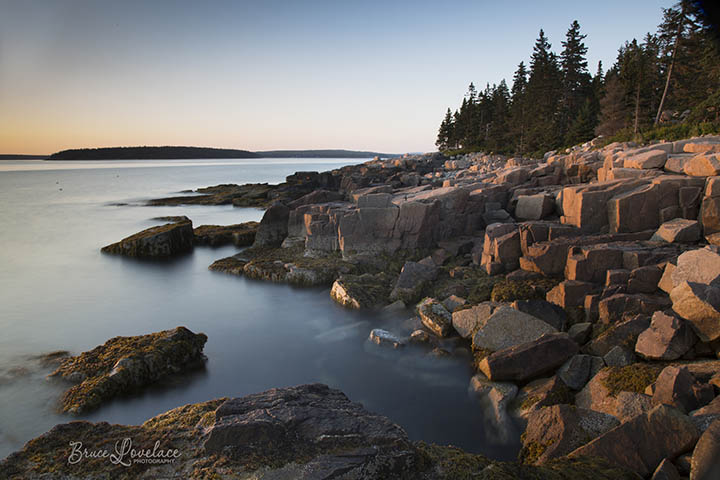
The photo below was created using a 20 second exposure. The long exposure made the image of the ocean waves look like a photo of a lake with a smooth surface.
I've traveled to Acadia National Park in Maine several times to shoot seascapes, but this was the first time I used the long exposure method with a seascape to create a different look.
3. move your camera during exposure
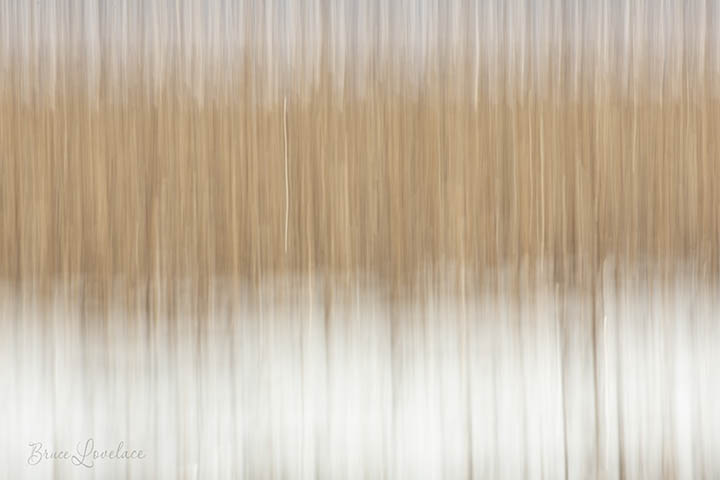
You can get less abstract results than the photo below when intentionally moving your camera during exposure. Two of us were shooting a huge flock of snow geese. For most of us, this technique has a lot of trial and error built-in and you can get lots of "misses" when you first try it.
You've heard it before, the more you try out a new innovative technique, the better your results will be. The moving-camera photo above was actually an accidental exposure. I was slowing the shutter down on purpose but incidentally hit the shutter release button on this one as I was lowering the camera.
4. zoom camera lens during exposure
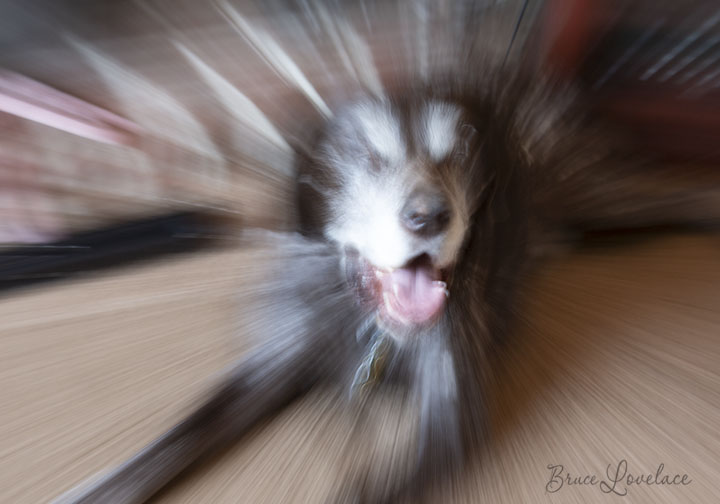
You can play with another fun photo technique with intentional blur by zooming your camera lens during a somewhat slow shutter speed photo. I tried this approach for the first time with my camera and got the effect I was looking for on only the 2nd try.
Initially I used an exposure of 1.3 seconds and the image was too blurry for my liking. In the zoom blur photo above I used a 0.6 second exposure. You'll get the best results by using a tripod to hold your camera steady while you zoom. Also, it's usually best to center the part of your subject that you want to have the least amount of blur.
I photographed my beloved dog for this example, but flowers make a great subject for this creative photography technique.
5. Use Freelensing To Create Tilt-Shift Effect
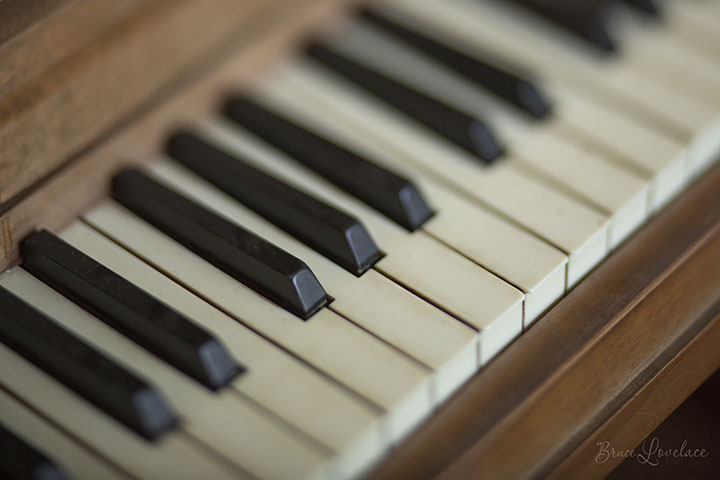
Rather than use an expensive tilt-shift lens, you can achieve the same creative effect by using a technique that is called freelensing. It's just what it sounds-you're freeing the lens from its mount to your camera. I got the best results using the technique shown below, keeping the top of the lens in contact with the camera.
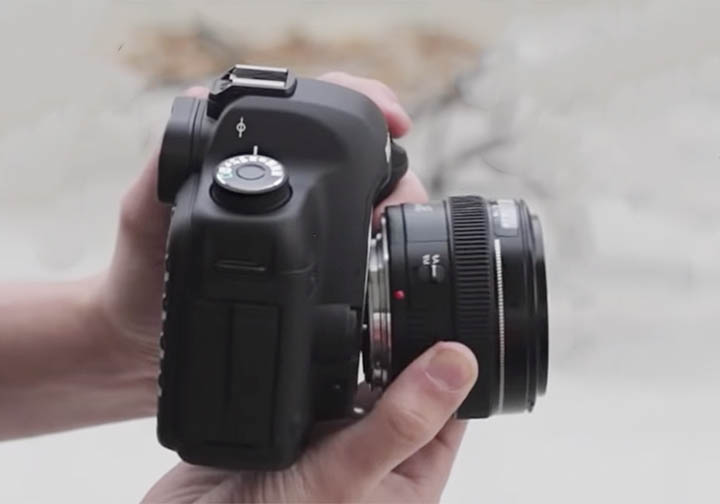 Free the lens from the camera mount.
You'll lose autofocus and your lens will be at its widest aperture. Set your camera on aperture priority mode, estimate the correct exposure and adjust your shutter speed until you get what looks right to you.
I tried this approach with 3 different subjects and 2 different lenses. The image of the piano keys was the one I liked best. I shot the photo of the piano keys with an 85mm f/1.8 lens freed from my DSLR, positioned like the photo shows above.
This creative procedure starts as pure trial and error, but I found out quickly how to vary the results by holding the lens to the camera at slightly different distances and angles.
6. high speed photography
There are 2 ways to freeze the motion of your subject. You can either use a high shutter speed or you can use the brevity of your flash to get super quick exposure times that can stop many fast moving subjects.
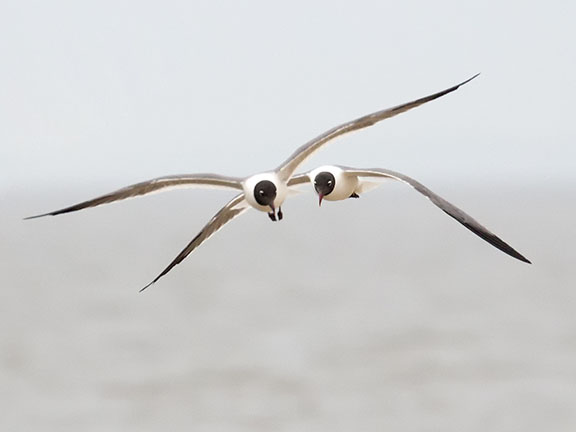 Photo by Bruce Lovelace
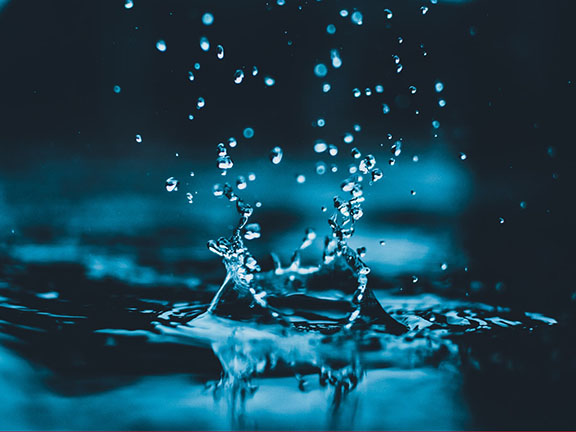 Photo by Sourav Mishra from Pexels
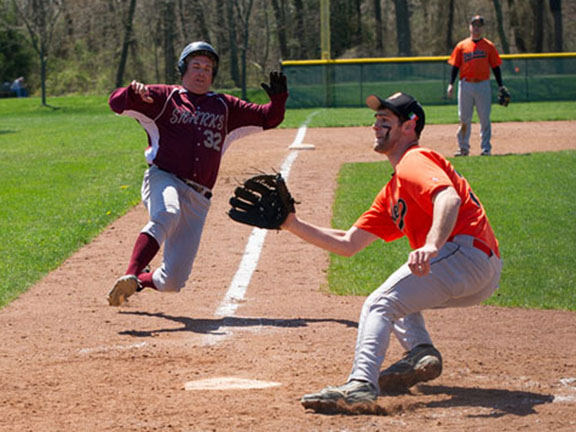 Photo by Jeff Mazzola Photography
Fast shutter speeds are easiest to achieve in bright situations where there is plenty of light to get a good exposure.
WHAT YOU NEED: For this type of creative photography you need a basic understanding of camera settings and the right fast-moving subject to photograph. Stopping motion with flash is often best achieved with an external flash (not the pop-up flash in your camera) set at low power in darker situations, so that you can visually separate the main subject from the background.
7. macro photography
There are over 30 articles on this web site about macro photography as a technique. There is no limit to the creativity you can come up with because of the infinite number of subjects that you can photograph up close.
Try some innovative lighting techniques and practice your compositions to create images that are visually interesting, perhaps even abstract. This can have a carry over effect to the other types of photographic projects you experiment with.
You don't have to use an expensive macro lens to get creative with close ups. I didn't even use a macro lens in any of the photos below. I used extension tubes.
 Kitchen Subjects
 Bathroom Subjects
Flowers and insects are the two most common subjects for using your close-up technique, but you can find other interesting subjects everywhere. Can you identify all 6 macro subjects above? If you want to explore this creative technique in depth you will find a list of all the posts on macro photography here.
8. Shoot some creative shadow photos
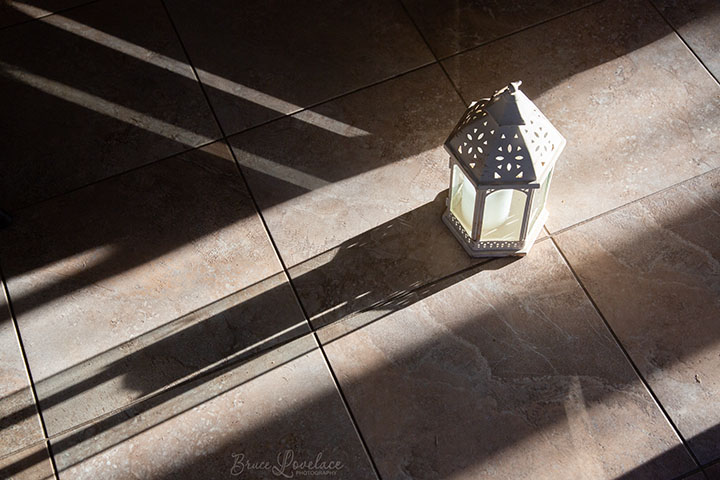
This is one of my favorites because of my fascination with light. It's one of the easiest ways to do creative photography. Look for interesting shadows and compose your photograph to emphasize the shadow as the main subject.
HOW. Shadows from the sun are longer early in the day and late before sunset and are usually more interesting than mid-day shadows. You can also shoot at night on a tripod and create your own shadows with a flashlight or an off-the-camera flash.
I used the early morning natural light that was streaming in from the front door in the photo above. I selected an angle that would give me strong diagonals in the composition and I placed the candle lantern on the floor to create a center of interest. You can explore this technique more by reading the post on shadow photography.
9. painting with light
Photography is sometimes been described as painting with light, but this creative photographic technique gives you even more control of how you want your subject to be portrayed. You can create some wow photos.
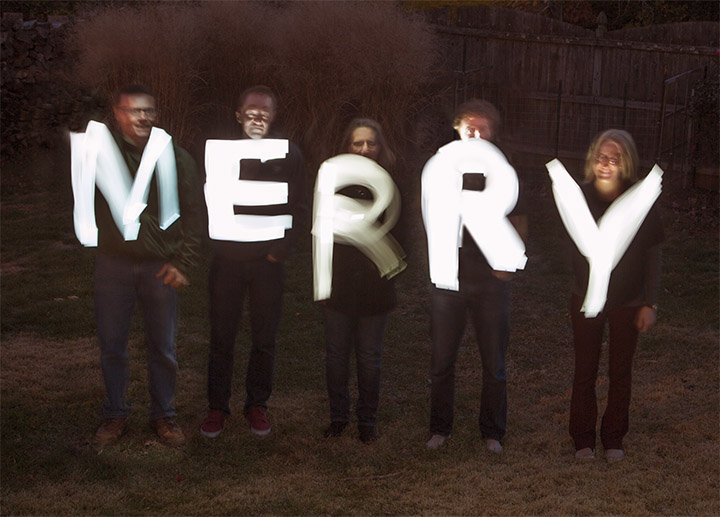 Simplest form of painting with light. We used our cell phones after dark.
Camera was set on a tripod and exposure was 15 seconds long.
This involves you to use a light source in a dark place, and literally using the light source to paint light trails or illuminate a subject just as an artist would create an oil painting on a canvas.
WHAT YOU NEED: a tripod, a dark location, and a light source like a flashlight, a laser light, or your cell phone and a manual camera setting that keeps your shutter open while you paint. You can get some more ideas on this creative technique in this post: photography projects for children.
10. get creative with abstracts
Another way to hone your lighting and composition skills is to shoot some abstract photos. It's great practice and a lot of fun to play around with looking for opportunities to create images that bring out a certain characteristic, detail, texture, color or some other element as the main subject, rather than the subject itself.
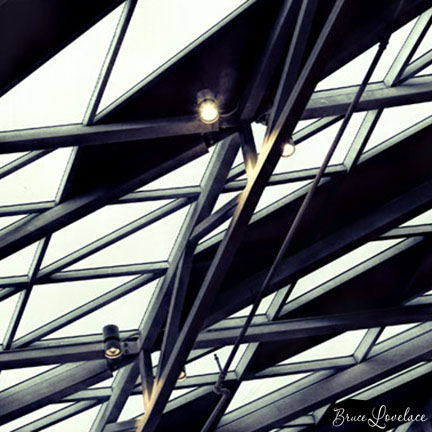 Ceiling Abstract
 Bike Rack Abstract
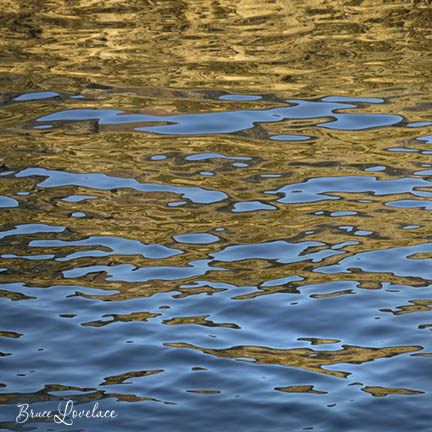 Water Reflection Abstract
When your thought process focuses on going subtract, you naturally enter a creative state of mind, where you concentrate on a visual search for interesting characteristics to capture with your camera.
examples of creative photography techniques with software
This post is primarily about creative techniques with the camera, but combined with getting creative with software, the possibilities are endless and are only limited by your imagination. Here are two example of creative photography with using specialized software post-capture.
This first example of the creativity you can explore was done with an action called "NESTED" in photoshop. It was developed by a company called Panos. I'm not sure that it will have any commercial applications for me, but it's sure fun to play around with.
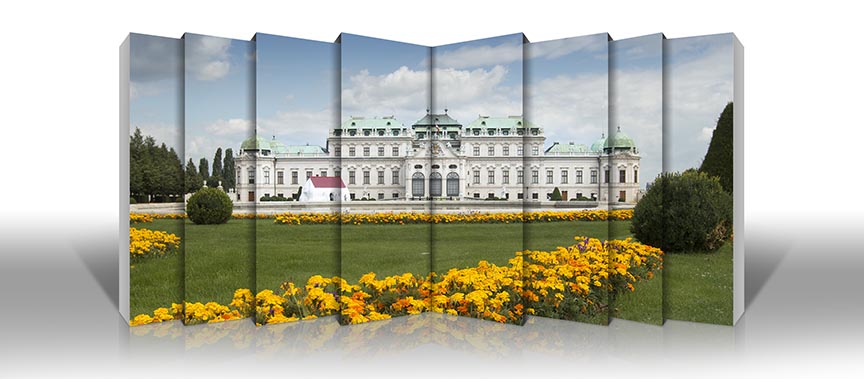 Austrian Gardens edited in Photoshop to be nested in sections.
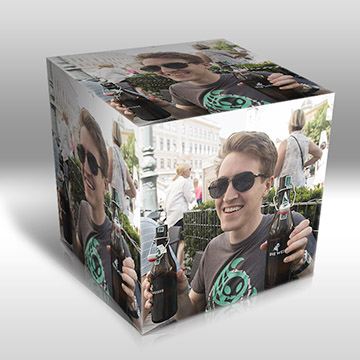
Here's another example of a creative use of your photo. The Panos software also has an action for Photoshop called Cube Effect. The cube on the right is the result of using this technique on a photo of my son. The video shows you how it works in Photoshop.
I hope you found this article helpful. If you need some inspiration on how to boost your mental creativity with taking photos, here's an article on how to get yourself into a creative zone emotionally. For related articles see the links below my signature.
I tried these ingenious techniques. Now it's your turn. Have fun!


ABOUT BRUCE LOVELACE
Bruce is the publisher of this website. He is the author of the book "Improve Your Photography Instantly." Read more on Bruce on his Bio Page. He's been known as The Traveling Photographer ever since 1994. Read more about this website.
View some of Bruce's photos on Instagram. Visit the Facebook Page. Watch him on YouTube. Bruce runs photo workshops for kids and adults, and provides one-on-one photography coaching.
Digital Photography Education Location on Google My Business
Back from Creative Techniques to Digital Photo Editing
How About Taking Some Creative Selfie Photos
Go to Advanced Tips in Photography
More Creative Photo Technique ideas

