HOW TO POSTS: LIGHTING AND COMPOSITION
what is macro water drop photography
WRITTEN BY: BRUCE LOVELACE
UPDATED: JANUARY 5, 2024
There are two kinds of macro water drop photography. In this post you'll find out what water drop photography is all about and how to take good water drop macro photos. Both types of close-ups have different challenges, and you'll have a lot of fun doing either one.
The best part is that you can photograph a water drop any time of year because you're shooting inside with lighting that you control. Alright lets dive right in.
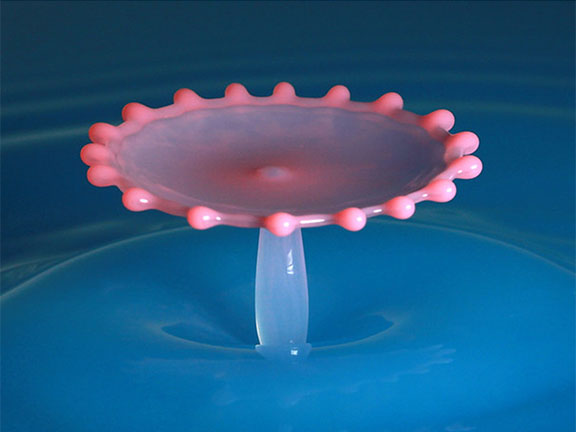
water Drop splash photography
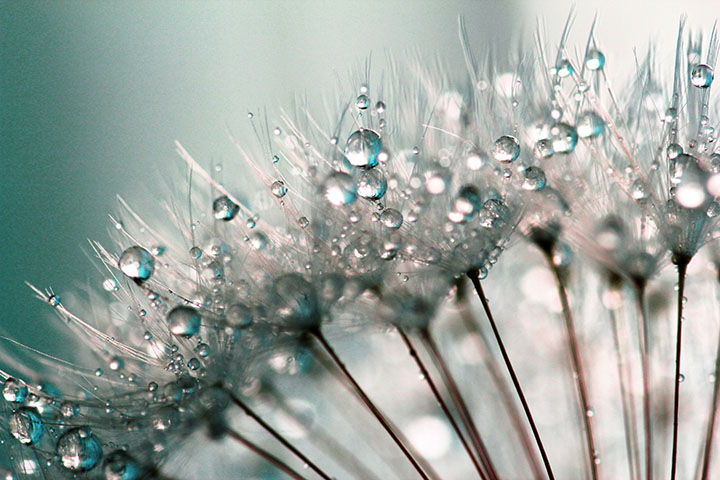
PHOTOGRAPHY of static water drops
how to photograph water drop splashes
- Use a 100mm macro lens or longer.
- Light with a flash to freeze the motion and a reflector or a second flash.
- Get a a flow regulator from an aquarium supply store to help with the right timing.
- Prepare to use patience and persistence as the exact timing for the perfect moment is challenging.
how to take water drop photos
- Find a colorful subject for the background and aim your light at it, not the water drop.
- Use glycerin and water mix to form rounder water droplets.
- Get real close with a macro lens, extension tubes, or screw-on filter.
- Use the correct height for your tripod.
I made my own first attempt to do some macro water drop photography and here is what I found out. Although I've played around with close-up photography since I was young boy, you can definitely label me as a water drop photography beginner.
My self-given photography project was designed to capture macro photos of still water drops, not the freeze motion kind that have gotten so much attention in the world of macro photography lately.
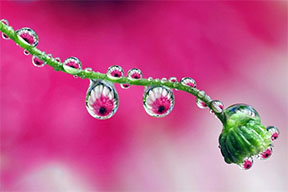 Macro Water Drop
Photography by Steve Wahl
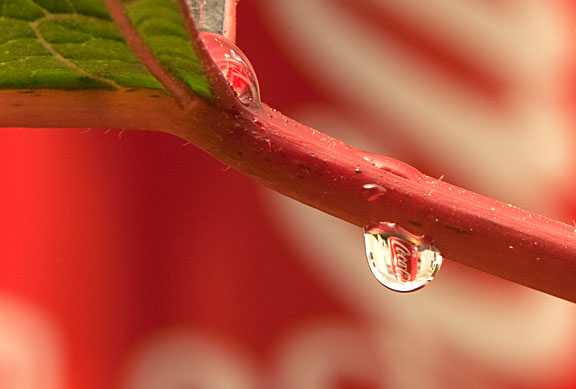
These photos were done as still life photos with the idea of learning a bit more about creating and lighting the water drops and their backgrounds.
Controlling the background plays a big part in the amount of success you have with macro photography. It's easy to focus on your subject only and neglect to watch the background. You can move your shooting angle the smallest amount and significantly change the background and get a completely different image.
basic equipment set-up for macro photos of water drops
Close-up photography is a specialty and some specific gear is needed, but just about any camera with a quick shutter will work. Although you can simply crop tighter in to your subject with software, image quality is the best when you are able to fill your frame with your subject. That requires special optics of some kind.
1. LIGHTING. Whenever you're shooting water droplets indoors you'll need additional lighting or light modifiers of some kind to get your subject and background properly illuminated and eliminate any blur from motion.
2. TRIPOD. The focusing and sharpness challenges that come along with shooting water drops up close make the use of a tripod a must have.
3. LENS. You need either a good medium telephoto macro lens or a set of extension tubes to use with one of your existing lenses of 50mm or more.
1. lighting for macro water drop photography
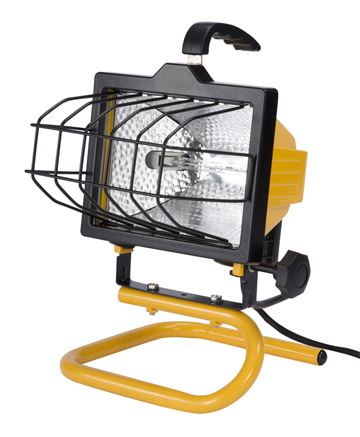 Flash alternative, bright
enough for fast shutter speeds
There are 2 ways you can light your macro photos indoors.
A. FLASH LIGHTING. The brief, but very bright light of using a Speedlight or flashgun will freeze any motion from blur AND give you maximum brightness for using a small lens aperture for good depth of field.
B. CONTINUOUS LIGHTING. Use a utility light or flood light at a close distance. You can also use a LED light panel and a high ISO setting on your camera, but the light will have to be very bright.
I am a lighting geek when it comes to portraits and outdoor macro shots and just about always use soft diffused light for my macro images of nature.
The photos in this article were shot inside in the basement were no natural lighting exists.
When I am shooting still life and indoor macro photos I often use utility lights and bounce them off of the ceiling, a wall, or white foam core. They come as free-standing like this one pictured and also on secure light stands.
Warning: Some utility lamps use 250 and 500-watt bulbs and get extremely hot. I like them because they are so bright and give me lots of lighting for higher apertures and good shutter speeds.
2. TRIPOD
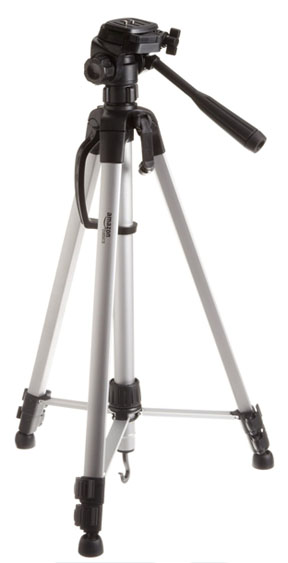
A basic tripod is all that you need if you're photographing the water drops on a table as recommended. The precise focusing you need to use requires a tripod to position your camera and lens in a stationary position.
Water drop splash photography needs a consistent placement of your camera to experiment with timing of your exposure.
Photography of stationary water droplets needs a super close composition and accurate focusing to get a sharp result.
3. macro lens for water drops
You need to use a decent macro lens for your water drop photography. Even the biggest water drops are quite small and you'll need to get in real close with a macro lens. Or use extension tubes like I do.
If you're shooting liquid water drop splashes you'll want to use a 100mm macro lens or longer to keep your lens at a good distance to protect your lens from the splashing liquids.
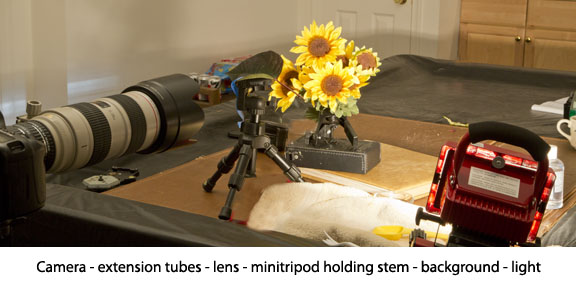
I used a Canon DSLR and a set of 3 macro extension tubes and experimented with several of my lenses to see which one would give me the best results. I set up on a billiards table which has lots of room on it and around it for props, lights, reflectors, and any other accessories I want to have handy.
This macro water drop photography was accomplished with 3 macro extension tubes and a couple of regular non-macro lenses. These macro photos of water drops are not true macro by definition because they don't have a 1:1 magnification factor, but they are still close-ups.
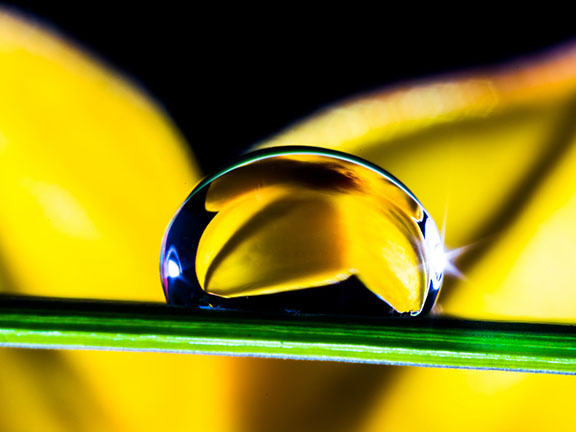
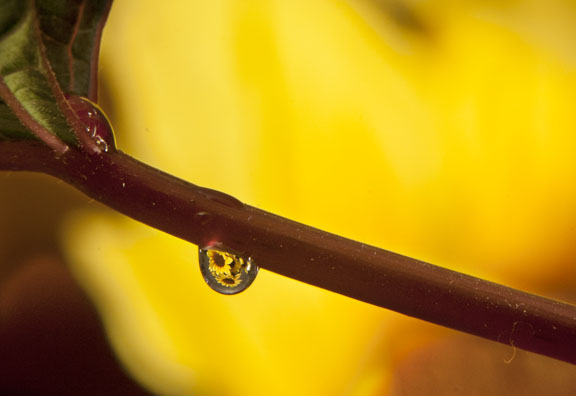 Macro Sunflower Water Drop
The bunch of sunflowers were placed just a few inches behind this very small drop of glycerin and water. Water drops are just like glass when it comes to lighting and they act like little focusing lenses for the background.
I've obtained a syringe as another accessory to use and am returning to the basement to play around some more. Be back soon.....
specialized water drop photography equipment
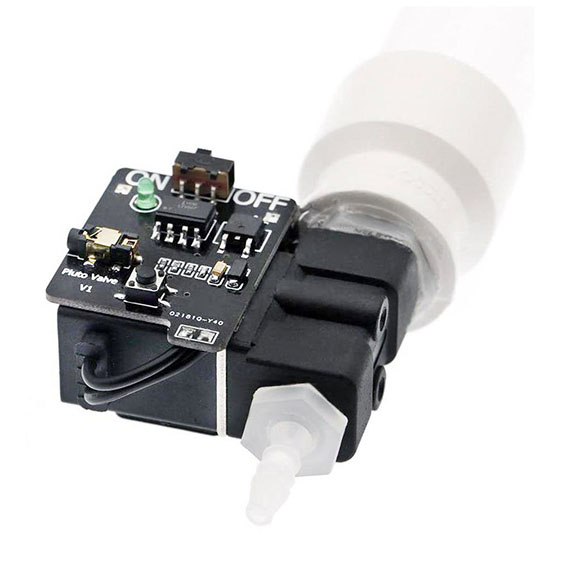
You can use an electronic timing machine to help you with the precise timing of photographing splashes or you can use a Pluto Trigger/valve for precision droplets.
 For Precise Syncing
You can read a full post on all the potential gear you need for macro photography here.
I hope this post was somewhat helpful. Use the search box below to explore any specific topic on this website or pursue the related posts listed below my signature.
Search for a new topic on this site:


ABOUT BRUCE LOVELACE
Bruce is the publisher of this website. He is the author of the book "Improve Your Photography Instantly." Read more on Bruce on his Bio Page. He's been known as The Traveling Photographer ever since 1994. Read more about this website.
View some of Bruce's photos on Instagram. Visit the Facebook Page. Watch him on YouTube. Bruce runs photo workshops for kids and adults, and provides one-on-one photography coaching.
Digital Photography Education Location on Google My Business
