HOW TO POSTS: LIGHTING AND COMPOSITION
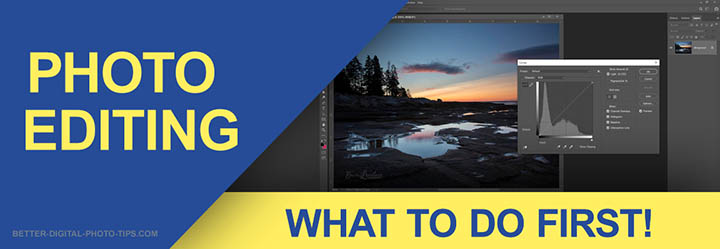
3 digital photo editing tips To Know Before You Edit YOur photos
You can use these 3 digital photo editing tips, no matter what editing software you use. This will show you what to do before you get lost with complicated picture editing software.
In my early years as a photographer, just like everybody else, I was guilty of one of the most common photo mistakes people make when it come to editing their photos.
Like many others, I would shoot 10 or 20 photos that were almost exactly the same and keep them all. Worse yet, my wife or I would put all of them in the photo album. Too much duplication!
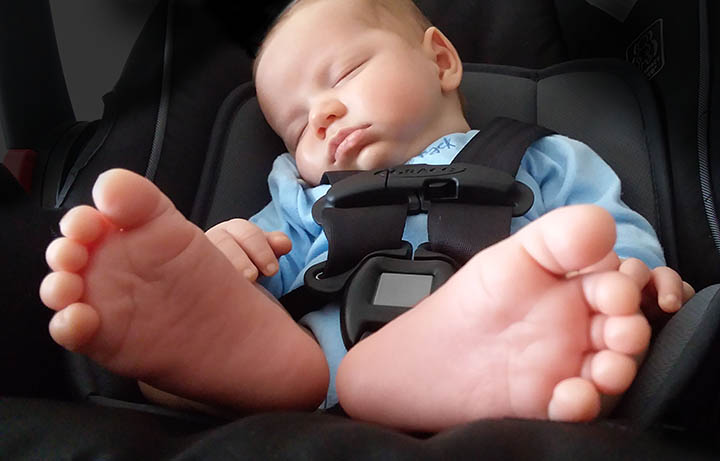
That's like watching a 2 hour video of your 1 year old nephew taking a nap. That's BORING and a waste of space. Let's get right to it. Here are the 3 photo editing tips you should do with your digital photographs.
1. don't waste your time with bad photos
Use only the best photos you've taken. Don't waste your time trying to fix awful compositions, crappy lighting, poor expressions, or badly timed photos. Chose the best photos and discard the rest. This is the first editing step that professional photographers do as well.
Eliminate the bad pictures. This kind of digital photo editing is eliminating the bad photos and the repetitive photos from your final collection of useable photos. Just as a musician does in a recording studio, it's common practice for them to record many audio takes and select just the best for compiling into an album.
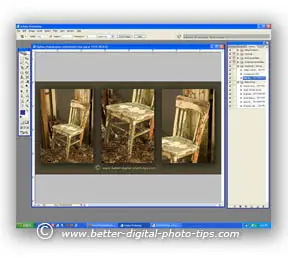
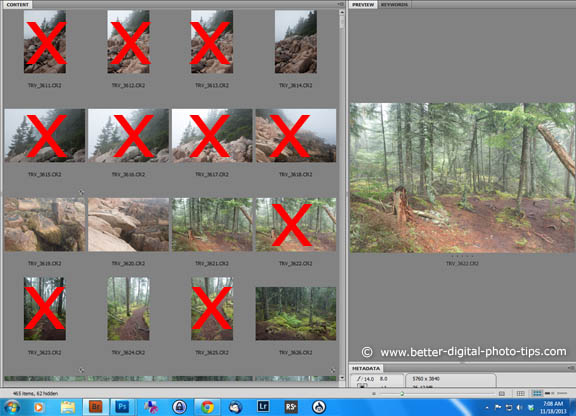 Screen shot of Adobe Bridge software
I use Adobe Lightroom and Photoshop Bridge to edit out the bad photos. They were designed for pro photographers to help them weed out the bad photos and to get to the best images fast. Pro photographers shoot a ton of photos. Fortunately, you can narrow down to the few best photos on your computer without expensive software. Whatever you use, it's important to narrow down to the best photos as step #1.
You don't have to delete the bad ones is you think you might use them later on. You can leave them in an original folder. Either tag the ones you're going to work with as favorites within your software or just copy the better ones into a new folder on your computer.
use the 2nd definition of digital photo editing
There are two definitions of editing.
1. To modify or adapt so as to make suitable or acceptable.
2. To eliminate or delete
Start with #2. Eliminate or edit out the extras.
Think of the motion picture industry. Hundreds of hours of video are shot and the final movie may last only an hour or two. So it should be the same with your digital photo editing as well.
I agree it may be difficult to exclude photos of something you have an emotional tie to. Back your photos all up onto your computer, burn a back-up DVD or upload to a photo hosting website, or use "the cloud". Then select just your favorites, for now to edit, share and print.
2. keep the originals un-changed
You should never overwrite the originals. When you get to doing the actual adjustments to the photo itself, use the "save as" option with a different name for the photo, rather than just "save". That gives you the option of editing the original, unedited photo in a completely different manner.
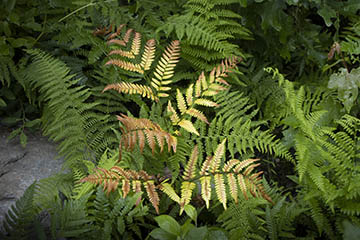 Unedited Original
(Fern-unedited-original.jpg)
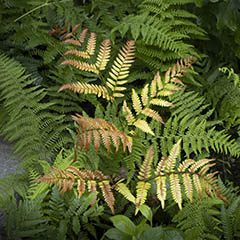 First Edit of Original
(Fern-first-edit.jpg)
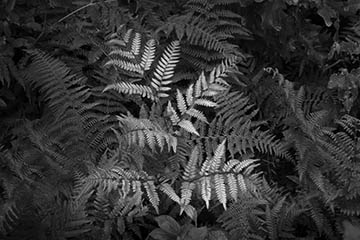 Second Edit of Original
(Fern-second-edit.jpg)
You can also copy all of the original photos into a new folder with a new name like "Birthday Party Favorites", then delete the undesirables that are within that new folder. Then you can proceed to do your photo editing, cropping, enhancements to the favorite photos only.
You will always still have the originals, just in case you want to go back and look at them or edit them. So, yes you read that right......

Deleting is like suicide. Sorry to be so blunt, but it's permanent. You can't go backwards in time. Perhaps this is the most important of the digital photo editing tips.
3. save at highest quality setting
Always work with your full resolution, highest quality images when doing your original photo editing. Save them at highest quality setting as well. Limited computer memory is no longer an issue like it was in the early days of photography.
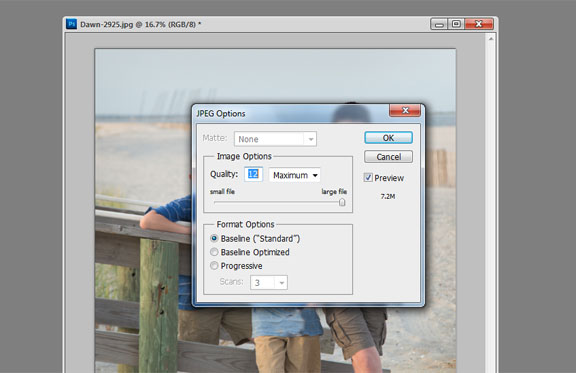 Keep quality at the highest setting when you're saving your photo.
Then if you want to reduce them to email or post them on the web, you can save your photo at a smaller size or lower quality setting with a new name, such as: Bills-birthday-cake-reduced.jpg.
With the arrival of digital photography, it's easier than ever to be guilty of shooting many photos of the same subject. In fact, I encourage photographers to shoot many versions of the same subject with changes. Experiment and change your compositions, your angles and even your lighting if it's possible.
I am happy to say I sort of used that first editing tip when shooting video in the late 1980s and early 1990s when my kids were very young. I dedicated just one VHS 2-hour long video to the first five years of each of my children's' lives.
My wife or I would only shoot a minute or two of any given activity our child was doing and make the next recording a few weeks or months later. For each of our children we have a 2 hour video that has captured their newborn to 5 year old progressions.
We did this without using any video editing software. I eliminated the repetition and boredom by only using small clips, spread out over time.
The digital photo editing tips mentioned above are intended to save you time when you are doing your initial editing.
best benefit of using digital photo editing tips
Lower the quantity and raise the quality. This makes the viewing of them more enjoyable for you personally as well as everyone who you share them with. There are many photo editing websites to explore too. Many have tutorials with digital photo editing tips specifically for their editing software.
I hope you found this post useful. For more articles on digital photo editing see the links below my signature or use the search box below.
Search for a new topic on this site:


ABOUT BRUCE LOVELACE
Bruce is the publisher of this website. He is the author of the book "Improve Your Photography Instantly." Read more on Bruce on his Bio Page. He's been known as The Traveling Photographer ever since 1994. Read more about this website.
View some of Bruce's photos on Instagram. Visit the Facebook Page. Watch him on YouTube. Bruce runs photo workshops for kids and adults, and provides one-on-one photography coaching.
Digital Photography Education Location on Google My Business
