HOW TO POSTS: LIGHTING AND COMPOSITION
creative techniques With Photo Editing
WRITTEN BY: BRUCE LOVELACE
UPDATED: October 1, 2024
 Multi-Exposure Edit
Do you want to use a few creative photo techniques to jazz up your photos?
Once you've gotten a basic understanding of the picture-taking process, you can enhance your photos dramatically in three different ways. You can expand your creativity while using your camera, on your computer with software editing, or you can do a combination of both.
This post will be a great introduction to ideas on how to be creative with photo editing software. Begin experimenting with these 5 creative techniques to editing your photos and you'll see a significant improvement in your photos.
Of course, it's important to start with good photos first, so if you need some ideas for taking creative photographs, see my article on Creative Camera Techniques. If you need some inspiration on how to boost the mental aspect of your creativity with taking photos, here's a helpful article titled: Expand Your Creativity.
You have a big advantage. You're starting your photography hobby at a time when the number of artistic tools at your disposal is tremendous. That includes both with digital cameras and with software. You're alive at a great time to be interested in experimenting with photography?
1. Creative Cropping
I've been editing digital photos for over 25 years now and I can say, with a lot of conviction, that cropping is the single most powerful creative editing technique to use to improve your photography. Cameras are remarkably capable of getting exposure and color right in most shooting situations, but they can't compose your photos for you.
Once you've created your well-exposed photo, you've got the ability to change the dimensions of your image through cropping. The beauty of cropping is that there are no limitations to how many different dimensions you can try.
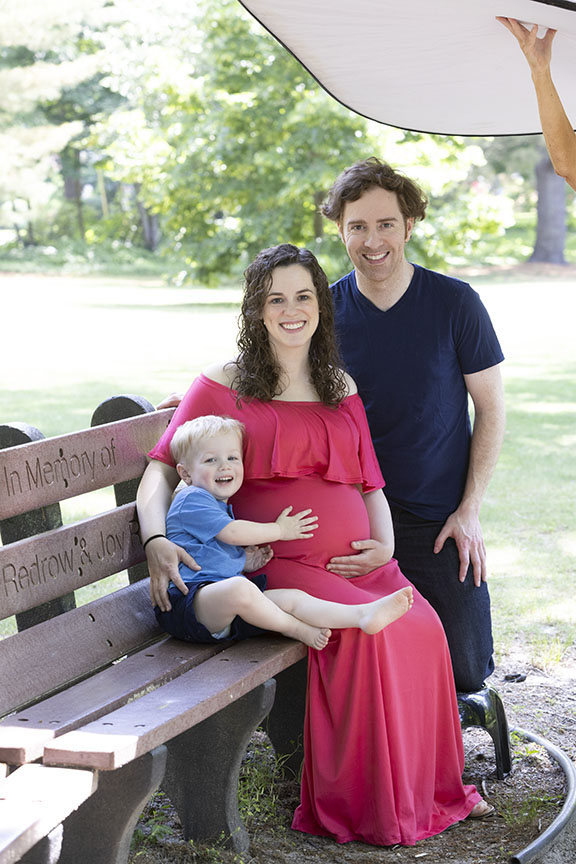 Not Cropped
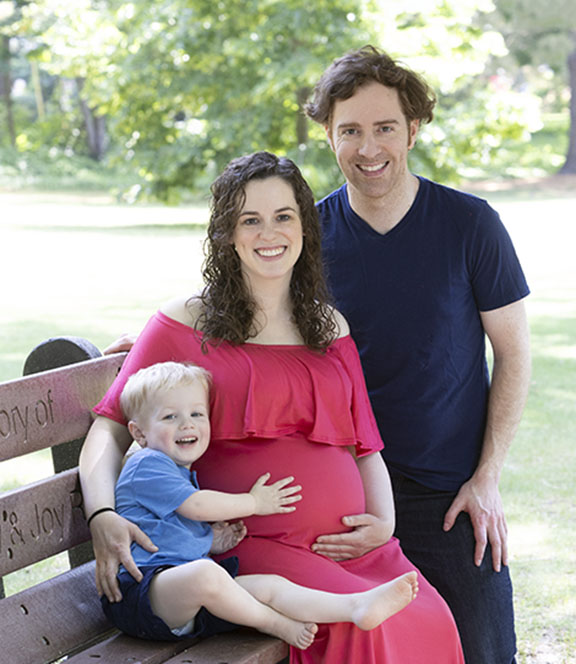 Cropped Photo
Much improved composition with less distractions compared to the original UN-cropped image.
The cropped photo above eliminates parts of the original composition that don't anything to the composition. The simplified version is a much nicer portrait.
2. Multi-exposure
Multi-exposure is one of the first creative photography techniques I had a lot of fun with when I was just beginning to experiment with photography. It takes some practice
Of course, it was more challenging back then because it involved film and darkroom techniques that did not give you a preview like digital photography does. You had to wait until your negatives were developed or your print was printed.
HOW THIS EDITING HACK WAS DONE. The multi-exposure photo of the dog triplets above was easy to create by editing, once I learned the software. This photograph was created from the three separate photos of the same dog shown below.
 3 separate photos were combined.
It is actually often a simple digital photo editing trick than can be done easily once you learn it and have planned ahead.
To accomplish this effect, you must use a tripod to hold the camera in the exact same spot for every exposure. This will insure that you can combine the photos with no loss in quality or sharpness when you do your photo editing.
In the case of the multiple exposure of the German Shorthaired Pointer, I also needed a couple of dog biscuits to bribe her to stay in each of the locations for the three photos.
You need a tripod and a shutter release or the camera's self-timer to keep your images sharp unless you are using a high shutter speed or flash lighting to avoid camera shake.
I use Adobe Photoshop, but you can also use Gimp, which is similar in capabilities and it's free software. There is also a multi-exposure feature within the "Make a Collage" function of Picasa, but you will get the "ghost" effect when you combine the images.
Essentially you combine your different photos into one by stacking them as layers. You can they reveal or hide any part of any of the layers independently by making them into masks. When you are completely satisfied with you editing, you can "flatten" your layers into one single photograph.
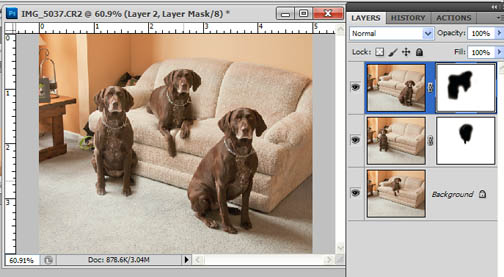
I planned out the 3-dog photography composition ahead of time so that there was plenty of room in between the three spots the dog would occupy in each of the separate photos. That makes it easier to combine them later.
Another one of those creative photo techniques is really just some creative photo editing that I frequently use with nature photography. Again it is done with Adobe Photoshop. Look at the dramatic difference in the two photos below taken in Zion National Park.
3. Adjusting Contrast with software
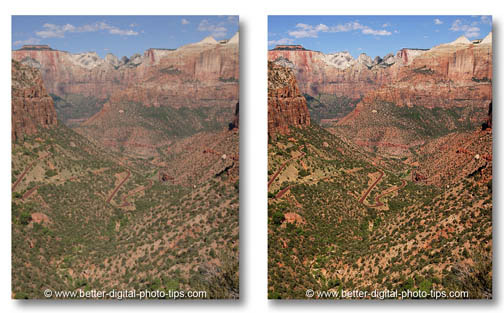
The photo on the right was adjusted using curves in Photoshop. This is an advanced technique used to control contrast. The photo on the right was also sharpened a bit using Unsharp Mask applied to the "lightness" channel only in LAB mode.
It's a unique technique that I use frequently and absolutely love the results I get.
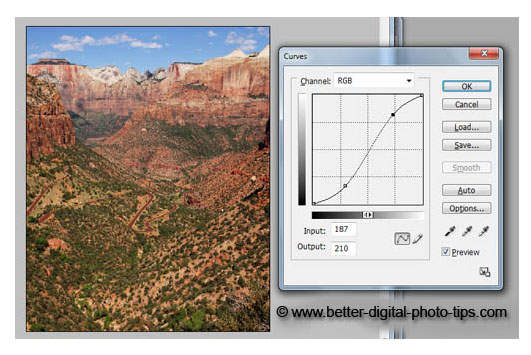
It takes a bit of experimenting to get to your desired result, but adjustments to the curves often resemble a lazy "S" shape. This shape increases contrast in the shadow areas and the highlight areas, but has little effect on the mid-tones.
4. Black And White Conversion
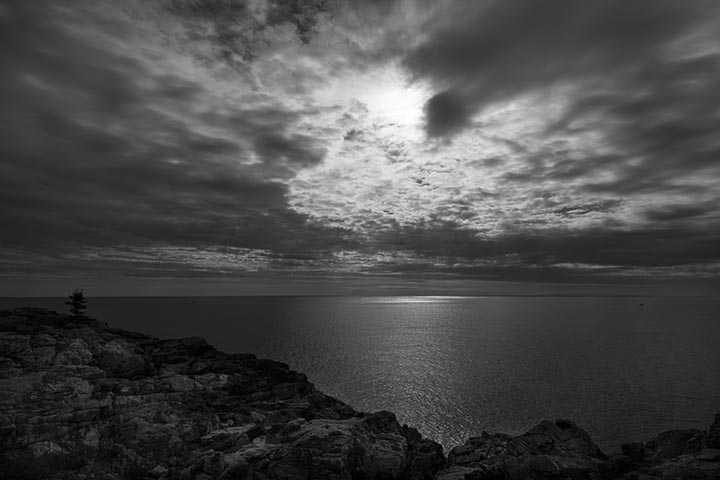
Converting a color photograph to black and white is one of the basic editing functions that editing software almost always can do. The trick is in knowing when converting to black and white makes sense. The best thing to do is to avoid having your camera set to its black and white "monotone" mode.
It's better to shoot in RAW mode or make a copy of the original color image and convert the copy with software on your computer. Then you'll have both a color and a black and white version to choose from.
The beauty of black and white becomes apparent when you adjust contrast for more drama. Converting a color image to black and white often results in creating a mood or emotion that enhances an image. To explore this creative technique in more depth read my post on Emotional black And White Photography.
5. Blur The Background
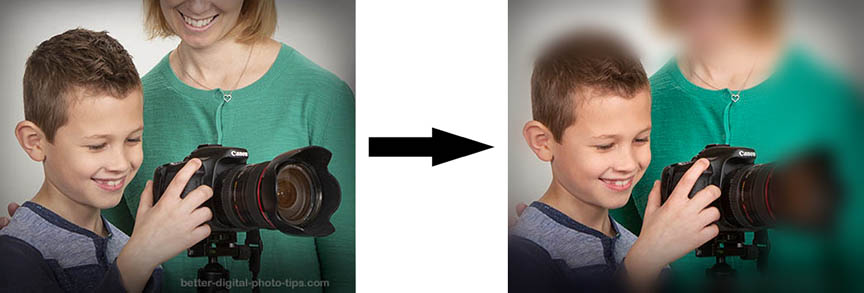
Photos can easily become cluttered with details in the background that distract our eye when we view certain photos. Modern smartphones can sometimes apply blur to the background fairly well, but you have much better control over how much and precisely what you want to render out of focus by editing your image on your computer.
 No Background Blur
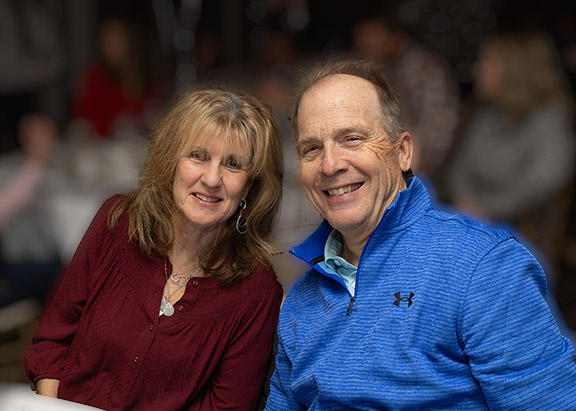 Background Blur Applied
With the background filter being applied to the NON-subject areas of the photograph we have a greatly improved photo.
I hope this article gave you some creative ideas for editing your digital photos. See the related posts below my signature.

ABOUT BRUCE LOVELACE
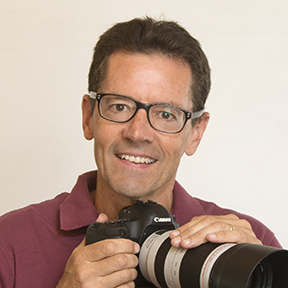
Bruce is the publisher of this website. He is the author of the book "Improve Your Photography Instantly." Read more on Bruce on his Bio Page. He's been known as The Traveling Photographer ever since 1994. Read more about this website.
View some of Bruce's photos on Instagram. Visit the Facebook Page. Watch him on YouTube. Bruce runs photo workshops for kids and adults, and provides one-on-one photography coaching.
Digital Photography Education Location on Google My Business
