HOW TO POSTS: LIGHTING AND COMPOSITION
How to become a concert photographer starting with no experience
I never really thought of photography as a career until later on in life and, as it were, it happened by complete accident. I was asked to tag along to a small gig by a friend and while there I saw this guy racing around the place with a camera that looked just as big as him.
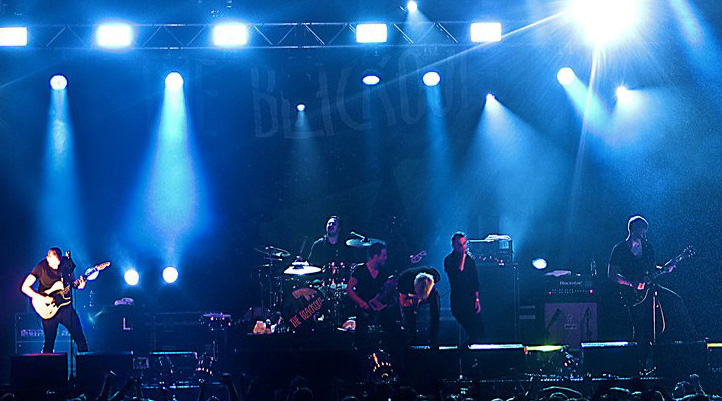 Distant view of rock concert
The guy was covered in sweat, was out of breath, and yet strangely had a smile on his face. You could tell this photographer loved his job. Without thinking too much about it the very next day I went out and purchased my first DSLR that came with a kit lens. At the time I had no experience in photography and didn't have any idea that a kit lens would be terrible in low light situations, but at least I was enthusiastic and ready to learn.
Over the last few years, I've gone from photographing in low lit gigs with unknown artists to photographing some major artists such as One Direction, The Wanted, The Vamps and many more. Here is the information you need so you can start your music photography journey as a beginner concert photographer.
Camera Equipment for beginning concert photography
The first camera that I started with was the Canon 1000D (EOS Rebel XS in the USA) and the 18-55mm f/3.5-5.6 lens. After one gig I knew that the lens was going to be terrible in low light conditions so I did a bit of research and found the 50mm f/1.8 lens that stood me in great shape for many shows.
The low aperture level of the 50mm meant that more light could be let into the camera sensor that allows shooting at faster shutter speeds and lower ISO levels which creates sharper images. If you are looking for a camera to use for concert photography and you are just starting you will need a DSLR camera. It doesn't matter which brand.
Find one you are comfortable with and know that the camera you choose will limit you to that brand's lenses for many years to come. Canon was my choice, you may choose Nikon or Sony, as long as you can buy new lenses and equipment down the line you will be good to go.
Additional equipment you will need when photographing concerts are:
- Spare batteries
- Spare memory cards
- Adobe Photoshop or Adobe Lightroom
- Camera Bag
- Camera Strap
- Battery Grip (optional)
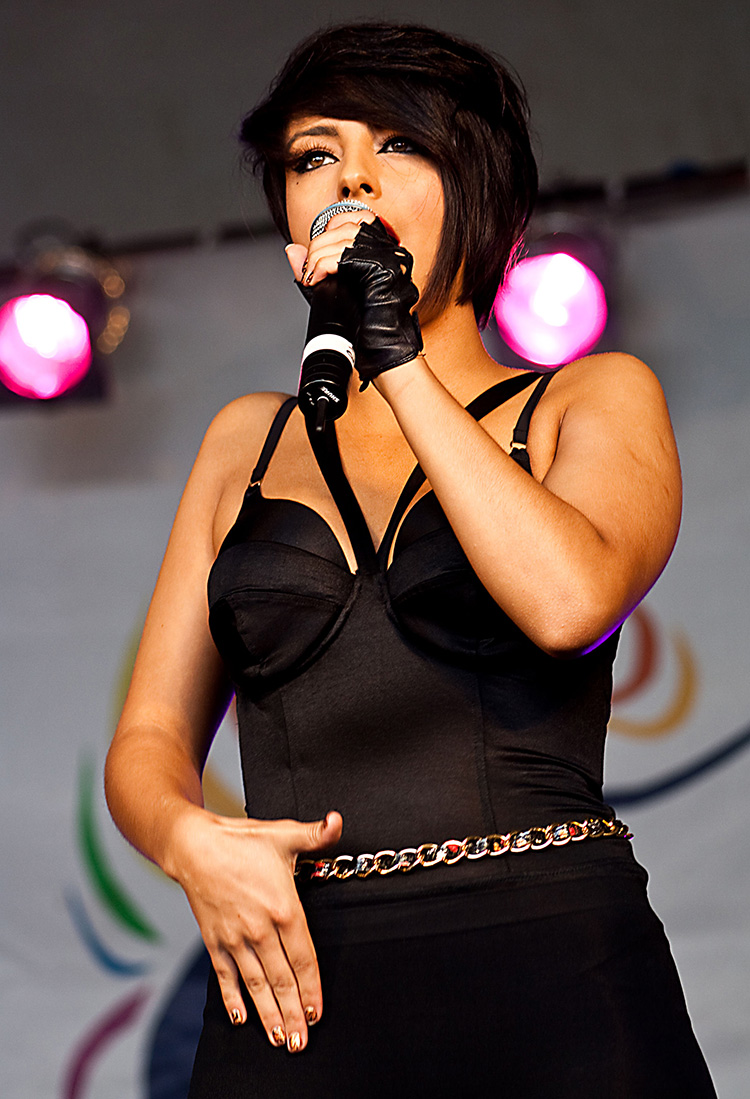 Female concert singer
You can never have enough spare batteries or memory cards, and even if it’s not needed, a battery grip prolongs how long your battery will last. It's also more comfortable when shooting in portrait orientation. The only downside to a battery grip is that it's heavy and your arms will ache after a while, but don't let that put you off.
Photoshop or Adobe Lightroom are excellent pieces of software which will allow you to edit your images to a professional standard. Adobe software used to sell for hundreds of dollars but now you can pay a small monthly subscription.
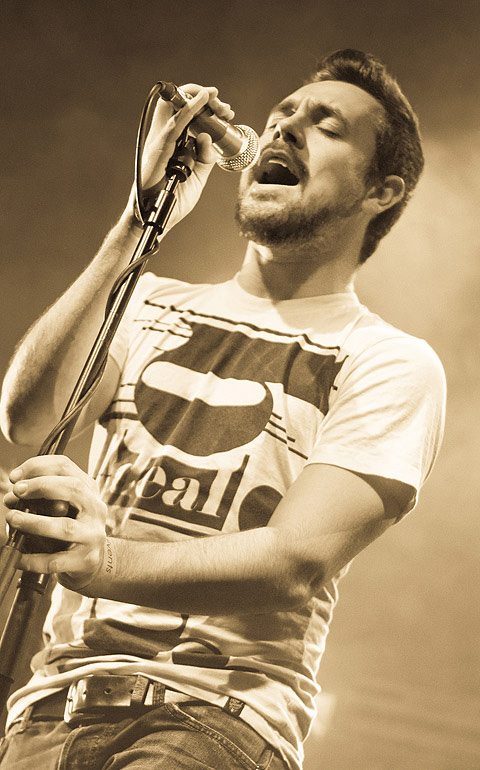 Solo concert singer
A camera bag is a must to protect your camera and lenses when not in use and travelling to venues. You don't need an expensive one and you can find them on eBay for cheap.
You should also use your camera strap when photographing music photography. When photographing shows it can sometimes get rowdy and there is a good chance you could drop your expensive equipment.
At one show the lead singer of a band jumped onto the security banner between the pit and the crowd and slipped, I managed to catch him just before his head hit the floor and my camera was hanging off from my body.
Without the strap, the camera would have smashed on the floor.
best LENS for ADVANCED concert photography
For concert photography I would recommend the following lens ranges (and lenses but you can use your camera brand equivalent):
- Canon 50mm f/1.8
- Sigma 24-70mm f/2.8
- Canon 70-200mm f/2.8L
The 50mm is going to be great in low lit venues but it is limiting as it has no zoom. When you can afford to get another lens the 24-70mm range is a great addition. Finally, when you shoot stadium tours the 70-200mm offers a great range and having the 24-70mm and 70-200mm will cover you for most occasions.
Concert photography can get expensive and over time you will want to upgrade your camera from an entry-level DSLR to one priced at the top of the range just so you have more flexibility when it comes to the images you shoot.
With that said you don't need to buy all of your camera equipment especially if you won't need it too much. If you photograph an event where you will be further away from the stage than usual and you need a longer lens instead of buying a 300mm f/4L lens that will set you back a few thousand dollars you could simply hire it for a fraction of the price.
flash for concert PHOTOGRAPHY
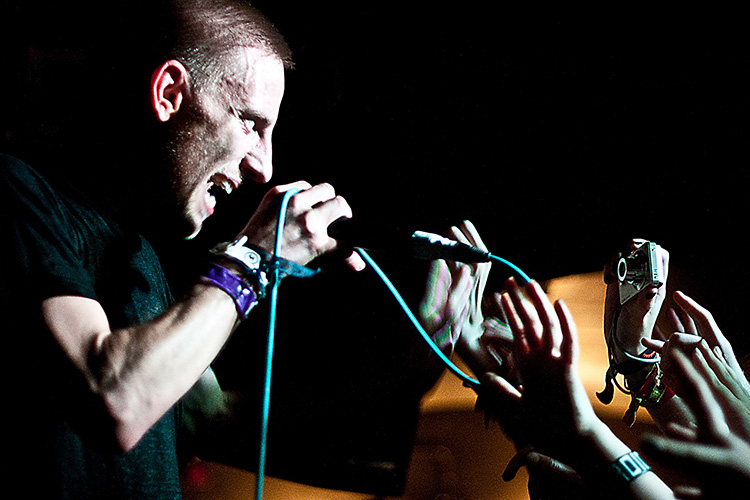 No flash allowed when photographing concerts
You may notice that there isn’t a mention of purchasing a flash above, because you don't need a flash to begin your concert photography. The reason for that is many music venues will have a no flash policy. This is why it’s important to have a low light lens such as the 50mm f/1.8.
how to get access to a CONCERT to photograph it
The best way to get started in music photography is to contact all the smaller venues in your local area and ask them can you photograph at their event, you could even give the location your images in exchange for a photo pass.
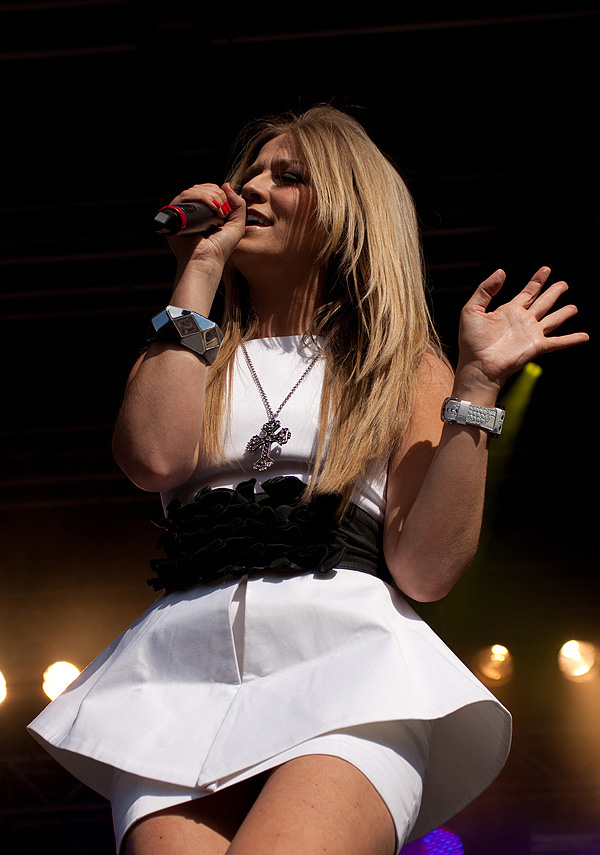 Female concert singer
If this doesn't work ask for their permission to photograph at the event and you will pay an entry fee like everyone else.
It's important to know that this is the option most will take and you will need to budget accordingly.
Your first shows you will have to pay for, after that you will get invites from bands and venues and be provided with access all area passes.
Asking a venue for permission or a photo pass is as simple as adding them on Facebook or Twitter and messaging them. You can use email too, but most venues seem to be more responsive on social media.
Getting access to bigger shows
Now you have photographed several shows and have a portfolio of work to show the next step is to build your brand as a more experienced concert photographer. You can build your brand by creating a website and posting your pictures on social media.
Instagram and Flickr are great social accounts for getting your work seen by thousands and overtime will generate inquiries for your service. When you have built a following on social media and have a website with your photos on you can start to email bigger venues and artists for access. You can also apply for a Getty Images contributor account and using the name alone tends to open doors for you.
Concert photography tips for beginners
All concert locations will have different rules that you should abide by which is usually run through by the events management team beforehand via email or in person at the location.
Rules could include a song limit, most venues go by a 3 song rule and then security will come to collect you from the pit at the front of the stage. Other venues are happy to let you stay in the pit. Most venues won't allow you to use a flash as it's off-putting for the performer.
If the venue does have a song limit you should take as many photos as you can possible in the time frame to make sure you get the best shots for your website or a company you are shooting for.
Concert photography is different from most areas of photography because the lighting can be so different between songs, therefore it is very easy to overexpose or underexpose a photo or set of photos. For this reason, you should shoot in the RAW format that will give you more flexibility when it comes to editing your images.
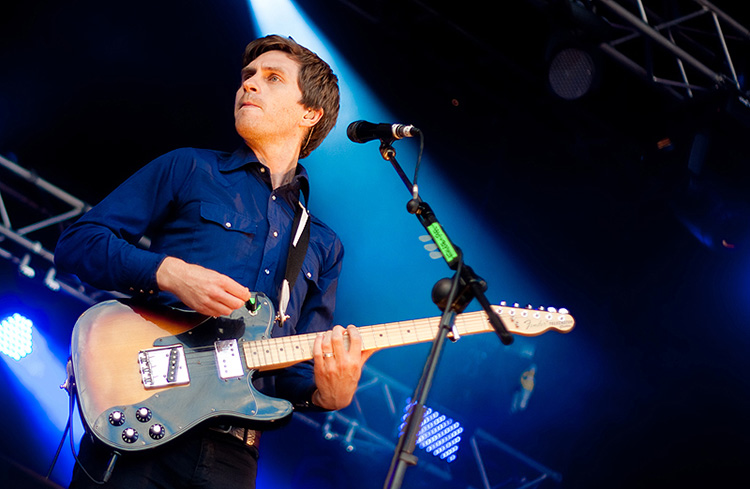
In bad lighting conditions, you are going to need to push your ISO settings to their limits so you can get a faster shutter speed to avoid motion blur.
You will need to test your camera's limits before photographing a show. On a really old camera, like the Canon 1000D (Rebel XS), anything above 800 looked a little grainy to me. On the Canon 50D that limit could be pushed to 1600 and on the Canon 5D anywhere from 1600-3200 is usable.
Publishers Note: Newer cameras, built in the last few years like a Canon 90D or one of the new mirrorless cameras, have better sensors and better software that handle high ISO settings much better.
Getting your shutter speed to 1/250 or faster is going to help capture the moment even with highly energetic artists. Anything lower is going to produce blurry images.
conclusion for becoming a concert photographer
When starting your journey in music photography it's important to know that you will make mistakes along the way, when this happens don't dwell on them too much.
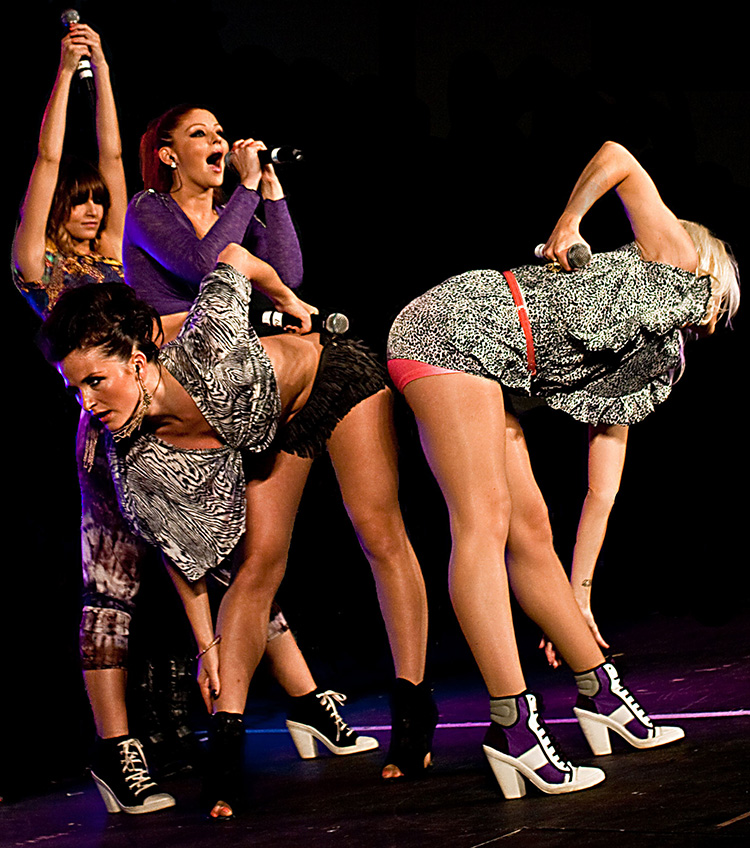 Group of concert performers
You may run out of battery, you may fill your memory card and you may miss the best shots, don't worry this isn't life and death and you will learn from your mistakes. We all make them, just brush yourself off and keep going.
Music photography is fun, it consists of late nights and for most of us it won't make us enough money to do it full time, but it's an amazing world to work within.
about the author
When not following bands up and down the country, James Mathews is a photography blogger at Bounce Color, a website that helps photographers and videographers edit their content quickly through preset digital assets.
Thank you James for writing a very helpful post for the website that's sure to help photographers wanting to begin photographing concerts.
about the publisher


ABOUT BRUCE LOVELACE
Bruce is the publisher of this website. He is the author of the book "Improve Your Photography Instantly." Read more on Bruce on his Bio Page. He's been known as The Traveling Photographer ever since 1994. Read more about this website.
View some of Bruce's photos on Instagram. Visit the Facebook Page. Watch him on YouTube. Bruce runs photo workshops for kids and adults, and provides one-on-one photography coaching.
Digital Photography Education Location on Google My Business
