HOW TO POSTS: LIGHTING AND COMPOSITION
travel photography tips for DSLR Beginners
You're looking for some useful advice. You need some simple travel photography tips, but you're not sure how to use more of the settings on your new DSLR. You've got your travel destination figured out and you're excited about an upcoming trip, but you want to know exactly how to get the most out of your DSLR. What other equipment do you really need and what advice can you find on how to make your travel photos come out spectacular? You're in luck!
This post gives you my top 10 tips for traveling photography for beginners and a FAQ section with the 5 top questions asked, and the right answers about travel photography.
top 10 beginning travel photography tips
If you were an advanced photographer and you were taking a trip with the main purpose of getting images to sell, the travel photography advice would be different. Your methods of preparation would be quite different than those who are just taking a vacation and want some nice photos.
1. Hold your camera properly
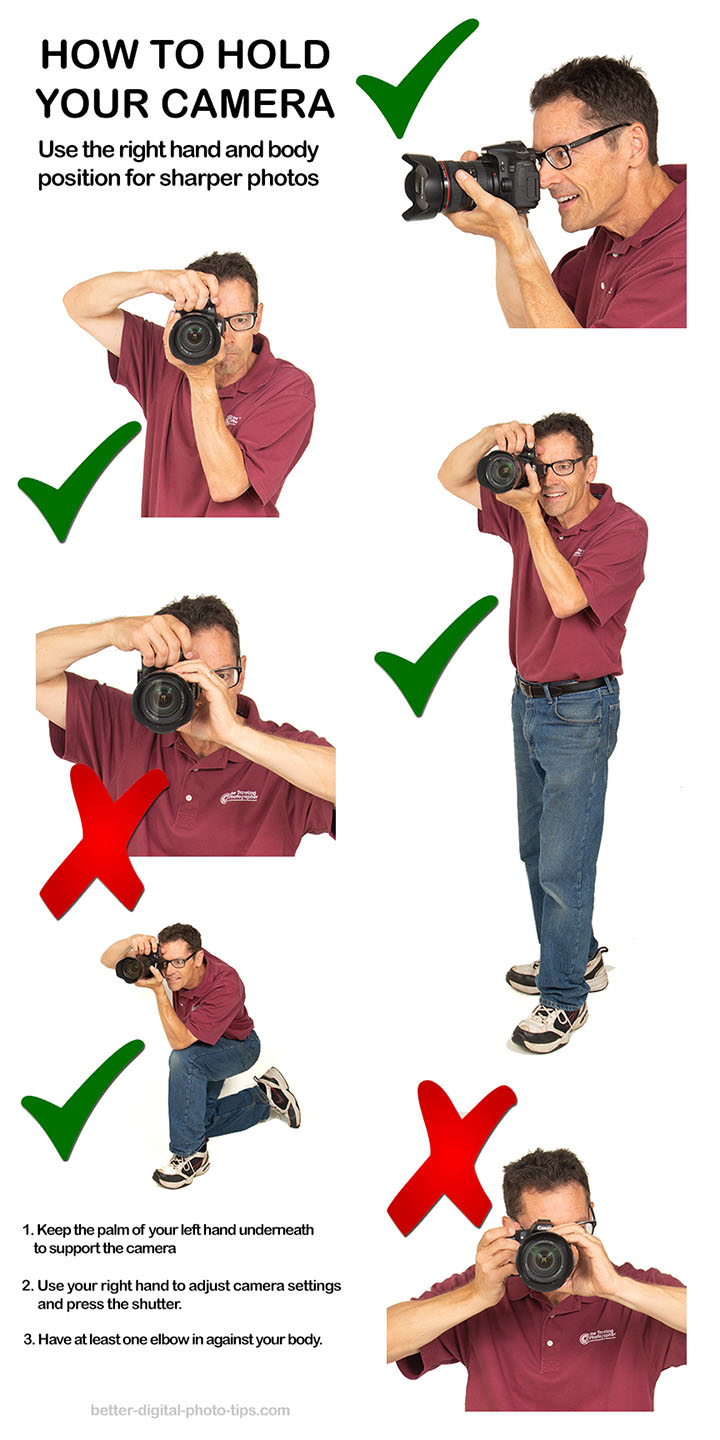
Yep, this is actually an important one and I put it on top of the list because it drives me crazy to watch beginners and experienced photographers use poor technique when handling their DSLR. Hold your camera so that your left hand supports the weight of the camera and lens.
Use the correct grip and you can easily zoom or focus with that hand without letting go. Use right hand to adjust camera setting on the fly if you need to and gently press the shutter button with your index finger.
Holding your camera the correct way will help you get sharper photos AND will make the whole process more comfortable. Listen: I know this isn't one of the sexiest travel photography tips you'll ever get, but we all know if you start with a basic skill you really want to get it right.
2. Visit you destination ahead of time - virtually
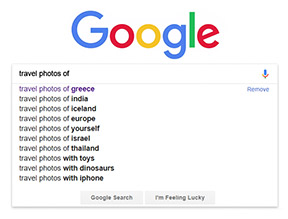
Right now as you read this post, you're wisely taking advantage of the free information on the internet. Use this same resource as a powerful way to photographically explore your travel spot ahead of time. Use words like "travel photos of xxxxxxx" or "best photos of xxxxxxx in a Google search where xxxxxx is your destination.
You'll not only gain a familiarity of your travel location, but you'll also get some great ideas for shooting some unique travel photos, not just the typical touristy photos that all look the same.
3. keep your lenses short
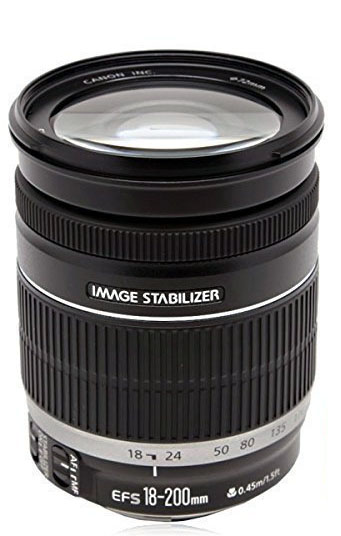 Very versatile, 18-200mm lens
Travel photography is all about the locations your visit, the people you encounter, and the culture you experience. You don't want to lug around a super long telephoto lens. They're too heavy and bulky and you can use the extra room for more important accessories.
If you were going on a safari to Africa to shoot wild animals, going to the jungle to photograph exotic birds, or traveling to Alaska to take picture of grizzly bears, this advice would change. I can tell you it's a good idea to travel with a lens with more zoom range than the 18-55mm kit lens that came with your camera.
You can handle almost 100% of the photography situations you'll come across with your travel photography by taking an 18-200mm lens with you. It's a little bigger than your 18-55 lens, no doubt, but it will save you the hassle of changing lenses, handling multiple lens caps, and carrying extra lenses that handle the same angles.
If you really like the idea of taking two lenses, consider taking your 18-55 lens and a 75-300 lens. That gives you an incredible range of wide angle through powerful telephoto settings to properly compose any subject.
4. use these three camera settings while traveling
It's the biggest request students make when they take one of my photography workshops. They want to learn how to use their DSLR's other camera settings. Deep down, you know you should venture off of your camera's automatic mode, but let's face it. There's confusion and fear when we travel down that road.
There are no perfect travel photography camera settings per se, but using just these three settings will help you improve your travel photography a great deal.
automatic

Use automatic setting for 80% of the traveling photography you do.
Your DSLR's software does a great job most of the time at figuring out what to do. Digital Cameras have a lot more capability though beyond automatic and it's worth learning more.
Here's more about camera settings.
aperture priority
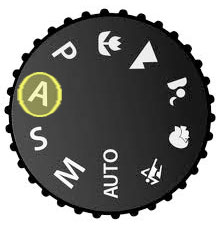
Use aperture priority mode when you want to control exactly what is in sharp focus.
Sometimes you want everything in focus (landscapes) and sometimes you want a blurry background (portraits and photos of people). The range of things in focus is called depth of field.
shutter priority

Use shutter priority when you want to elinte or have motion blur in your photo.
To freeze fast moving action you'll use a fast shutter speed like 1/500th second or faster. When you want to have motion blur on purpose, use 1/4 second or slower for more blur.
DSLR Beginners are reluctant to step away from the safety of setting their camera on automatic. It's only human nature to want to stick with something you're comfortable with and works pretty well. Go ahead take your photos with automatic. But, take a photo of the same subject with a different camera setting. Many times it won't make much difference.
The magic happens when you get a different result. Whether it's an improvement in the photo or a "failure," that's how you learn. Experiment with different camera settings after you take the safe automatic shot.
5. take along a compact tripod
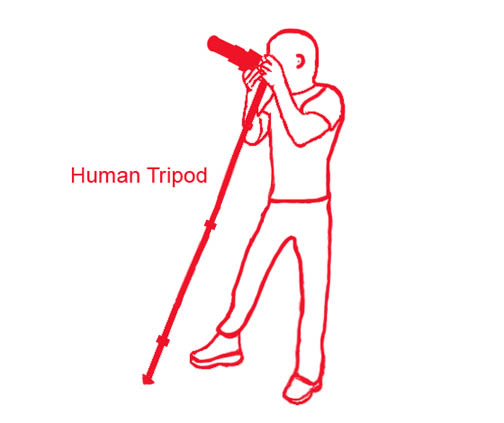
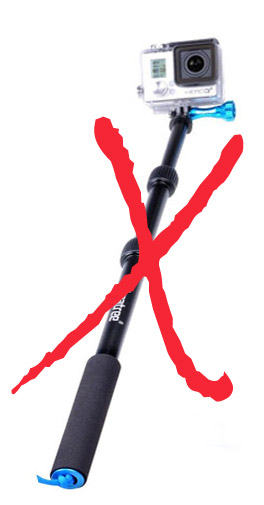
Can I be honest with you? You can take a lot of your photos without a tripod and get some great shots. But, don't you want your travel photos to really stand out?

A good travel tripod will let you expand your creativity by adding long exposures, night time photography, and yes even creative selfies to your travel photography picture album. Tripods give you razor sharp images and get you to slow down when you're composing your travel photos. Photos that you may want to take while traveling:
vacation selfie
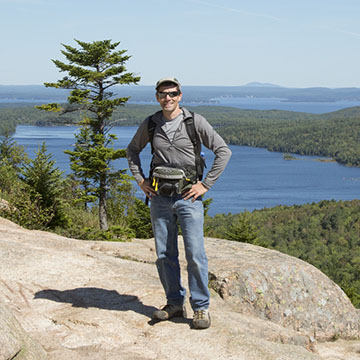
Include yourself in the photos of your journey, rather than behind the camera. It enhances the memory of you being there.
night time travel photos
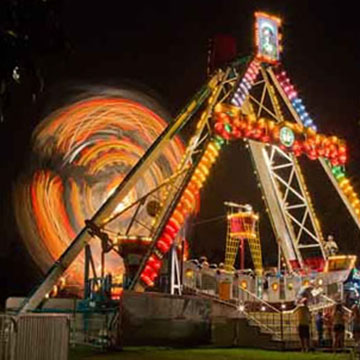
You can capture some real interesting night shots when you're visiting your distant location after the sun goes down.
intentional motion blur
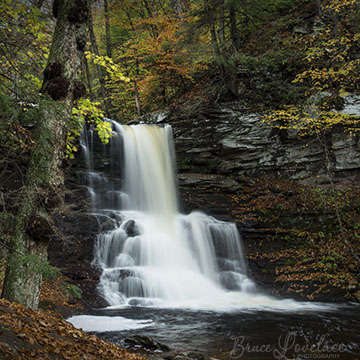
Use your tripod to have some fun shooting some photos with long exposure times and intentional motion blur.
Your travel tripod should be sturdy enough to support your camera and lens without trouble. This is another reason to go light on lens size. You don't want it to be a burden to take your equipment along with you at all times during your travel.
6. pick the right camera bag
Decide whether a backpack style, sling bag, or airline bag is best for you. I've tried all 3. When I traveling to Alaska, I knew I was taking a big lens to photography wildlife, so I wanted a high end bag, safe for airline travel and passing the carry-on requirements of the airline industry.
Backpacks are by far the most popular way to carry your DSLR equipment when you travel with photography purposes in mind.
They will easily fit under an airline seat. Make sure that they have adequate padding. Some come up a little short in protection.
Sling bags are a variation of the traditional backpack. You still wear them on your back, but they are very specifically designed to easily sling around forward to easy access to your camera equipment without taking them completely off.
Use one that is specific to DSLR photography. It will both function well for carrying and protecting your equipment.
Airline bags offer the ultimate protection for air travel, but most are not convenient to use while hiking or walking around your favorite travel location.
The better ones have wheels for navigating through airports and have locks to protect from theft.
7. shoot close-ups and reflections
We've all done it. We travel to a destination and get mesmerized by the grandeur and newness of visiting a new location. We look at the environment and all the obvious "eye candy" in the distance but we forget to look at the interesting details up close.
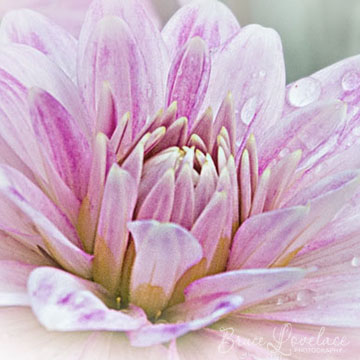 Helbrun Gardens, Austria
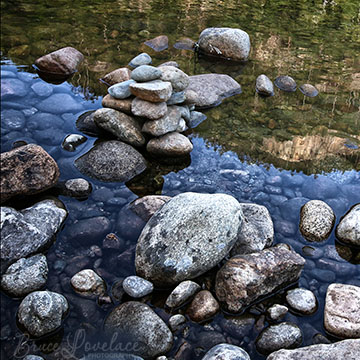 Detail Photo of River Rocks
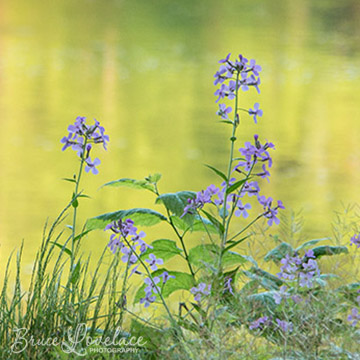 Delaware River
Include some travel photos that take a more up close perspective. The natural world is an obvious way to accomplish this. You don't need to carry along a dedicated macro lens with you when you travel in order to take some interesting close-ups. Your regular zoom lens will work great to photograph reflections too.
8. shoot texture photos when you travel
This may seem a little odd as a travel photography tip, but stay with me here for a second. You want to grow as a photographer and you want your travel photography to be unique, right. Why not take a slightly different approach than the average tourist photographer and show a different point of view?
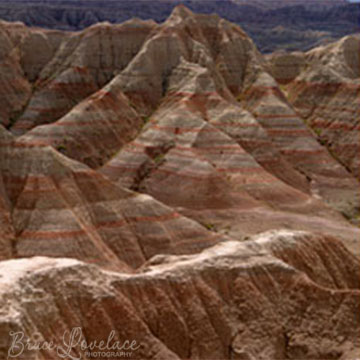 Painted Desert Textures
 Peeling Paint Texture
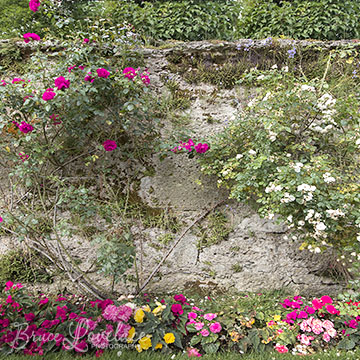 Floral Wall Texture
Think a little abstract. Get creative with a few unconventional photos showing some uniques texture or patterns that you don't see when you're at home. Act like a geeky photographer like me and photograph some of the elements that make your travel spot unique.
As always, it is my mission for the entire website to provide useful digital photography tips, and in this section pass on some tidbits on how to take great travel photos, using actual locations and existing lighting situations. The resulting example photographs are combined with comments used to illustrate a photographic technique or two.
As one example, this photo of the different rock layers does not have a specific center of interest. I was fascinated by the distinct layers of sediment and the unique was the soil has eroded. Usually it's a good idea to have a plan before you click and determine what you want the photo to say.
In this scene, the light did create some nice highlights on the ridges and brought out the texture of this unique geological formation. My goal was just to record this fascinating scene as I saw it so I could refresh my memory whenever I wanted to enjoy it again.
9. ask for permission
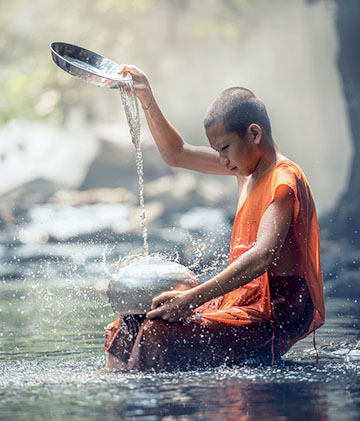 Capture the culture
When you're traveling, especially to a different country, you're going to have plenty of opportunities to photograph people in their homeland. Be sensitive to their willingness to be photographed.
The simple best way to "break the ice" is to flash them your pearly whites. Yes, a genuine smile on your part is the ultimate way to build instant rapport, particularly if you speak a different language.
A simple smile, a gesture of bringing the camera up closer to your face, and a gentle nod of your head is a great way of asking permission for you to photograph your new foreign friend. People are great subjects.
Their clothing, facial features, and environment are new and enticing to you as subjects, but it is ALWAYS best to ask permission first. Researching their customs and traditions ahead of time is a great way for you to prepare for your travel photography.
10. take notes about your travel photography
Of all the travel photography tips for beginners you'll get, this might be the least appealing to get excited about. News flash. I don't do this all the time, but I am getting better at it! Because it's always with me, I conveniently use my cell phone to document my travel photos as the trip progresses.
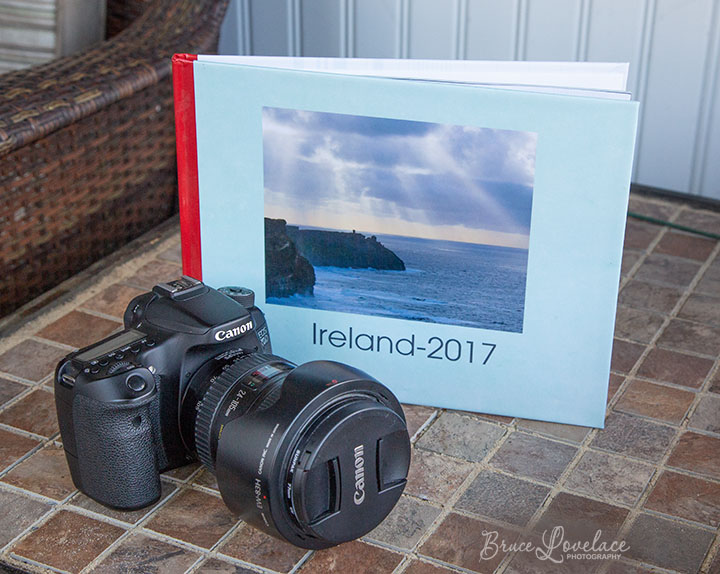 How to enjoy your travel photos after your trip
Whether you jot down specific notes about your photography technique, facts about the subject, or even just the feelings you were experiencing when you took the photo, you will be glad you have some notes to refer back to. It's a great way for you to enhance the enjoyment of your travel photography.
Don't you just hate it when you take photos and they just sit on your camera? It's one of the biggest shortcomings of digital photography, right? If you have a book in mind as the end result, it will tend to motivate you to take action. Keeping a journal, or a few notes of any sort, is just the first step to preserving those memories for you to better enjoy them for years to come.
Q&A: part 2 of Travel Photography Tips For DSLR Beginners
This 2nd part of this post covers the top questions and answers about travel photography that new photographers often ask. Here are the 5 frequently asked questions, the how, what, where, and why, about travel photography
what gear do I need to pack for my traveling photography?
You're not a full time professional traveling photographer and you don't need to pack gear like one. Here's my list for the essential gear you should have when you are heading out on your photographic journey. If you're really cramped for space and you're not going to venture out and get creative with some night time photography, you can leave your tripod at home.
DSLR Camera
2 Lenses
UV or Polarizing Filter
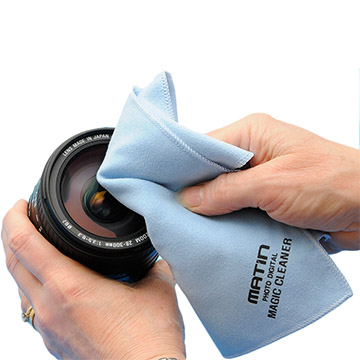
Lens Tissue or Lens Cloth
2nd Camera Battery
2nd Memory Card
Travel Tripod
Camera Bag or Backpack
Optional: Flash Gun
How do i pack MY camera equipment for travel photography?
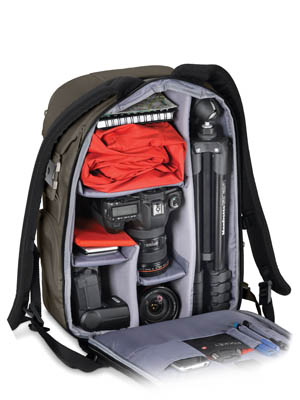
What’s the best way to take your camera equipment on an airplane safely? What about getting through security in another country? What bag, backpack, or suitcase you use to contain your camera gear needs to have 3 important features.
- It must hold all the gear you are taking.
- It has to protect your equipment from damage.
- You have to be able to transport it wherever you go.
You can learn a lot about any kind of camera gear for travel photography by reading reviews of several buyers. Here are some customer reviews of 4 highly rated ways to transport your travel photography gear.
As an Amazon affiliate I may receive a small commission from qualifying purchases, at NO added cost to you.
Backpack style camera bags are the best option for new DSLR shooters like you. You're not taking two DSLR camera bodies, a separate point and shoot camera, 2 long lenses, and a small flash unit.
what lens should i take
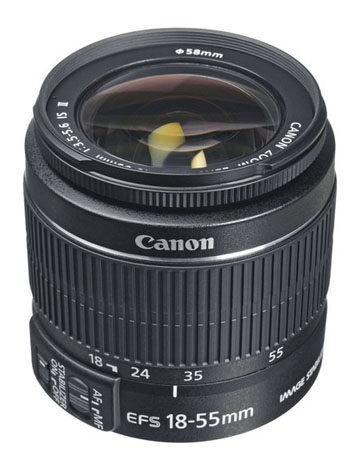 Canon Kit Lens
If you want to narrow down to just one single lens, there's no doubt is should be a zoom lens that goes from wide-angle to telephoto. Generally, the wider the zoom range then the more varied situations you can handle.
The 18-55mm (about 3x zoom) kit lens that comes with most smaller DSLR cameras is barely adequate, but you can survive on it if you have no budget for an upgraded zoom lens. Taking an 18-200 (about 10x zoom) or similar lens with an expanded range of zooming will cover all of the various situations you encounter as a traveling photographer.
which camera should i use for taking travel photos?
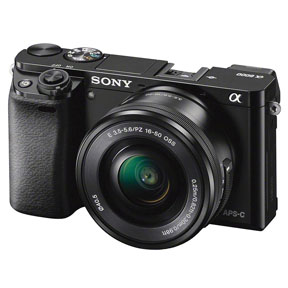 Compact Mirrorless
If you only take one camera with you while you're traveling you're taking a risk. How big is the risk? It's pretty small if you have a DSLR camera that was made in the last 5 years. I usually have 2 cameras with me, but I decided to go extra light with one camera on a recent trip to Scotland.
I took along my Canon mirrorless R7 and just 2 lenses. Here's more on that camera choice. UPDATE: See my more recent article on my travel photography website about the best travel camera and lens.
Your DSLR is remarkably durable and photographers rarely have issues with a camera breakdown in the middle of a trip, but it can happen. The big advantages of using a DSLR camera are better quality photos, camera settings to fit every situation, and the ability to change lenses.
The newer mirrorless cameras have the same technology and quality but in a more compact size. My next camera will be a mirrorless. Just make sure the lens offerings are good with the mirrorless camera model you choose before you buy.
where can i sell my travel photography

Not too long ago, if your title was travel photographer, you shot photos for a magazine, newspaper or a trade journal. Digital photography has change all that. There are so many new traveling photographers who have entered the market that's it's really tough to earn a full time living doing it. There are a lot of sources where travel photography buyers can get images for free too. Anyone with a camera and internet access can participate on a part time basis.
Does that mean you can't sell your travel photos? Heck no, it just means the marketplace is much more diluted and widespread. You can upload your photos to any number of online gallery marketplaces or you can try to sell on your own website or a shared group platform. I've had a little luck with both, but it's not a big part of what I do. Two of the big typical stock agencies are ShutterStock and iStock.
why is travel photography important

Rather than take the quick snapshot while just standing in front of something, you want to approach creating each photo with a little purpose. Taking the time to create a meaningful photo can beneficial to you in several ways.
- You will have a keepsake memory preserved that won't fade in time, like it will in your mind.
- Travel photography is a great way to meet new people, increase understanding of other cultures, and bring countries closer together.
- You'll have something visual that you can share with family , friends, and perhaps people all over the world.
- Taking travel photos makes you more aware of your surroundings.
travel photography tips for vacation
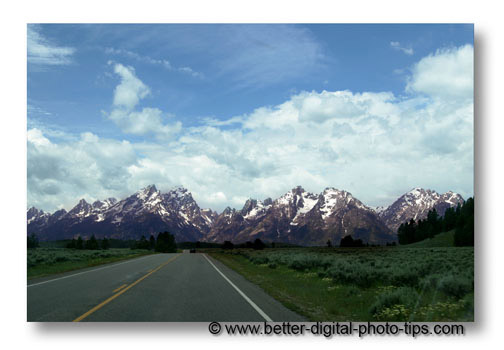
Usually when people vacation the main purpose of traveling is for relaxation and fun. It's often not your main goal to get great award-winning photographs while traveling. So the first vacation photography tip may seem obvious, but it really is easy to forget.
Have fun. Enjoy the process. Keep it in the front of your mind that you want to have a fun experience and not be so focused on the photography to the extent that it interferes with enjoying the scenery. Take a minute to "smell the roses" and enjoy the moment of being in a fascinating new place.
Here is an article with 5 specific steps to use for vacation photography. These may appear simple and obvious but these tips are good for both pro and amateur photographers to consider to make sure everything goes as planned: Vacation Photography Tips.
travel photography equipment
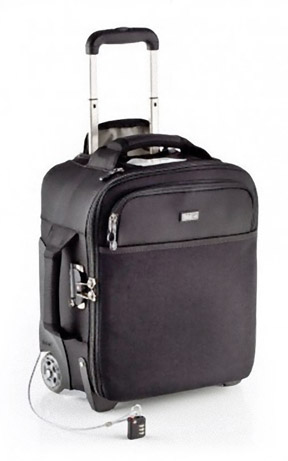
One of the biggest issues for me personally when I am doing travel photography is what equipment to bring. How many horror stories have you heard about the airlines losing someone's luggage?
For that reason I used to keep my photography equipment with me as carry on luggage when flying to my destination. I recently upgrade by camera bag situation and bought a specialized travel bag, a Think Tank Airstream.
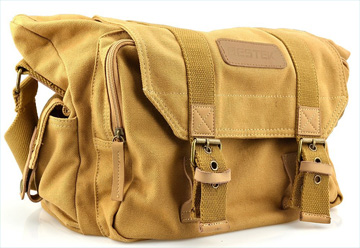
The other consideration is the bulk and weight of your camera gear while walking, hiking, biking or driving to your photo opportunity.
Best Camera Bag for Travel. Why I chose the bag I did and close-up detail photos showing the quality and design.
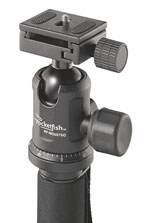
Carbon Fiber Tripod-Rocketfish Reviews. I was able to fit my carbon fiber Rocketfish in my carry-on suitcase on our recent flight to California, San Francisco and Yosemite National park. This article is why I love my Rocketfish Carbon Fiber Tripod for travel photography. Enjoy these travel photography tips and happy shooting!


ABOUT BRUCE LOVELACE
Bruce is the publisher of this website. He is the author of the book "Improve Your Photography Instantly." Read more on Bruce on his Bio Page. He's been known as The Traveling Photographer ever since 1994. Read more about this website.
View some of Bruce's photos on Instagram. Visit the Facebook Page. Watch him on YouTube. Bruce runs photo workshops for kids and adults, and provides one-on-one photography coaching.
Digital Photography Education Location on Google My Business
a few short posts on some of my travels
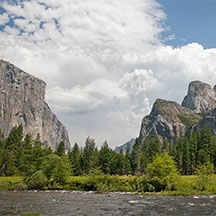
Photos of Yosemite. Once again, not enough time to photograph everything, so I used a good guide book to plan out the limited photography time I had. With only 3 days available to photograph this national treasure, it was a challenge to capture the personality of this unique location.
This is a travel destination worth visiting just for the sake of doing landscape photography alone.
Photos of the Loyalsock Trail. Do you enjoy travel photography while hiking? I've had the opportunity to hike and backpack through the mountains in northeast Pennsylvania.
I only had a point and shoot camera along with me and I'll never make that mistake again when I travel.
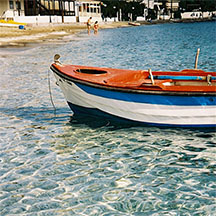
On my bucket list is Travel Photography in Crete.
This is truly a paradise for travel photographers. This is a great website for those planning to visit Crete, full of tips on how to get the most out of your journey.
Penn State Patterns. I gave myself the assignment of concentrating on patterns during a recent photography visit to Penn State University, nestled in between the mountains in State College, PA.
It's a unique campus, really a community all its own.
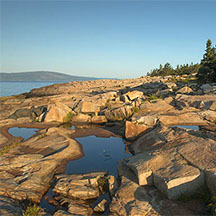
An Article From a 3-Day trip to Maine's Acadia National Park. With only 3 days available to photograph this national treasure, it was a challenge to capture the personality of this unique location.
This is a travel destination worth visiting just for the sake of doing landscape photography alone.
I only had a few hours to capture a few Pictures of Boston. I concentrated on the buildings during an historical tour of the mix of the "old and the new" Boston.
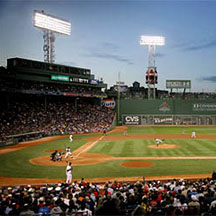
This trip also included a guided tour of Major League Baseball's most famous ballparks and a few Fenway Park Pictures.
