HOW TO POSTS: LIGHTING AND COMPOSITION
how to use a monopod For Photography
Get The Best Stability From Your Camera Monopod
WRITTEN BY: BRUCE LOVELACE
UPDATED: August 31, 2024
Are you like I was? Uneducated on how to use a monopod. Here are some tips that will enhance your ability to get the most out of the monopod's primary purpose of getting sharp images.
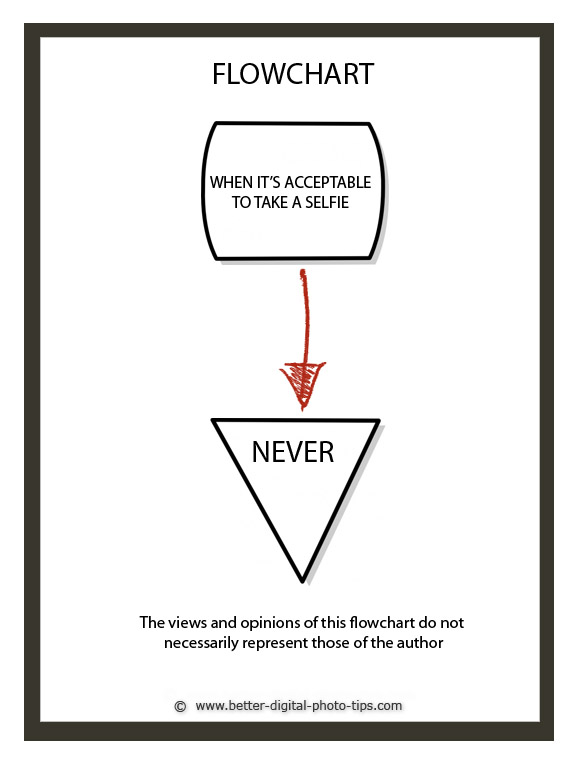
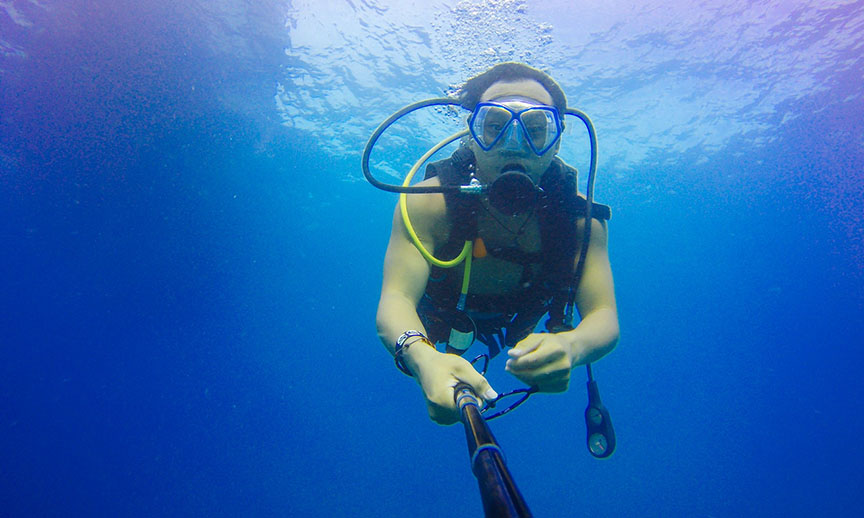
The two most common monopod uses for still photos are with sports and for wildlife photography. Fast shutter speeds certainly help to reduce motion blur, but knowing a few simple tips on how to use the monopod properly will help even more. The techniques on how to use a monopod for video and how to use a monopod for shooting a selfie are quite different.
Using your monopod with the leg aimed straight down, in a perfectly vertical position, between your feet is surprisingly not the best method of using a monopod.
Just using the one stationary stability point of contact with the ground is not the most stable way of using a monopod either.
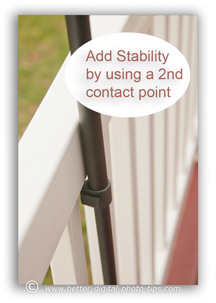
It is definitely what most photographers do. You can get added sharpness and perhaps allow slower shutter speeds when you add a second point of contact with your monopod.
There are several ways to add this second point of stability that will reduce any camera and may improve your photograph.
1. THE FIRST WAY is to add a second, physical connection to a stationary object on either side of your monopod. This might be a tree, a post, a chair or a building. You could even use a fence-anything that is rigid and stationary.
This photo on the right shows how I used a vinyl fence as a secondary, stable contact point to stabilize my monopod. You can do this by positioning your arm, your camera or perhaps the leg of the monopod so that it's touching the stationary object and reducing movement, either forward and backward, side to side or even both of these.
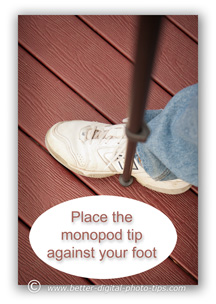
2. THE SECOND WAY is a seldom-used method of taking a stance with your monopod is the strategic use of your one foot and the positioning of the monopod's leg.
If you shoot right-handed, place your left foot forward. Place the foot of monopod leg directly touching the inside of your right foot.
Your monopod should then lean snugly against the inside of your right leg to create that second contact point we mentioned earlier.
These two techniques on how to use a monopod can allow you to use a slower shutter speed and still get sharp photos. They are not as stable as using a tripod, but much better than what most amateur photographers do when using monopods.
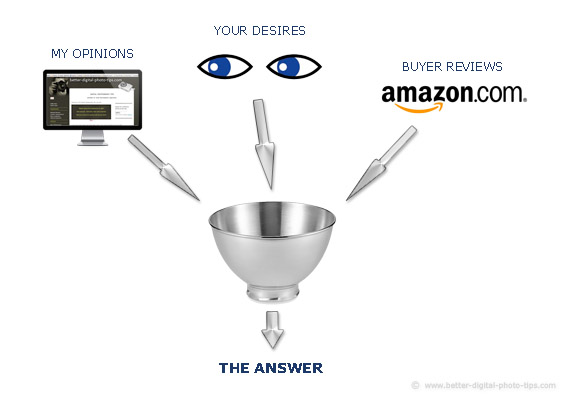
Read reviews on monopods and find out what issues photographers have when using them. No matter where you buy, you can get a great idea of what features other photographers found beneficial and what features they didn't like.
As an Amazon affiliate I may receive a small commission from qualifying purchases, at NO added cost to you.
On Amazon
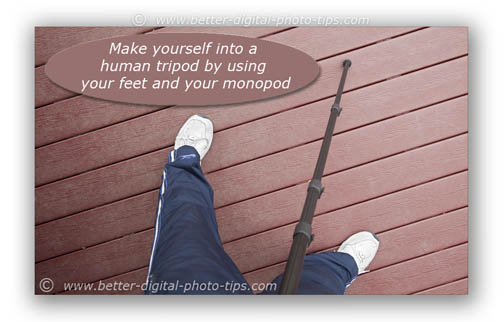
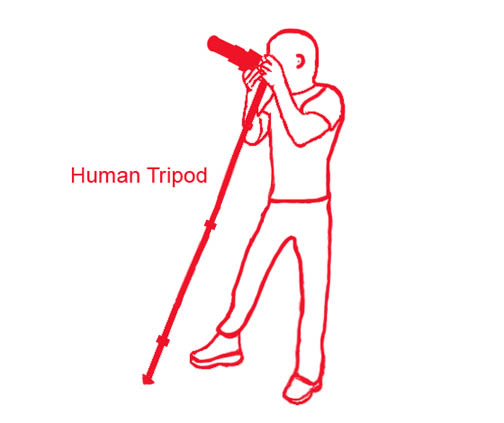
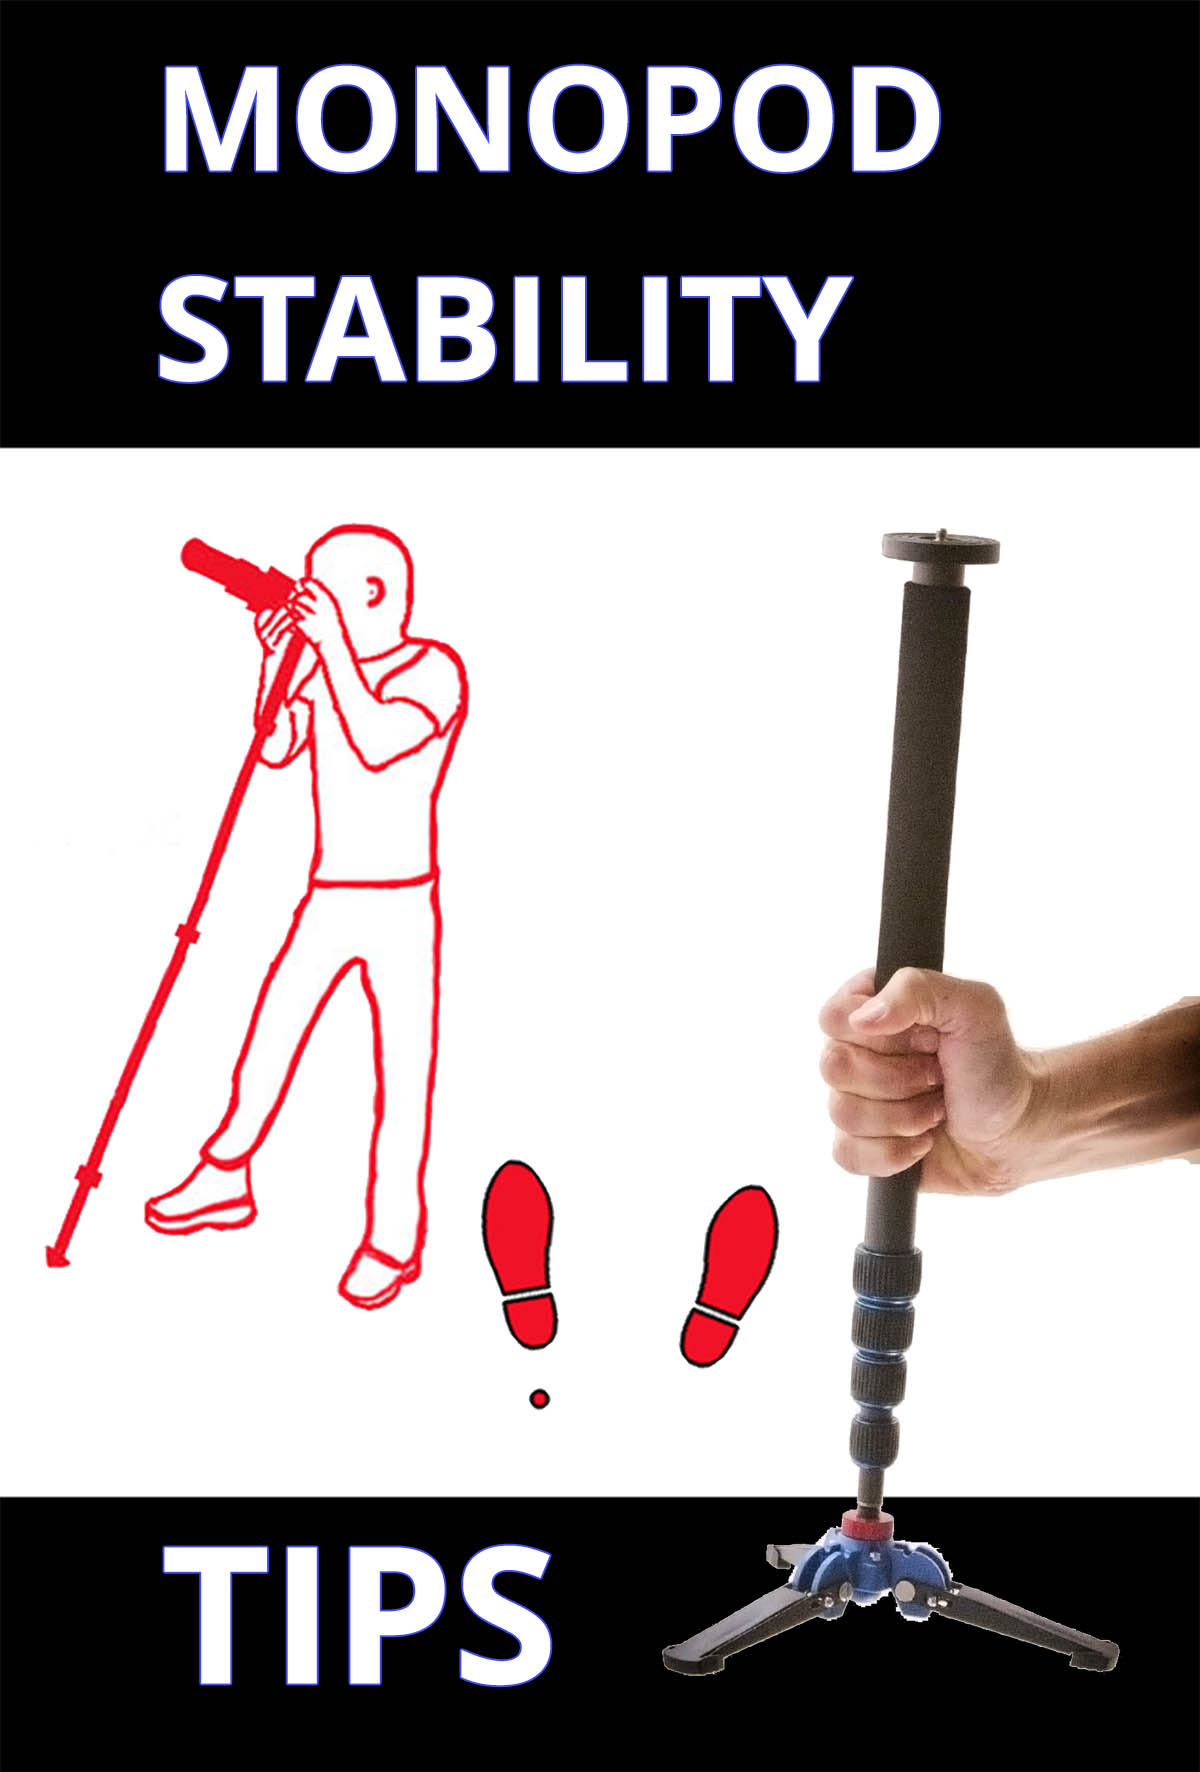
3. A THIRD TIP on how to use a monopod with stability is to think of your two legs and the monopod as working together like a tripod. The bottom tip of your monopod is positioned on the ground about two feet in front of you.
Your two feet are spread apart about two feet and you lean forward, putting some pressure downward onto your monopod. Downward pressure will improve the stability of your monopod. Be Careful. Make sure the monopod leg clasps are secure and in good working condition so you don't fall forward.
Here is another view of this "human tripod" technique. Notice that without a ball head or swivel head attachment that the camera is aimed upward. This would be fine if you are photographing a bird up in a tree.
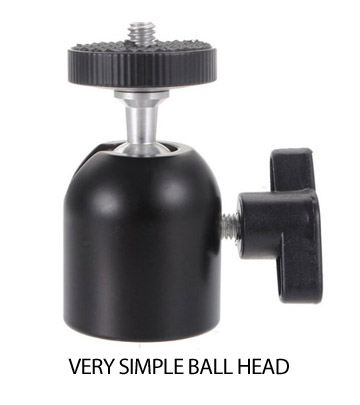
In this photo, the photographer is leaning backwards and there is less weight on his monopod. Usually using a monopod with a little downward pressure works better. Using a monopod with Tripod Ball Heads will allow you to adjust your camera angle to photograph anything down low, at eye level or up high.
Here is a video on how to use a monopod when doing wildlife photography plus an additional tip on using a monopod for wedding photography. It's definitely worth watching:
As mentioned in the video, you can use your monopod to extend the height of your camera and get a bird's eye view with your photo. Using a self timer is an option but you lose the ability to time your photo very precisely. To get better timing, you can also attach a long shutter release cord to your camera and take your photo with your camera mounted up high on the monopod.
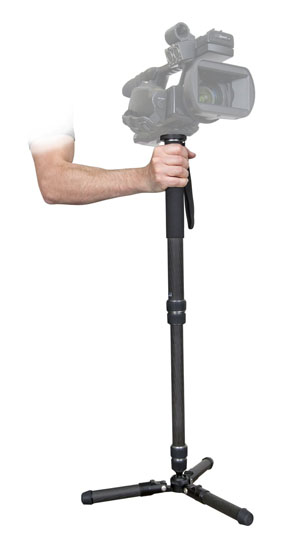
You can also use your monopod as a camera stabilizer for shooting video. Attach or tie a heavy weight to the bottom tip of your monopod and you will get the same "floating" effect as you move your camera during your video shooting.
2nd reason for using a monopod
Have you ever wonder why sports photographers use a monopod even though they can shoot with an extremely fast shutter speed to freeze the action? It's not to prevent motion blur of the subject or from the movement of the camera.
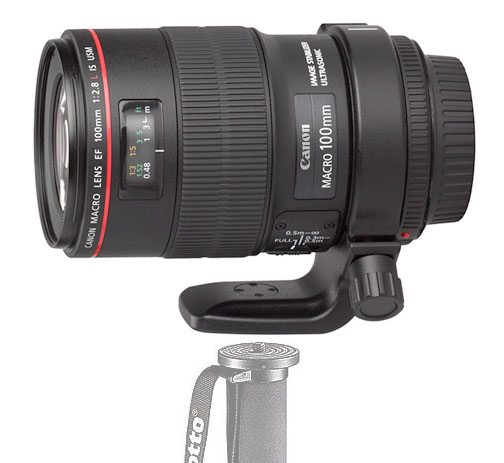
The monopod is also a great tool to simply take the weight off your arms and reduce muscle fatigue. Particularly with heavy, long, super-telephoto lenses, use the lens collar mounting ring to attach the lens to your monopod.
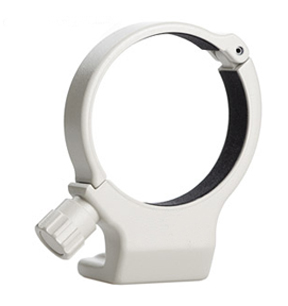
Most long telephoto lenses already have a mounting ring on the lens which is approximately at the center balance point when a DSLR is attached.
These rings have a knob on the collar that you can loosen just enough to allow your camera to rotate without having to use a ball head.
I've also heard one clever idea on how to use a broken tripod as a monopod. If one or two of your tripod legs is broken, remove them and you are left with a one-legged tripod that can be used as a monopod in a pinch.
As an Amazon affiliate I may receive a small commission from qualifying purchases, at NO added cost to you.
Related Posts:
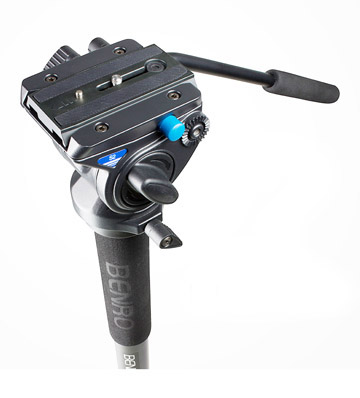
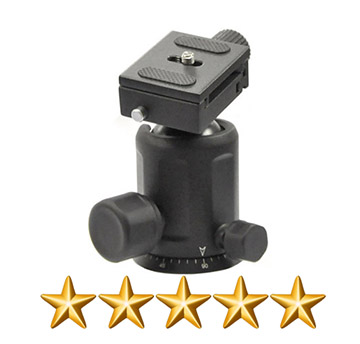
Monopod and Tripod Ball Heads. You can see at the end of video above that using a ball head makes the monopod much more versatile. Some people prefer to use a three-way pan-tilt head instead of a tripod or monopod ballhead. Read up on what you should consider first.
Monopod Stability Tip. You can increase the stability of your monopod and get it to perform more like a tripod with this little trick. You can also get some more ideas on how to use a monopod by reading monopod reviews:
Manfrotto-Bogen Monopods - Reviews. Higher quality and higher priced line of Manfrotto and Bogen Monopods.
Opteka Monopod Reviews. Reviews of the features, pros and cons of Opteka Monopods.
Best Monopods. The best ones are not only the ones that get good monopod reviews, but also the ones that have the features, options and price that are right for your specific needs.
Monopod Accessories. The monopods that are made of plastic and are intended for point and shoot cameras are often sold as part of a kit.
What is a Monopod. The definition of a monopod and several other ways photographers use monopods.
I hope you found this article helpful! Photography is such a fun hobby and it's a great time to be involved with it.


ABOUT BRUCE LOVELACE
Bruce is the publisher of this website. He is the author of the book "Improve Your Photography Instantly." Read more on Bruce on his Bio Page. He's been known as The Traveling Photographer ever since 1994. Read more about this website.
View some of Bruce's photos on Instagram. Visit the Facebook Page. Watch him on YouTube. Bruce runs photo workshops for kids and adults, and provides one-on-one photography coaching.
Digital Photography Education Location on Google My Business
