HOW TO POSTS: LIGHTING AND COMPOSITION
how to photograph the moon with sharpness
(Unlock the Secrets of Moon Photography)
WRITTEN BY: BRUCE LOVELACE
UPDATED: August 30, 2024
Have you ever wished you knew how to photograph the moon and have it come out crystal clear and spectacular?
This article gives you the simple 5-steps to sharp, properly exposed moon photos. Then we'll expand on that and we'll touch on more moon photography tips and look at some sample moon photos to give you some ideas on what you can do too.
Now, let's dive in. Here are the 5 steps to take to get sharp photography of the moon.
- Use manual exposure
- Use manual focus
- Use a very long focal length lens
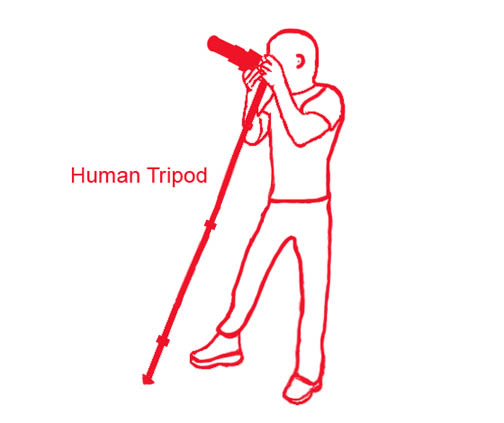
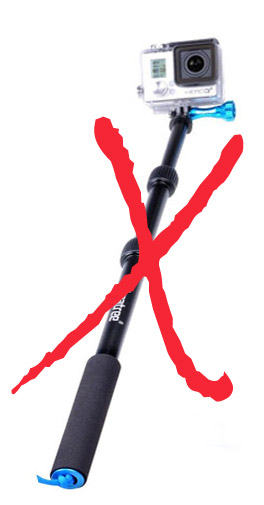
- Use a tripod
- Use a remote shutter trigger or the self-timer
the detailed steps on how to get sharp moon photos
The exact settings will vary depending on your camera and the brightness of the Moon, which depends on its exact phase, but these base settings will get you started.
- MANUAL EXPOSURE. Set your camera on manual exposure. Camera's automatic settings usually get fooled and overexpose it. Adjust Your exposure manually to get the moon bright, but not pure white. Use 1/125 second at f/11 and ISO 100 as a starting point. Your exact camera exposure settings will vary a little, depending on the brightness of the moon, and which phase it's in. Learning how to understand your camera's histogram will help too.
- MANUAL FOCUS. Many digital cameras struggle to focus in dim lighting situations. Don't just set your focus at infinity; you may not get the focus spot on.
- LONG TELEPHOTO. Use the longest lens or most powerful zoom setting you have. Even when the moon looks big and bright to the naked eye, it's really a small and distant object. Here's more on the Best Moon Lens.
- TRIPOD. Use a steady tripod. Even the slightest movement will kill your sharpness and sharpness is critical to see all of those amazing lunar details.
- STEADY SHUTTER RELEASE. Use a cable release or the camera's self-timer to eliminate ALL camera shake and set your camera function to mirror lock up. Eliminating any possibility of camera movement is critical?
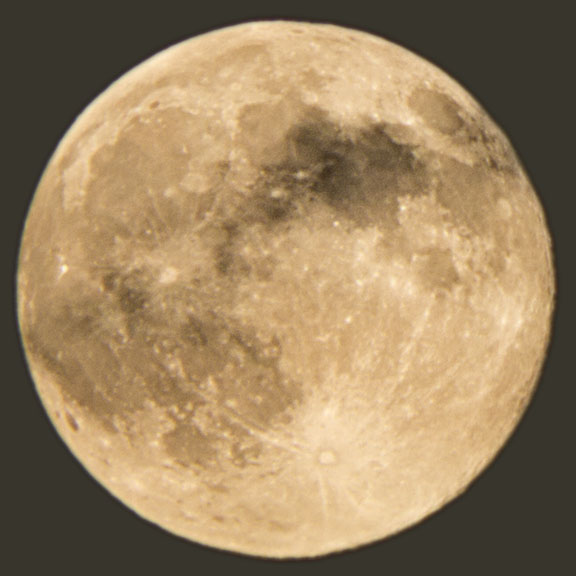 Not sharp enough image of moon from either slightly missing the focus or from a very tiny movement of the moon or from the camera not being perfectly still.
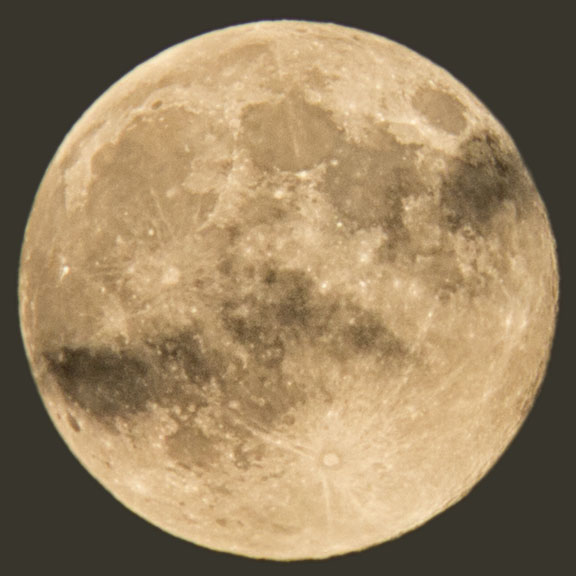 You'll get slightly sharper moon photos when you follow a few of the steps listed. You'll get the sharpest moon photos when you follow all five steps.
We'll critique some sample moon photographs. This will give you good ideas for photographing the moon in your own unique way. Finally, we'll cover how to avoid the common mistakes that photographers make when shooting the moon.
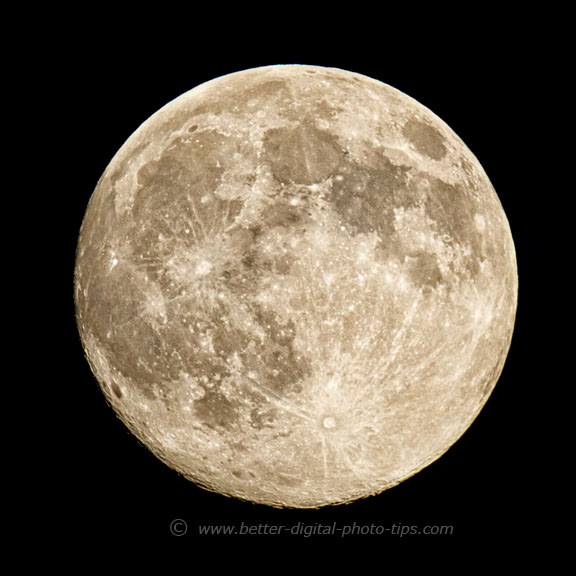
Look at this lunar photo at the beginning of this post. I took it just one day before a "Super Moon." That's a combination of a full moon taken at the time of year when the moon is at its closest distance to the earth.
It's not a spectacular photo, but it's sharp and properly exposed and that's where you want to start. Once you get a grasp on how to get really sharp moon photos, we'll progress with some creativity.
Let's face the truth. You and I both have taken some pretty disappointing photos of the moon. Night time photography presents us with both unique challenges and great opportunities for some creative photography.
The first moon photos I took were taken before the age of digital photography, without a decent telephoto lens. I didn't get to see the results until a week later. That was long before I had a clue on what to do when photographing the moon and long before helpful information was available on the internet.
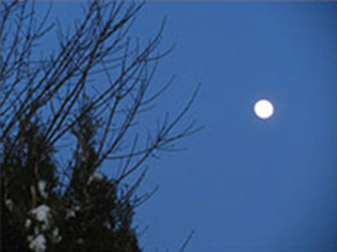 Mistakes: handheld and auto-exposure
Has photographing the moon for you resulted more in a photo like this one? This 5-step moon method works every time. One of the most common photo mistakes is that which occurs with exposure.
Many people use auto-exposure or a Night Scene mode on their digital camera. That rarely works when you're photographing the moon.
Most of the time this results in an overexposed photo of the moon. The camera's meter will see the darkness of the scene and give the image more exposure. Since the moon is so much brighter than the dark sky, it gets over-exposed. Try using manual exposure. Look at your results and adjust.
Usually the second challenge with moon photography is getting a blurry image. If the shutter speed isn't fast enough, the blurriness may be caused by camera movement or movement of the moon itself.
best time to photograph the moon
There's no such thing as one best time to photograph the moon. I know that differs from the advice for photographing the moon that you'll get elsewhere on the web. Stay with me here for a minute. I know you want the best moon shot you can get. You're looking for a quick answer to get that great photo of the moon.
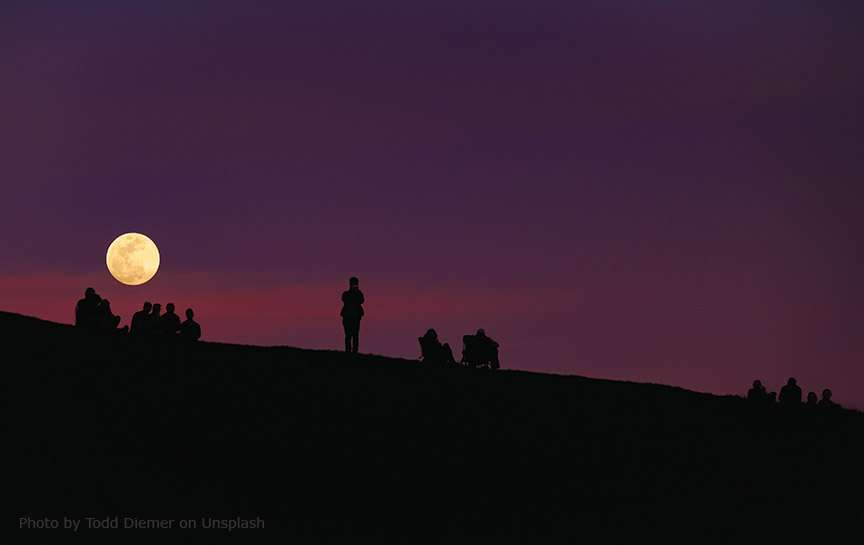
Yes, it's true that when you time your photograph of the moon when it's close to the horizon you'll get opportunities to include other elements that will make it much more interesting.
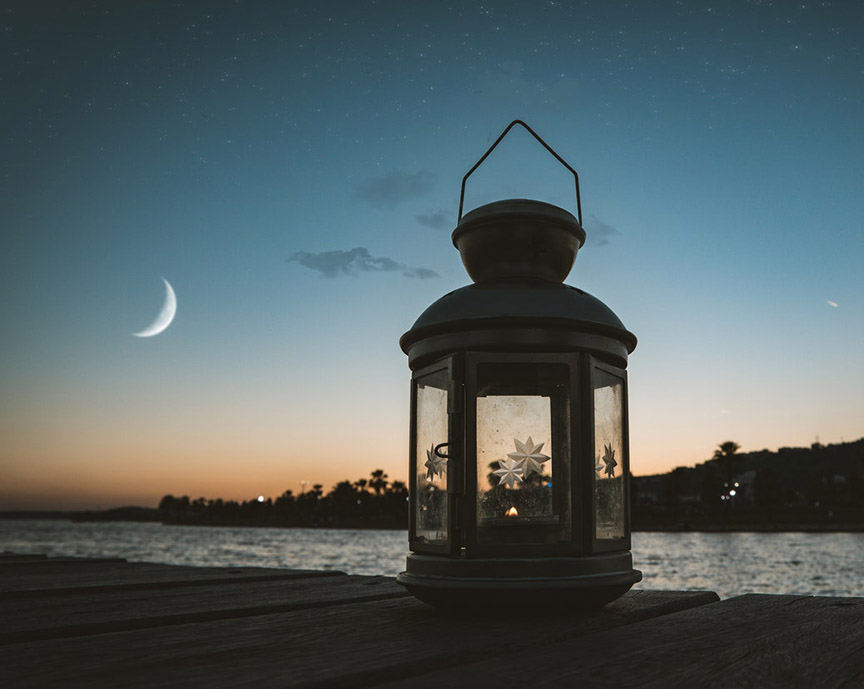
You need a real long lens, the right timing, and planning your location precisely to get a good moon silhouette like with this photo by Todd Diemer on Unsplash.
Here's the thing. There are so many great ways to create different effects when you're photographing the moon that there is no one best time to photograph it, but here are a few tips on when to photograph the moon.
It can be a mistake for you to limit your photography of the moon to shooting it only when it's full. You can get some great images of the moon at various phases with different amounts of detail in the shadow areas of the moon.
I find near full moons as really fascinating to look at. A great time to photograph the moon is a few days on either side of a new moon, when it's waxing or waning.
How do photographers make the moon look so big
There are two ways photographers make the moon look so big. Is it actually bigger when it gets low in the sky?
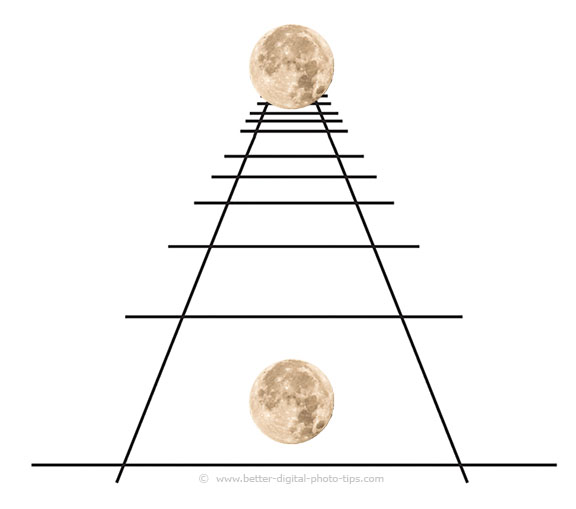
No. The moon is not bigger on the horizon. It just appears to be bigger when it is in a position close to other objects, such as the horizon. It appears smaller, when it is up high in the sky, not as close to other objects. This moon illusion has been known since ancient times and recorded by many different cultures in history.
It's known in the scientific community as the Ponzo illusion. Mario Ponzo determined that the human mind judges an object's size based on its background or nearby objects.
A tripod is a must to get a super sharp, detailed moon photo like the one at the top of the page. A powerful zoom lens is required if you want the moon to be larger than just a very small element in your photograph.
That magnification will also magnify even the slightest bit of camera shake when the exposure is made.
Remember too, that because of the earth's rotation, all of those celestial objects in the sky are moving in relationship with you standing still on planet Earth. If you don't want any motion blur, you'll need to use a fairly quick shutter speed.
One good techniques to use is to do your photography just after moonrise or just before moonset when the moon is close to the horizon. Look for a pleasing composition that includes something else of interest.
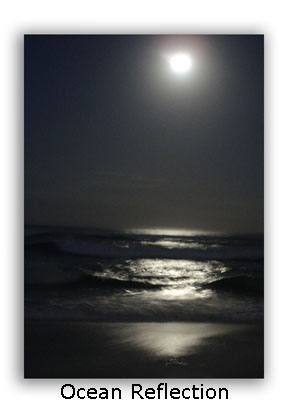
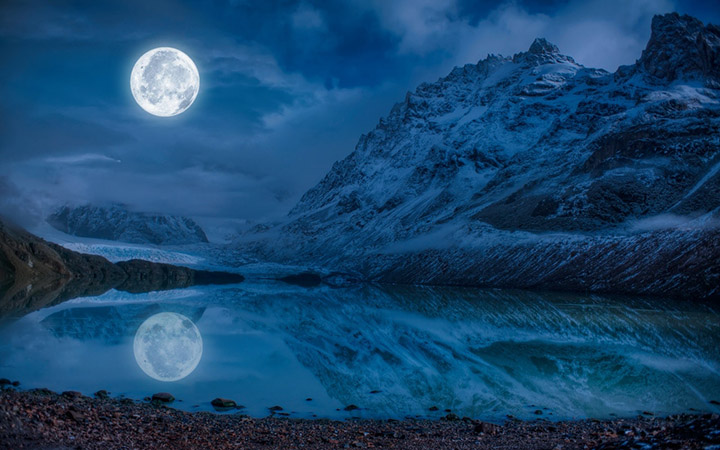
You can get great shots by looking for bodies of water or other smooth reflective surfaces to capture reflections of the light from your subject. In this picture, labeled "Ocean Reflection," even though the moon itself is overexposed, the sparkling reflections in the water and on the sand make it an interesting photo.
additional tips on how to photograph the moon
- Use a fast shutter speed. The moon is actually flying through space at over than 2,000 miles/hour. That's why you need a fast shutter speed to "freeze" it in its tracks. It just happens to be 240,000 miles away from you so you can't see it moving too well.
- Try some photos of the moon other then when it's dark. Dawn and twilight often give you a nice combination of colors and brightness when the light is dim but not dark.
- Don't use image stabilization or vibration reduction (Nikon) with your camera mounted on top of your tripod. When used with a tripod these features can actually make an image less sharp.
- Remove any filters on your lens. If you have a really high quality multi-coated filter you won't notice a difference, but anything that comes between your lens and your subject can diminish image quality slightly.
moonlight photos
Use some of the sample moonscapes below to boost your own creativity. You don't have to make the moon the only object in a photograph. You can make it just a part of the photo and you can also make it become the light source in your photograph too. Due to the strong contrast backlighting, and because of the subject matter this moonlit graveyard creates a very strong mood.
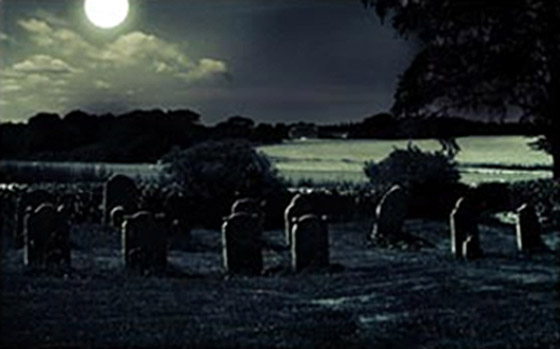 The moon is part of the subject and the main light source.
Another strong emotional mood is created by the moonlit scene below. The front of the crucifix was lit by a light up high and off to the right of the camera.
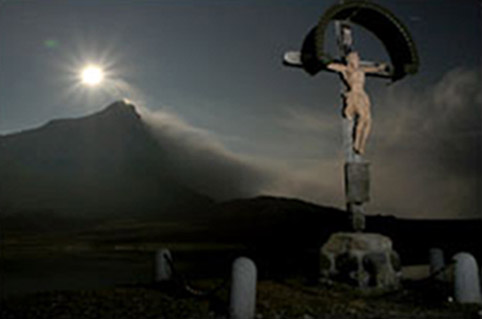 Moonlit Crucifix
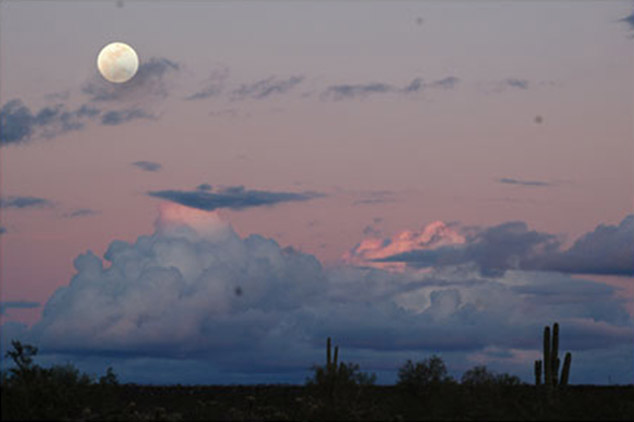
One of my favorite moon photos is this image of the moonlit desert. I was intrigued with the colors as soon as I came across this scene. The contrast between the pink and blue clouds low on the horizon and the right height of the moon make this a winning photo.
As mentioned, try starting with camera settings like this: ISO=100 1/125 second at f/11 for photos of the moon when it's completely dark. That will get you started in the right neighborhood. You may have to adjust that with moonscapes that are taken when there is some daylight still present.
If you want an accurate color balance and want to adjust color temperature, start with 4000K and adjust to how "golden" you want your moon to appear. Another tip on how to photograph the moon to watch for interesting cloud conditions.
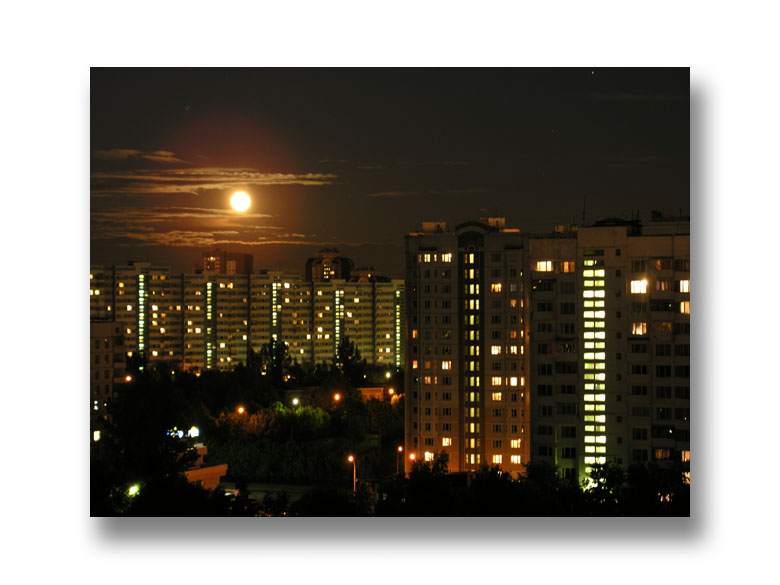 Mooney Cityscape or City Moonscape
The big advantage of digital photography is that you can see your results, adjust your exposure and composition, to make it a better exposure. Shooting with your camera set on manual settings gives you complete control of your photograph.
Just like other kinds of digital photography, knowing how to photograph the moon involves understanding your camera settings and using good composition technique. You can't just aim your camera at the moon and press the shutter button.
composite photos of the moon
The newest trend in digital photography is to combine more than one image to get a specific look first imagined in the mind. This is quite popular and fairly simple to do with pictures of the moon because of its shape.
It's fairly easy to select just the moon from one photograph and paste it into another. It's also fairly easy to create reflections or add a glow to the moon to make it look more realistic. That's a topic for another day, but I wanted to add this one example of a composited moon image to add another idea for a future photo you might want to try.
It is also somewhat simple to create fake moonlight pictures where a photograph looks like it was taken with moonlight, but was actually taken with daylight. Moonlit photos appear darker and more bluish in color.
The shadows created by moonlight and sunlight are actually quite similar because both the sun and moon are very distant and small "point" light sources. You can purposefully underexpose a sunlight scene and use a camera setting that makes the image appear bluish and you've got a moonlight scene instead.
Learning how to photograph the moon starts with a clear understanding of what equipment is needed for the desired type of moon photography. Moon close-ups, photographs with the moon as a small element in the photo and moonlit photos are all unique situations.
You've got the answers on how to photograph the moon. Now, what are you waiting for? Go shoot the moon."


ABOUT BRUCE LOVELACE
Bruce is the publisher of this website. He is the author of the book "Improve Your Photography Instantly." Read more on Bruce on his Bio Page. He's been known as The Traveling Photographer ever since 1994. Read more about this website.
View some of Bruce's photos on Instagram. Visit the Facebook Page. Watch him on YouTube. Bruce runs photo workshops for kids and adults, and provides one-on-one photography coaching.
Digital Photography Education Location on Google My Business
Return To to the How To Photograph Anything........Page
