HOW TO POSTS: LIGHTING AND COMPOSITION
best photo backup system for your digital camera
WRITTEN BY: BRUCE LOVELACE
UPDATED: April 21, 2024
"I once lost an entire photo shoot because I didn't have a photo backup system in place. The feeling of loss was devastating and I vowed to never let that happen again. Hopefully, you can avoid the anguish, learn from my mistake, and set up a system that works for you'
 One Touch Backup
The best photo backup system is one that is easy to use and protects you from losing your precious photos forever.
Use this post as a guide on how to backup your photos from your camera. You'll get a better understanding of what options you have-and you do have a lot of options- when you read about my experiences with just about every photo backup method there is. As you'll find out when you read this, I've pretty much tried every method imaginable to backup photos and other documents.
It can be as simple as "set it and forget it," you can get a system that has a single button to push, or you can make it complicated like I used to. But more on that in a minute. First let's dive into the most important characteristic of any photography backup system:
"You're backup photo system must either be made into a habit that is easy for you to form, or it must be done automatically. Otherwise, you risk the ultimate failure-losing your precious photographs." -Bruce Lovelace
You have a busy life with lots of activities to fill up your schedule and you don't want to add another chore to your "to-do" list. I'm no different. If you get easily distracted, or if events occur that interrupt your routine, backing up your photos becomes another task that is challenging to get done on a consistent basis.
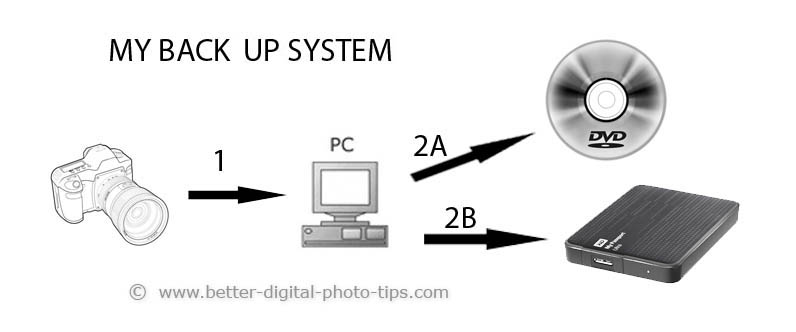
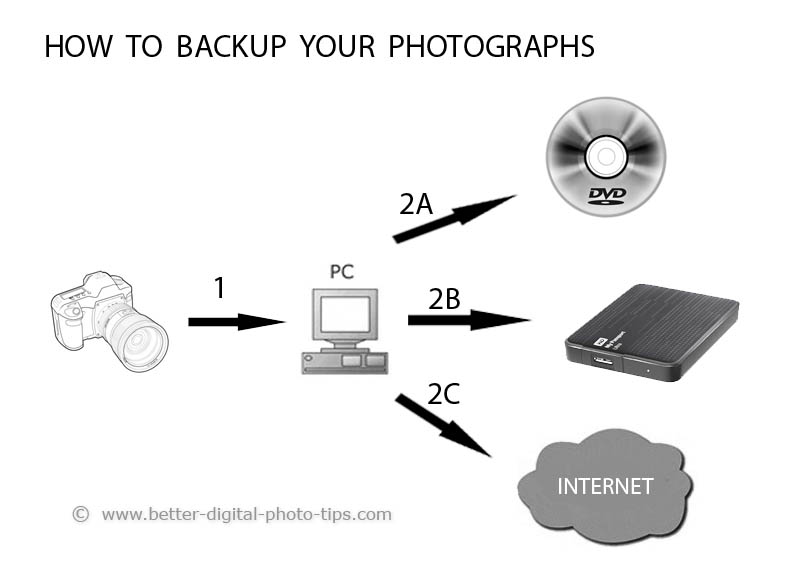
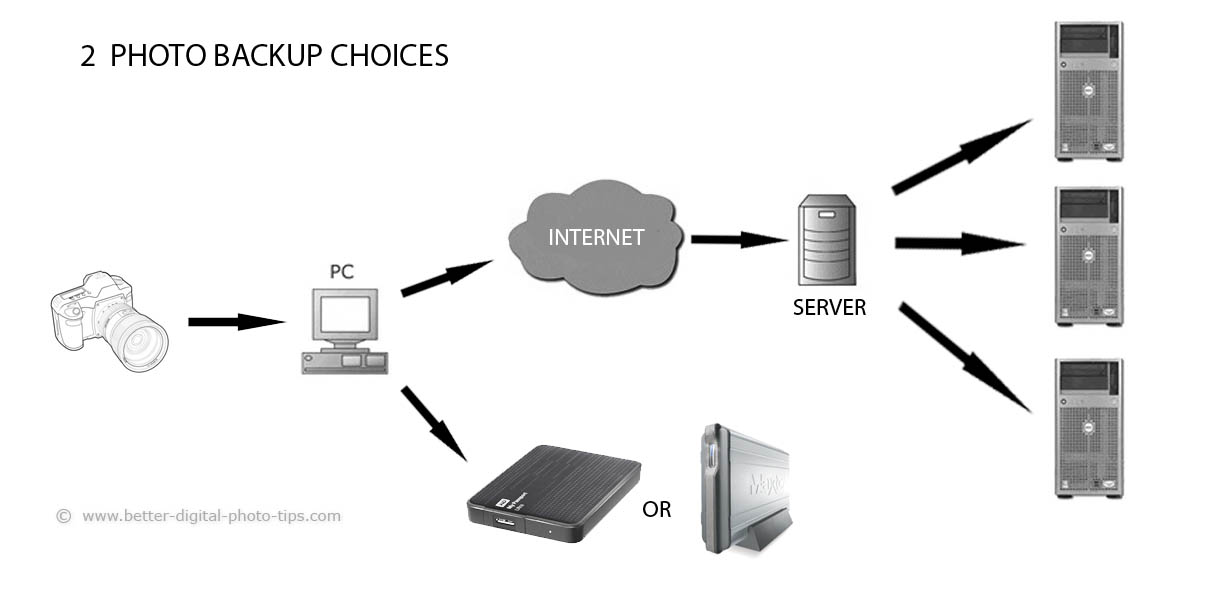
That's why, after about 18 years of full time digital photography, I finally got smart and got an automatic system in place. It's a simple 2-step method and step 2 is where you have a couple of choices. Here are the basic choices.
STEP 1. Copy your photos from your camera to your computer.
STEP 2. Copy your photos (and other important documents to your safe backup choice.
STEP 3. Delete them off your camera (using the FORMAT function).
how to backup your photos
 My Old Backup System
A backup photo is a copy of the original photo and it's important that you understand that you should have 2 copies, the original and its duplicate.
The whole purpose of backing up your photo is to protect yourself against loss should something happen to the original.
The idea is to copy the original image onto your computer and have a separate copy saved on some other digital media or secondary location. That media can be a disk, an external hard drive, a flash drive, or the internet.
In addition to wanting your prints to last longer too, archiving your images should be a priority.

The one thing you must do first is copy the photos from your camera to your computer as soon as it's convenient. If you just photographed your kid scoring the winning goal at her soccer game, or you have some great shots of your son playing with your husband, it's critical that you copy them to your computer's hard drive.
Don't cut and paste them. Copy them from your camera to your computer. Either tether your camera directly to your computer with the appropriate cable or turn off your camera, remove the memory card, and use a USB adapter to copy your photos to your computer.
how to download the photos to your hard drive
 METHOD A - use An Adapter
There are two easy ways to copy your photos from your camera to your computer's hard drive. You can either remove your memory card and use an adapter for USB connection or just tether your camera directly to the USB port on your computer.
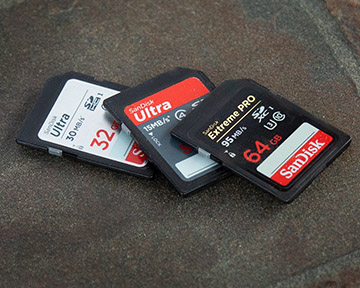
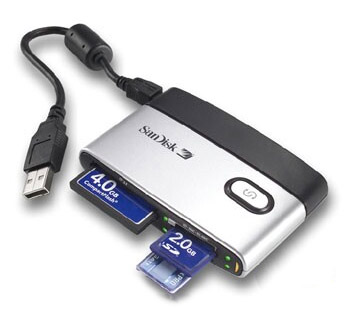
Method A. You can use an adapter like this one pictured.
First, make sure your camera is off . Open the memory card door to gain access to and remove the memory card. Plug it into an adapter and plug the adapter into a USB port on your computer. Now you at least have your photos in two places. The next step is to make your permanent photo backup, BEFORE you delete them from your camera.
 METHOD B - Tether
Method B.
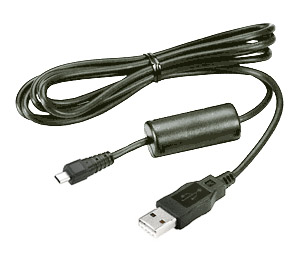
Method B is a little simpler. It will use up a little bit of your battery, but to me it's not a big deal. Simple turn your camera on and connect your camera to the computer using a cord like the one shown here. This way you won't have to handle the camera's memory card at all.
Let's face it. The chances of you losing your photos may seem very small, and perhaps statistically, you won't, but it can be emotionally devastating if you do them. Your photos are your memories and they are priceless.
I've heard so many sob stories of how people have lost their photos and other important documents because they didn't know how to backup their photos or because they didn't have any kind of backup photos system in place at all. Computer hard drives are reliable, but they do have a limited life span.
For pro photographers like me, it could also hurt financially too. Your specific situation is a little different than mine, but let's face it. We both would love a system that gives us peace of mind knowing our photos are safe.
Your specific preferences will ultimately determine the best workable backup system for preserving your images. Whether you are a shooting pro, a budding enthusiast or a soccer mom, your photos are very valuable to you and it's easy to neglect to have a photography backup system in place.
the 2 types of digital photo backup systems
There are two major categories of photography backup systems for storing your digital photos. You can back them up locally in your own home or remotely to another location, usually to a service that has.
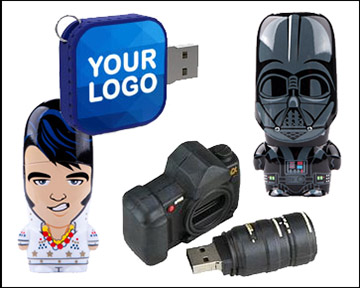
1. LOCAL PHOTO BACKUP. The first type is to copy your images to another location in your own home or office. This could be a CD, DVD, Blu-Ray, Flash drive, or separate external hard drive. Backup systems can be used to store your digital images as well as other important documents and files.
2. REMOTE BACKUP AND THE "CLOUD." The second is an online storage location. Such on-line services are often referred to as using "The Cloud," where you can use a free or paid service through your internet connection to someone else's (or a business) computer server.
Local is the best photo backup system if you are paranoid about eliminating the possibility of someone stealing or viewing your images on the cloud. Theft is possible, but it's so unlikely it's really not worrying about at all. you're more likely to get a photo stolen from FaceBook, Pinterest, or Instagram.
Local is the only option if you have "private" photos that you absolutely don't want anyone else to be able to see them.
the two biggest mistake people make with photo backup
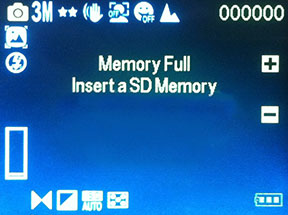
The first and most important step. The biggest mistake made is to fail to copy the photos to your computer's hard drive as soon you as you return from shooting some images.
Without a doubt, the most common complaints I hear from people who went through the film to digital transition are related to this failure. They take pictures and they never get them off the camera. You're more likely to do something with them if they're on your computer, ready for sharing or printing.
Secondly, it's important that you backup all the important data on your computer, including your photos. The other common bad story I hear is that someone;s computer hard drive crashed and they victim lost everything.
Failing to backup leads to never doing anything with the photos you've taken. It can also result in:
- Filling up your memory card.
- Losing your photos forever.
- Makes it very time consuming to scroll back through hundreds of images on your camera to find one.
best local backup system
It's got to be easy! That's the number one thing. Secure systems are great, but if it's a pain or inconvenient to do, it likely won't get done. When I say "local" in means keeping within your home or office. Burning your photos to a CD, DVD, or Blu-Ray isn't super complicated, but it is something you have to think about and do. If you are a ver occasional shooter, this is not a bad option.
I've tried several system for own professional and snapshot photography lifestyle and I've described it later down in this article. Cost is always the first thing people focus on and that's important. It's also important to remember the value of the photographs that are at risk.
One of the more expensive ways to go is a fireproof and waterproof external hard drive to backup your photos. They are simple and have extremely high reviews from buyers on Amazon:
best online backup system
- One alternative is a manual online system where you select when and what you want copied to an on-line storage location. You can drag and drop the specific files and folders you want copied from your own computer to the service's server.You have more responsibility and more control on backing up everything you want to preserve.
- There are automatic online systems that back-up specific files from the hard drive of your computer without you consciously monitoring the process. These can be set up to run continuously in the background or a specific time of day or night when you are not actively using any bandwidth.
For only a few dollars a month you have peace of mind and have safe storage of your important images and files. I am constantly evaluating different "cloud" solutions to backup my document and photos and like the simplicity of an on-line system that is quite affordable and has unlimited storage: Backblaze
As an Amazon affiliate I may receive a small commission from qualifying purchases, at NO added cost to you.
my OLD photo backup system
Before I eventually signed up for Backblaze, I used the backup system shown below to store copies of all of my photos. It was complicated. I'd copy the photos from my camera to my computer. Then I'd burn all of my retouched client photos to CDs and DVDs and I'd burn all the raw files to the larger Blu-Ray disk format.
Once the RAW files were burned to disk, then I could "erase" them by formatting the memory card in the camera. Then I'd also copy all of my documents (including photos) to a small external drive made by Passport.
When it came to "burning" back photo disks I started out with CDs, graduated to DVDs, and ended up with Blu-Ray disks. I had about a dozen large plastic tub containers filling up the workshop portion of my basement.
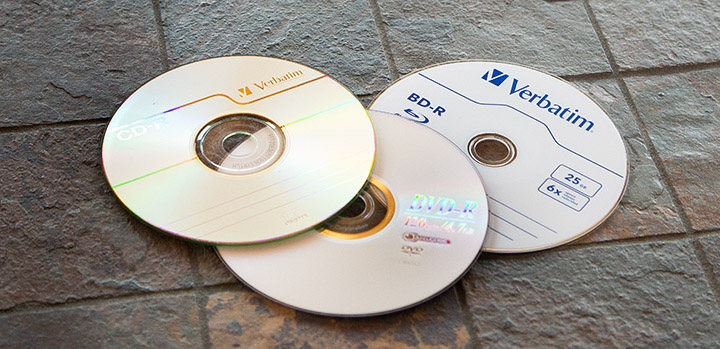 Storage: CD=700MB. DVD=4.3 GB.
Blu-Ray=25GB.
Storage: CD=700MB. DVD=4.3 GB.
Blu-Ray=25GB.I thought I wanted to have access to my photos whether I was connected to the Internet or not (in reality, the originals were on my computer anyway). Although I have occasionally used Google Drive and DropBox for some sharing and storage of documents and a few photographic images, I stored all of my full-sized photos at home.
Whenever I have taken photos, I immediately copy them to the hard drive on my PC in my home office. Secondly, I burned them to a CD, DVD, or Blu Ray disk depending on the number of images and how I was going to use them.
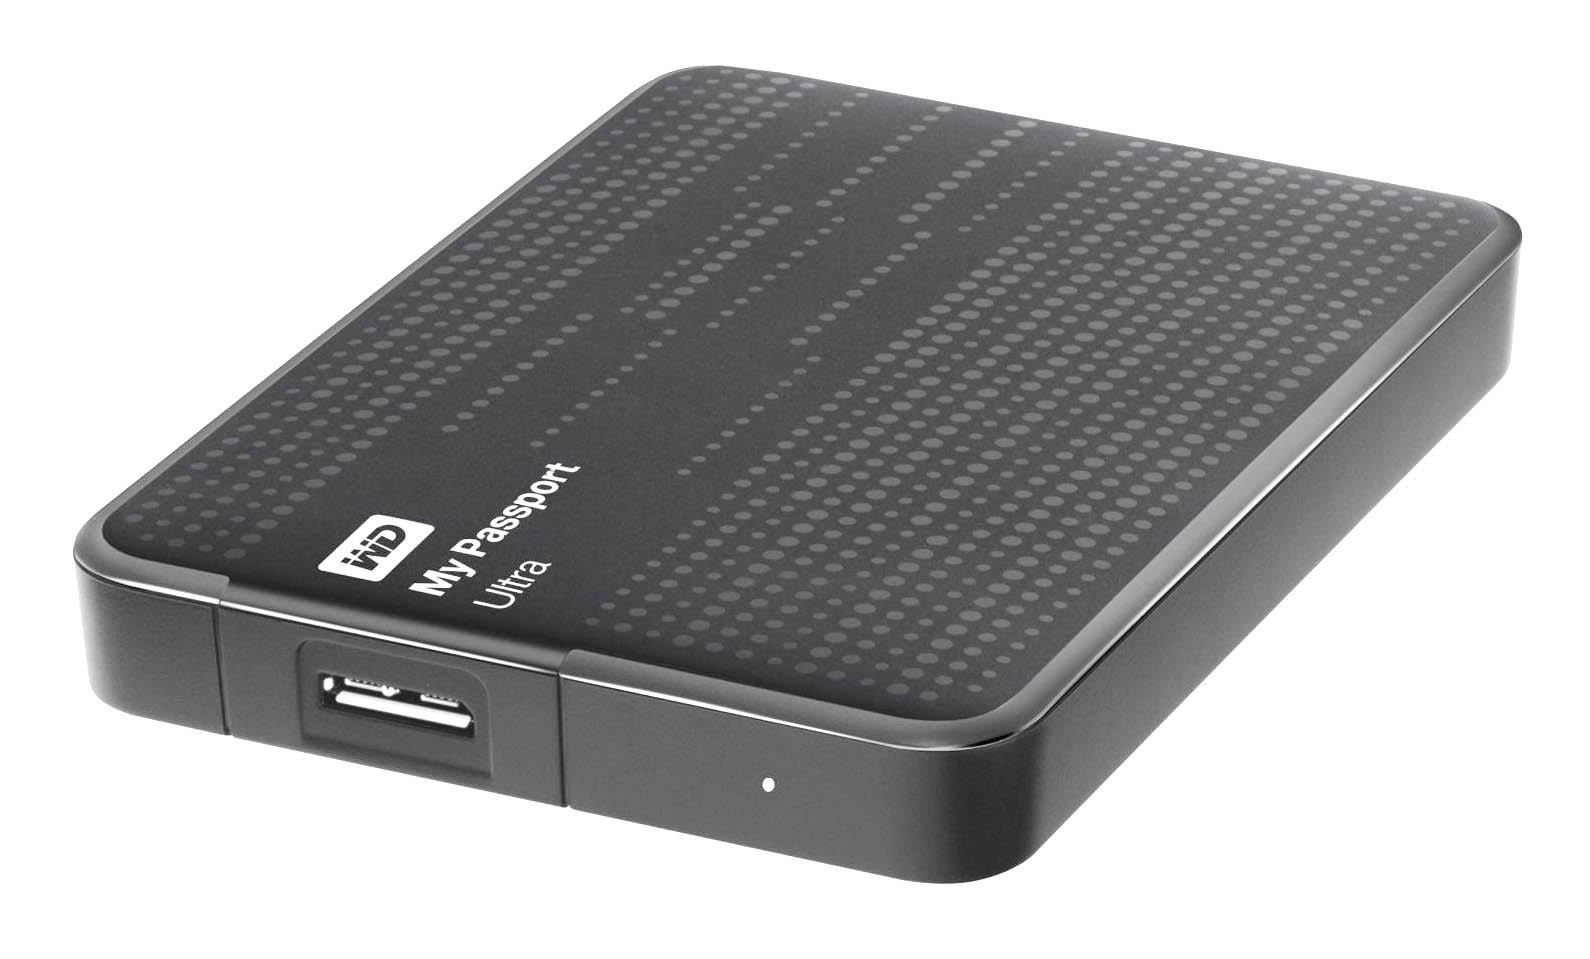
Finally, I backup my photos and documents to an external hard drive, the My Passport by Western Digital.
Before I switched to the external My Passport external hard drive system, I would backup all of my documents on a second hard drive installed within my PC. That was fast and fine for protecting a failure of the main hard drive in my PC, but it offers NO protection from fire or theft of my computer.
All of my photos and all of my other important files are all kept within "my documents" folder on my computer.
It was a simple task for me to "drag and drop" that folder onto my 2 Terabyte Passport external drive which I connected via a USB port.
The Passport hard drive is very compact and I stored it in a fireproof safe in my basement along with other important papers. These include passports, birth certificates, loan documents, and similar legal papers. The problem was I had to go downstairs, open the safe, bring the passport back to my computer, fire it up, do the copying, return it downstairs to the basement, and put it back in the safe.
I tried to make it a habit and do my photo backup every Sunday evening, but I'm just not that disciplined.
Best options for photo backup
I was very reluctant for many years to go the online cloud method and perhaps you are too. Like a lot of other products and services, the trend is to do it online, and backing up your photos is no different. It's either free or dirt cheap. It's essentially 100% reliable and effortless or damn near effortless.
I made the switch about a year ago now, and I now wonder what the heck took me so long to come to my senses. That's my story and what worked for me, but here are 4 good options for you as the best photo backup.
1. possibly your choice as the best photo backup:
My computer-nerd adult son is always researching trends in both computer software and hardware. He emailed me the link to an article on a big offer by Amazon, (my favorite retailer in the world).
"Dad, here's another thing you could do as the best photo backup." If you're an Amazon prime member here's what you get automatically:
As an Amazon affiliate I may receive a small commission from qualifying purchases, at NO added cost to you.
Prime members will continue to get unlimited photo storage as a benefit of their membership, as well as 5GB of additional storage for non-photo content, such as videos and documents. Additionally, any customer that signs up for storage with Amazon automatically gets 5 GB for free.
If you've browsed around the Digital Photography Tips site much, you know that I am already a big fan of Amazon Prime membership, it's free 2-day shipping, the free movies, tv shows, the lending library of e-books, and now UNLIMITED photo storage.
If you are already an Amazon Prime member this is a No-Brainer for you as the best photo backup system possible. It's free. Amazon Prime is great for me because I buy almost most of my photography equipment and many household items through Amazon Prime. I like the competitive prices, the extensive selection, the fast delivery, and the return policy.
As a member of Amazon Prime, you can backup photos from your internet browser, or from your cell phone, or directly from your personal computer. Here is the link for more info on Amazon prime:
Amazon Prime MembershipYou can also use what some say is the best free online photo storage and that's photos.google.com. If you enjoyed this article on the best photo backup system please share it with a friend.
2. another option as the best photo backup:
BACKBLAZE. This is the option I chose and I absolutely love it. It works seamlessly in the background and I never even think about it at all any more. I struggled for many years with scheduling and actually completing backups and failed miserably at developing a habit.
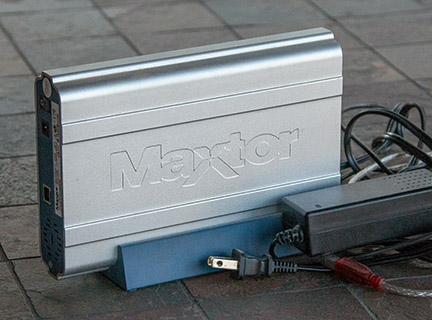
I had a 2nd and third hard drive installed in my main computer. I've used CD, DVD, and Blu-Ray disks. I've used Passport, and Maxtor external hard drives. I even had a computer script written specifically to backup all my documents including all of my photographs. Here's the current offer from Backblaze.
I set it once and I don't ever have to do anything again. It works whenever my computer is on and I'm connected to the internet (which is about 16 hours/day). Here's a screenshot of the email I receive every so often:
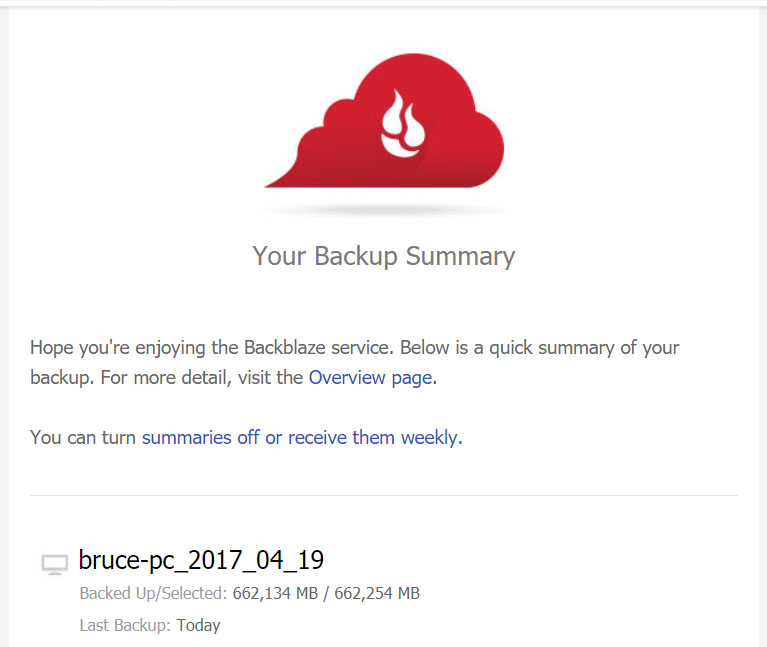 Screenshot Of The Email BackBlaze Sends Me.
3. Use dropbox as your photo backup

You can use a dropbox basic account for storing any type of digital file. It's free up to only 2GB, then you have to pay either monthly or get a discount for paying a year in advance. If you don;t need a lot of storage this is a great option.
Dropbox will work across all of your devices, your home computer, tablet, and smartphone. It has an intuitive folder system that helps with organizing your photos. At the time of this update Dropbox cost $10/month or $100/year for 100 Terabytes. That's more than you'll ever possibly need.
4. Use Google Photo as your photo backup
Google Drive gives you 15Gb for free whether it's photos or documents that you are backing up. You get up to 100GB for $1.99 month, 1TB for $9.99/month, or 100TB for $99/month.
I have the free versions of both Google Drive and DropBox and tested them out with a backup of a few of my images and they are both easy to use.
I'm just thrilled with the out-of-sight, out-of-mind backup system of Backblaze. I don't even think about backup anymore because I know it's being automatically handled in the background.
how to delete your photos after backup
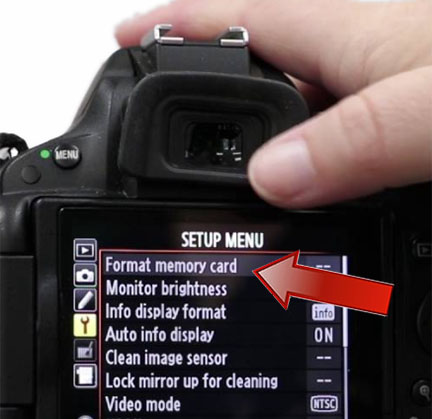
Once you have copied your photographs to your computer and have backed them up to a 2nd location, you should remove them from your camera's memory card. There is a best way to do this and it's also the fastest and safest.
With your memory card in your camera use your camera's "format" function, rather than deleting them while your card is attached to your computer. Using your camera's formatting software will insure that your card is fully set to work flawlessly with your camera.
Your camera and it's memory card will be ready, willing and able to record more of your amazing photos. You won't have to worry about missing any photo opportunities and being surprised by the dreaded "memory card is full" message.


ABOUT BRUCE LOVELACE
Bruce is the publisher of this website. He is the author of the book "Improve Your Photography Instantly." Read more on Bruce on his Bio Page. He's been known as The Traveling Photographer ever since 1994. Read more about this website.
View some of Bruce's photos on Instagram. Visit the Facebook Page. Watch him on YouTube. Bruce runs photo workshops for kids and adults, and provides one-on-one photography coaching.
Digital Photography Education Location on Google My Business
